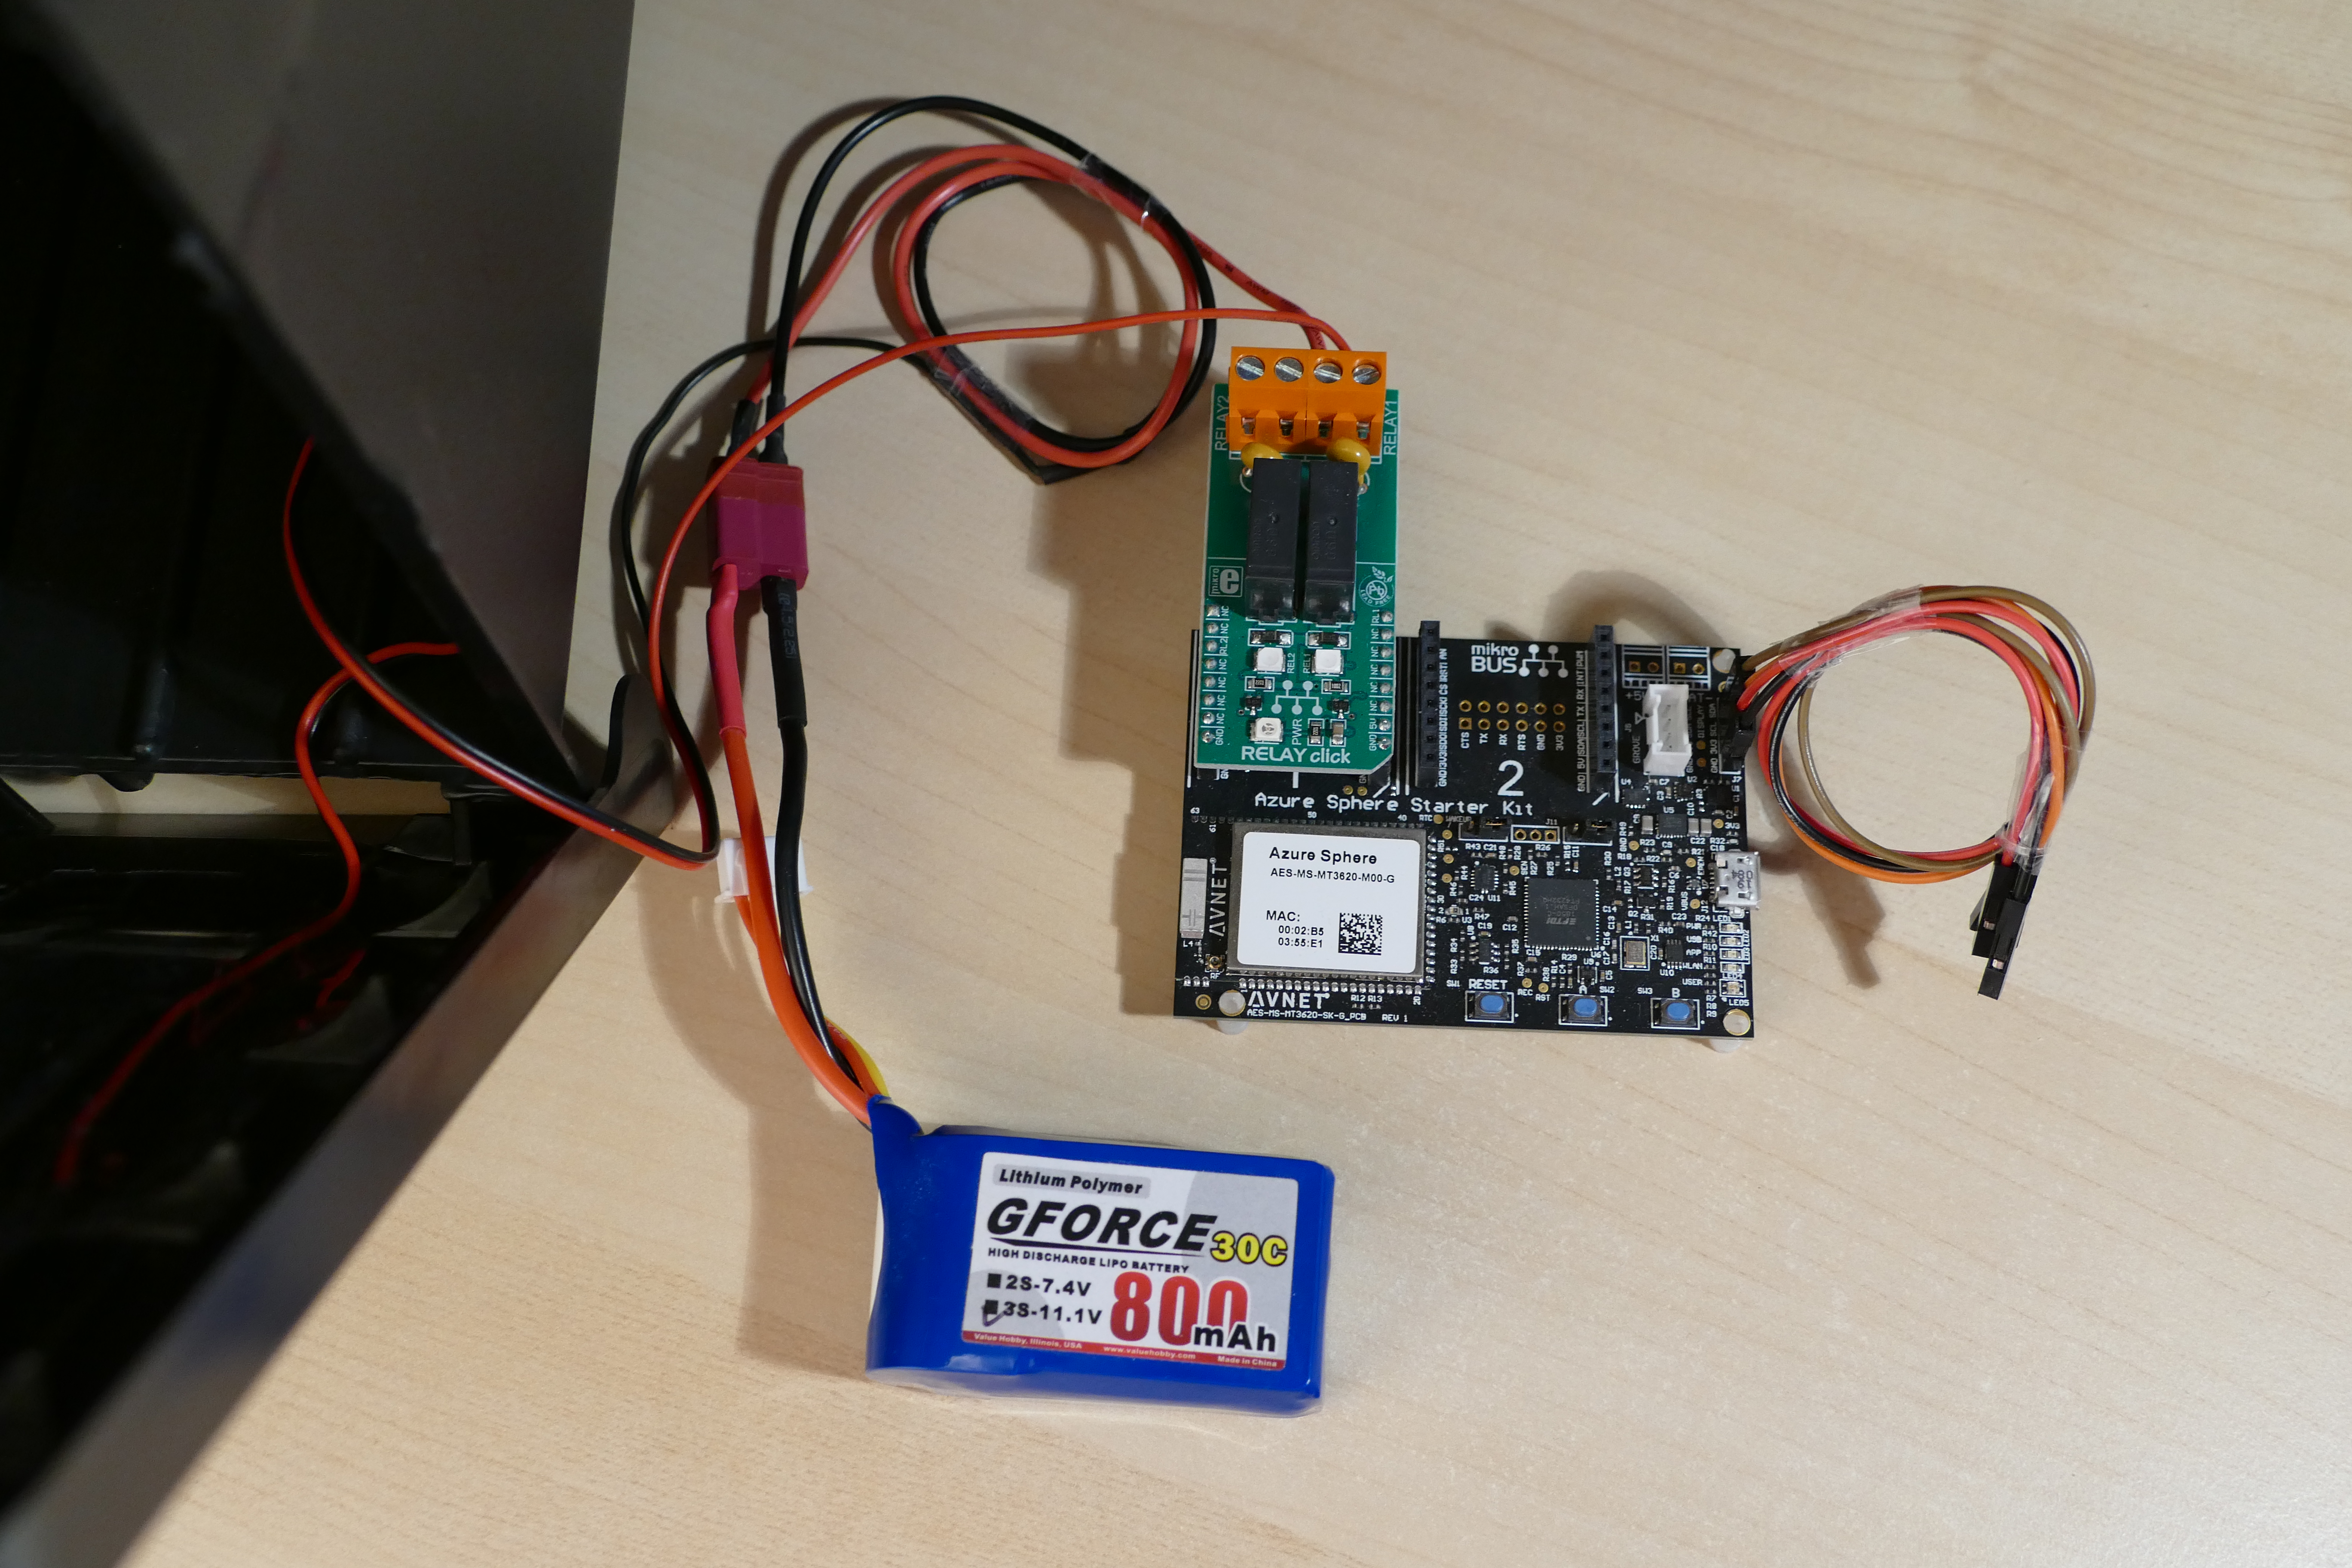
IoT Lockbox demonstrates how you can use the Avnet Azure Sphere MT3620 with Microsoft PowerApps and Power Automate to build an app controlled lockbox. Instead of the user carrying around keys they can open up the PowerApps mobile app, scan the QR code on the box and the box will unlock. Potential applications include apartment mailboxes, package lockers, medical lab boxes, etc.
How it worksA simple PowerApp mobile application scans the QR code on the box to get the applicable device ID. The app triggers a Power Automate flow that uses an IoT Central connector to update a setting on the applicable device. The MT3620 receives the setting update and powers the solenoid to unlock the box. After a six second delay, the Power Automate flow updates the setting again to lock the box back. The six-second delay gives the user enough time to open the box.
PrerequisiteBefore you get started you will need to complete Brian Willess's Avnet's Azure Sphere Starter-Kit (Out of Box Demo) Part 3 of 3. This will get you setup with a basic IoT Central app for your MT3620 device. You can add all the measurements and LED settings but for this project we only need one of the relay settings.
Find your Azure IoT Central Device IDOpen the device you setup in IoT Central. With the device selected, note the device ID in the URL. Write it down and save it for later. I.e. https://your app.azureiotcentral.com/details/device/ThisIsYourDeviceIDHere/measurements
Build your Power Automate flowFirst we will build the flow that will trigger the relay the solenoid lock is wired to.
Use the same credentials you used to create your IoT Central Application to log into Microsoft Power Automate. Click "Create" on the left side menu and then choose "Instant flow" to create a new flow. Name your new flow whatever you wish, choose "PowerApps" for the trigger, and click "Create".
Click "+ New step" and then enter "Azure IoT Central" to quickly locate the IoT Central actions and choose "Update a device". If you are logged in with the same account you setup the IoT Central App with, you should see and select your Application from the drop-down list. For device, choose "Ask in PowerApps". The device ID will be provided by the PowerApp we will be building in the next section.
Select your device template from the "Device Template" list. This should populate all your settings. Select "Relay #1", or whatever name you chose for the relay when you build the IoT Central app template. Set it to "Yes". This will tell IoT Central to trigger the relay so it will unlock the box.
Click "+ New step" and add a delay. They delay is how long we will be energizing the solenoid and therefor the amount of time the user will have to open the box. I found 5-6 seconds is works out well.
Click "+ New step again and repeat the steps we followed to turn the relay "On" but in this case we will be turning the relay to the "Off" state to effectively lock the box.
Save and test your new flow. You can hard-code the device ID to test that your flow triggers your relay but be sure to change it back to "Ask in PowerApps".
Build your PowerApp mobile appNow we are going to build a simple mobile app to scan the QR on the box and trigger the flow we just made.
Use the same credentials you used to create your IoT Central Application to log into Microsoft PowerApps. Once you are logged in, click "Create a new Canvas app from blank". When asked about the format, choose "Phone".
You should then see the PowerApps development environment with an empty canvas. Click the "+" on the left side of the screen and add a Text label to your canvas/screen. Enter the name of your app in the label and move it to the top of the screen.
Click the "+" again and type "bar" in the search box to locate the "Barcode scanner "component. Add it to the canvas. Select your Barcode scanner component and then choose "OnScan" from the property menu on the top left. Select "Action" from up top and then "Flows". If the accounts are correctly tied together you should be able to select the flow you created in the previous section.
With the "OnScan" property selected, in the fx box where it says "Run()", enter the name of your barcode scanner component, I.e., BarcodeScanner1, and type ".Value". This will take the value from our scanned QR code and send it along to the flow we are triggering.
Save and publish your shiny, new PowerApps mobile app. Install the Microsoft PowerApps app on your phone from the app store. Login using the same credentials and hopefully you will see your app.
Create a QR code of your device IDGo to one of the online QR generators and create a QR of your device ID. I.e (https://www.the-qrcode-generator.com/) Print it out and tape it to your box. Scan the QR code with your app and see if triggers your relay.
Now the hardwareWire up your solenoid lock to the battery and through the relay on the MT3620. Mount the battery and MT3620 to the inside of the mailbox. Mount your solenoid and corner brace so that the solenoid "catches" the brace when the box cover is closed.
Now test that everything works!


Comments
Please log in or sign up to comment.