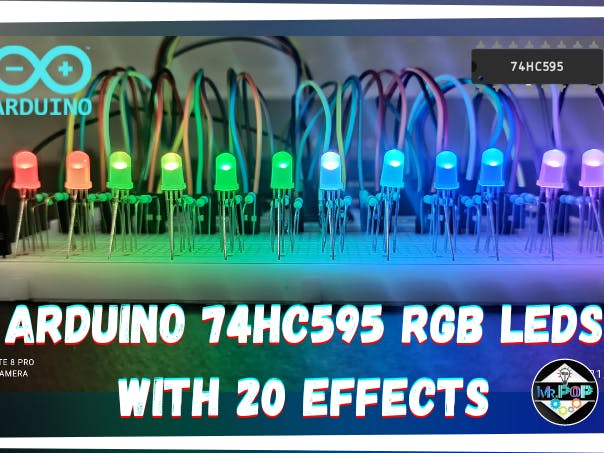
In this Tutorial, I will show you how to make an RGB-led circuit with 20 effects by using Arduino UNO and shift registers 74hc595.
I am thinking about how to control more than 20 led with Arduino Uno because Arduino Uno only has 13 digital pins. So how It's possible?
That's why I am using shift register 74hc595. We need only 3 Arduino digital pins to control multiple RGB-leds using 74hc595 shift registers. If want to learn how shift register works? click here.
SuppliesLet's start with gathering components for 74hc595 RGB-led effects.
- Arduino Uno
- Shift registers (74hc595) X 5
- RGB LEDs X 12
- 270-ohm Resistor X 36
- Full-size breadboard X 2
- Jumper Wire.
How many RGB LEDs can an Arduino control?
The answer is 2 RGB LEDs is controlled by Arduino Uno because one RGB LEDs require 3 PWM pins to control the brightness and color, but there is only six PWM pin in Arduino Uno.
How to control multiple LEDs with Arduino?
As you know, we have only 6 PWM pins and, if we want to control multiple LEDs by Arduino Uno is not possible, so that's why we are using shift registers 74hc595to control multiple LEDs. By using numerous shift registers as a daisy chain technique, we can run as many LEDs as you want.
So in this tutorial, I will show you how to make a circuit and how to program it.
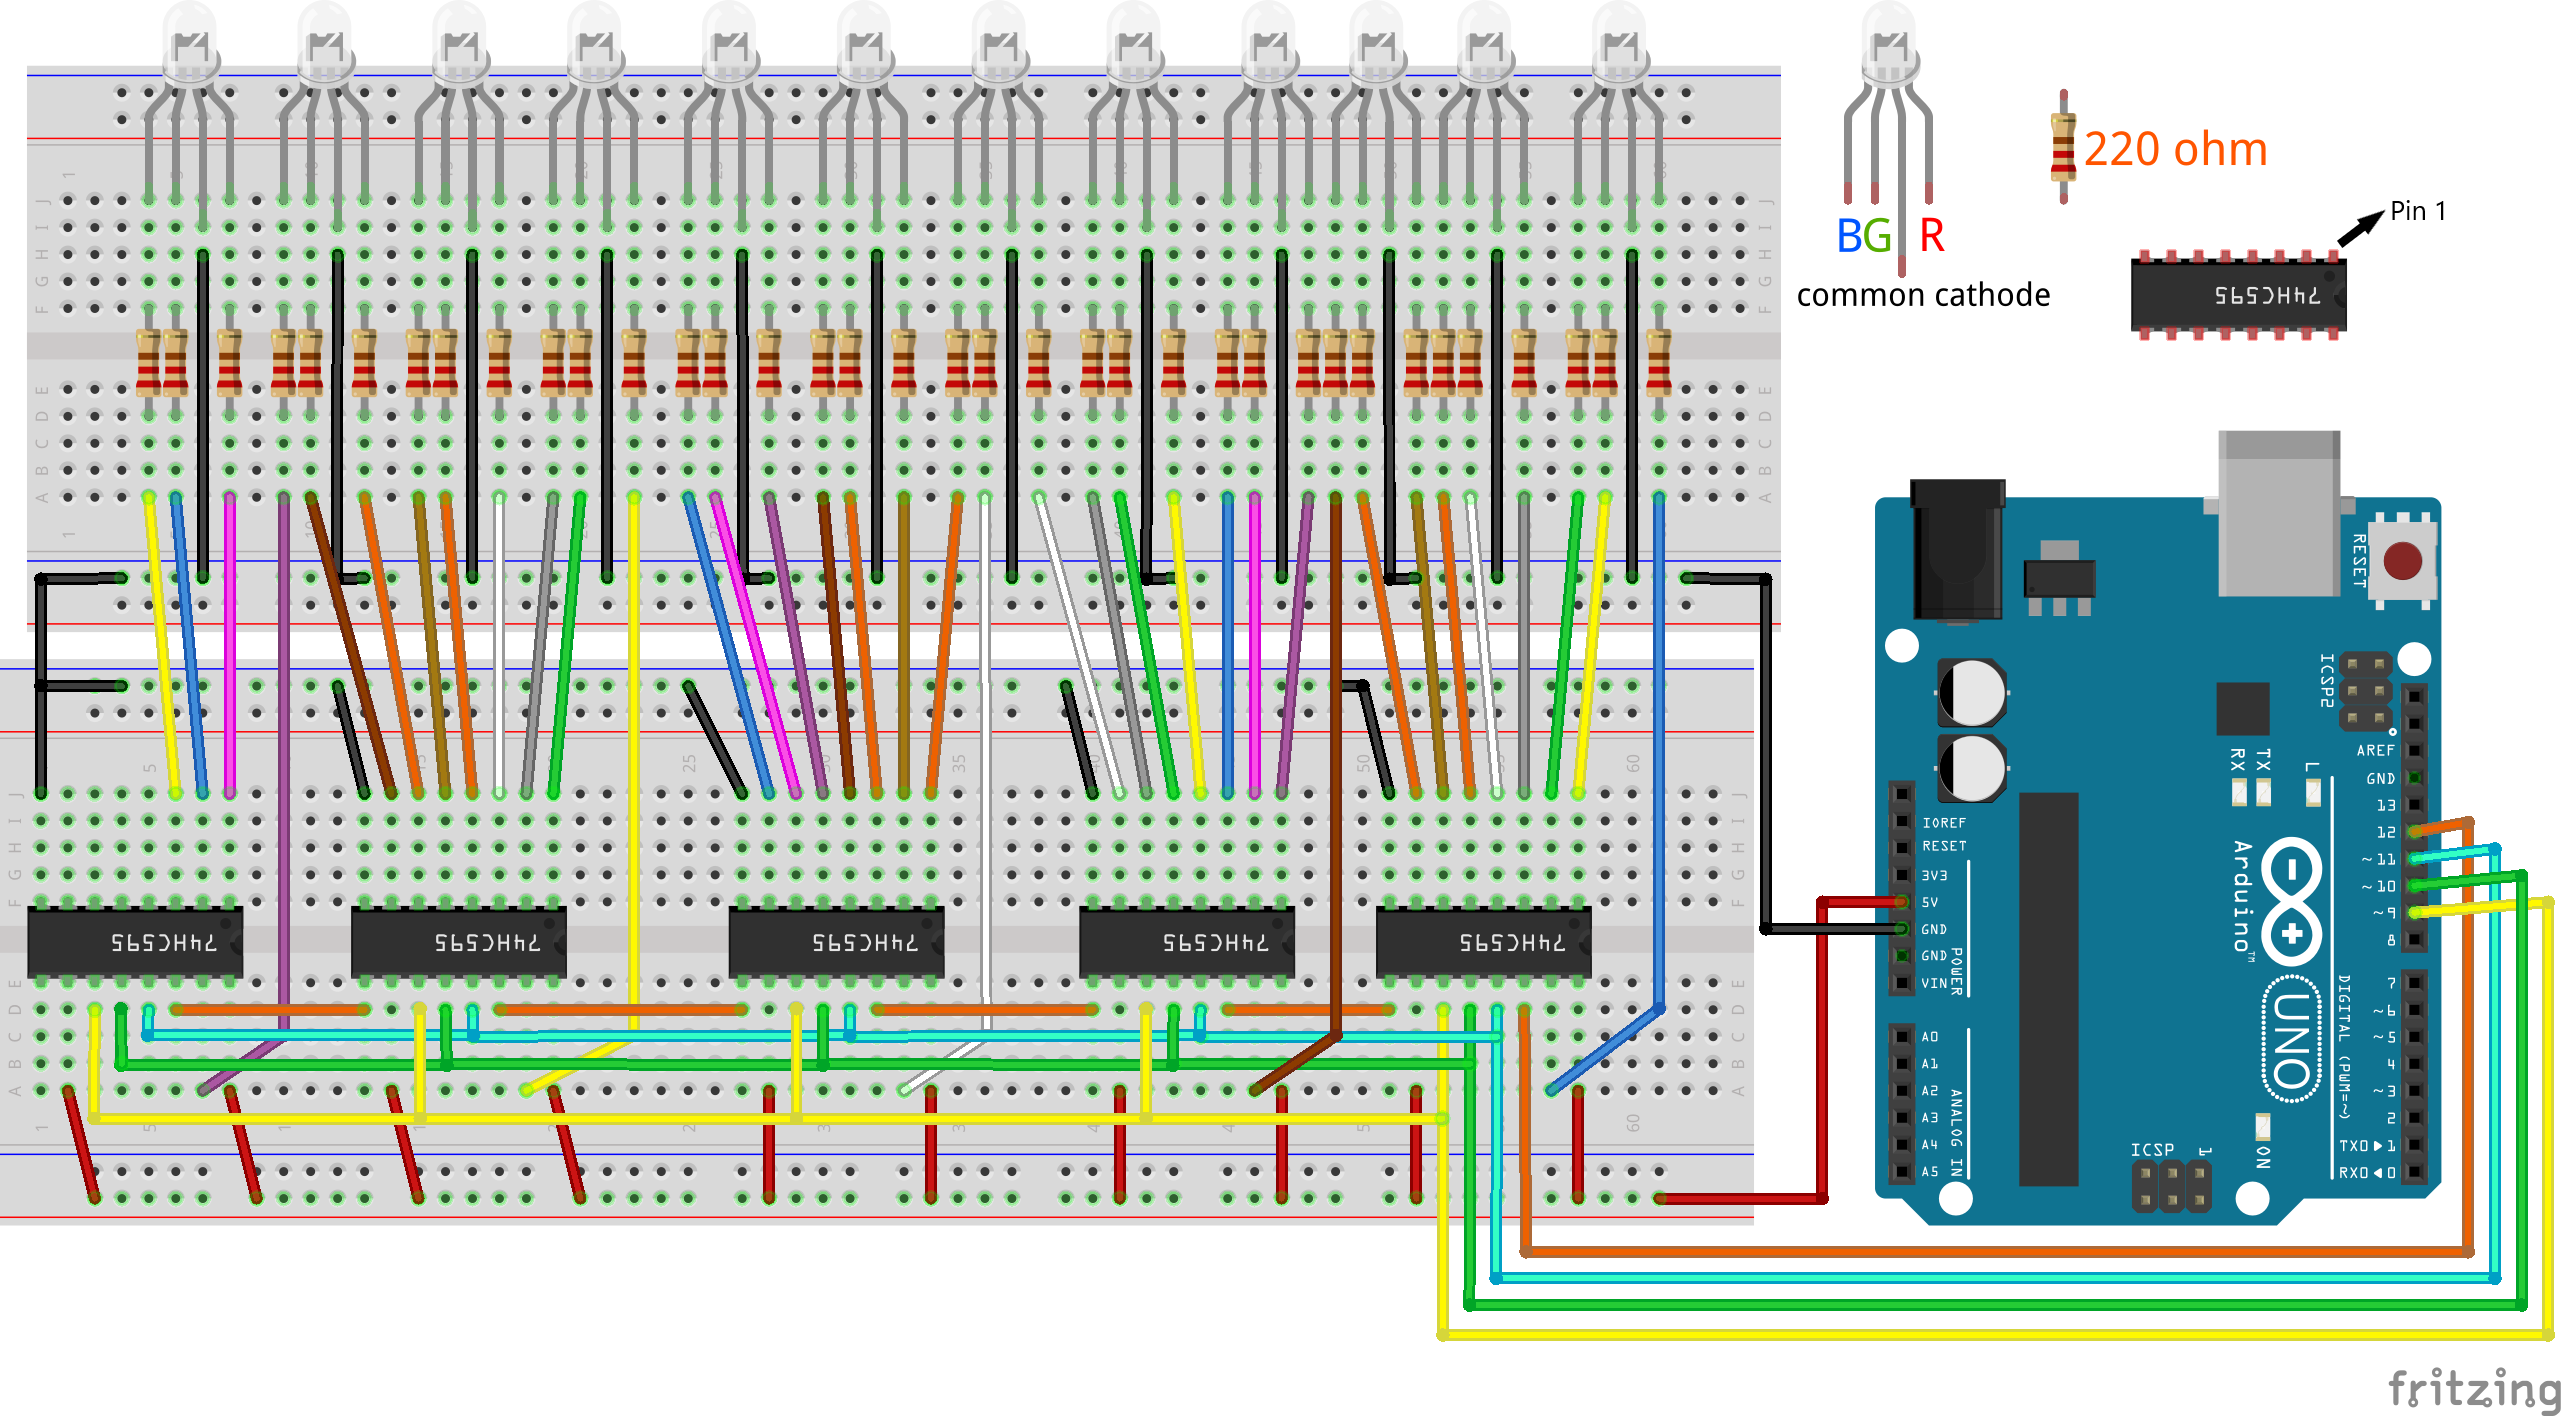
Circuit diagramThe circuit diagram seems complex, but it's not that I'll guide you through step by step to build the circuit.
Take a breadboard after that, start placing shift registers on the breadboard and make sure that each IC having a gap in-between.
Now we have to connect RGB LEDs, but there are two types of RGB LEDs.
- Common anode LED
- Common cathode LED
In this tutorial, I'm using a common cathode LED, so bend the tall lead (cathode pin) of the led and connect it to the GND terminal of the breadboard. Do the same for all RGB LEDs.
*For common anode LED circuit diagram and code should be different.
Next, connect a 220-ohm resistor to each pin of the RGB LED to protect the led from high current.
Next, connect shift register pins 16 (VCC) and 10 (SRCLR) to the breadboard 5v terminal and connect pins 8 (GND) to the breadboard GND terminal.
To build a daisy chain circuit, we have to connect the shift register to another.
Now, connect a jumper wire between shift register pin 9 (Q7`) to another shift register pin 14 (DS) for sending data to another IC. Do the same for other shift registers.
Connect a jumper wire between shift register pin 13 (OE) to another shift register pin 13 (OE). OE pin is used to control the brightness of the LEDs. Do the same for other shift registers.
Connect a jumper wire between shift register pin 12 (RCLK) to another shift register pin 12 (RCLK). Do the same for other shift registers.
Connect a jumper wire between shift register pin 11 (SRCLK) to another shift register pin (SRCLK). Do the same for other shift registers.
Now we have to connect RGB LEDs to the shift register.
- Connect led pin 1 to shift register pin 15 (Q0).
- Connect led pin 2 to shift register pin 1 (Q1).
- Connect led pin 3 to shift register pin 2 (Q2).
- Connect second led pin 1 to shift register pin 3 (Q3).
- Connect second led pin 2 to shift register pin 4 (Q4).
- Connect second led pin 3 to shift register pin 5 (Q5).
- Connect third led pin 1 to shift register pin 6(Q6).
- Connect third led pin 2 to shift register pin 7(Q7).
- Connect third led pin 3 to another shift register pin 15(Q0).
Repeat the same process for other RGB LEDs.
Next, we need to connect the shift register (74hc595) to the Arduino Uno to control it.
- Connect the shift register Pin 14 (DS) to the Arduino pin 12.
- Connect the shift register Pin 13 (DS) to the Arduino pin 11.
- Connect the shift register Pin 12 (RCLK) to the Arduino pin 10.
- Connect the shift register Pin 11 (SRCLK) to the Arduino pin 9.
Now, we have to supply the power to the circuit:
- Connect the Arduino 5v pin to the breadboard 5v terminal, and connect the Arduino GND pin to the breadboard GND terminal.
Now the circuit is completed. Connect the Arduino Uno to the computer via USB cable.
Select your COM port and Arduino board.
Now, Upload the code and play with it.
Code for 74hc595 RGB LEDs With 20 Effects.Now the circuit is completed. Connect the Arduino Uno to the computer via USB cable.
Select your COM port and Arduino board.
Now, Upload the code and play with it.
Visit this link for code. Click here
Watch This TutorialIf you like this video so subscribe to my channel and comment down on what next video you want to see?
Previous Projects:Arduino 74hc595 with 18 led effects. Click here
74hc595 shift register control with button without arduino. Click here
More interesting projects on My website:
Contact me on instagram: _mr_electrouino_
#TAGs
arduino 74hc595, 74hc595 projects, arduino rgb led rainbow code, 74hc595 led chaser, arduino shift register projects, arduino led projects, arduino 74hc595 rgb


_ztBMuBhMHo.jpg?auto=compress%2Cformat&w=48&h=48&fit=fill&bg=ffffff)


Comments
Please log in or sign up to comment.