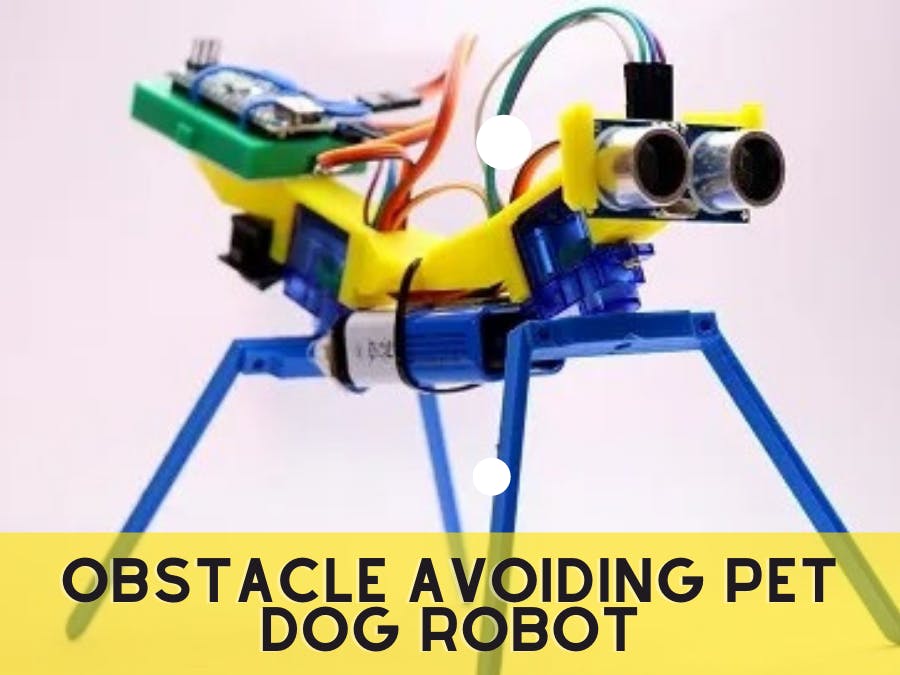
The dogs are considered a valuable partner of human beings in times of danger, loneliness, and happiness. Most people spend a lot of time with their pets in their daily life. The robotics dog “Tomy” is specially designed for people who love robots, codding, and also dogs. They want to put their own creativity into making nonliving a living. I made a robotic dog that walks and my aim is to help people to understand robotics engineering very well and also to aid students to put further creativity in their projects. And one across the globe can contact me for any kind of assistance, or writing a project report for any kind of project.
Well, let's come back to Tomy the Pet Working robot that uses Arduino and ultrasonic sensors to avoid obstacles that comes in it direction. So this is a cute little small robot that walks forward and backward direction.
In this post, you will be able to find completed code to make this robot and step-by-step instructions with links to components used to develop this project.in fact, if someone called this robot an obstacle avoiding robotic wouldn’t be wrong.
Walking Robot MechanismThe mainly servo motor is an important component for the development of this project, these servo motors act like muscles to pull and push the shaft of the robotic Dog. The servo is connected with the Arduino and when the Arduino sends signals to the servo they move with specific angular movements. The decision of signals made on the data gathered from the ultrasonic sensors. The angular movement is in the forwarding direction with there are no obstacles and backward when there is an obstacle or when the unclear path is detected by the robot, so in short, the ultrasonic sensor is acting as an “ eye” of the robot.
Robot Leg Assembly
All the leg assembly of the robot and the body is printed on the 3D printer, and the horns of the servo are connected to the 3D printers but screw and glue can be used to but the body together, while the yellow part of them is the body of the robot where the servo will be made. If anyone needs an STL file then please comment me, or you can build your legs and body using any 3D modeling software.
As you can see in the image below the wires are well organized all due to it dedicated slots provided for the connection of the servo shaft and also for the visuals the ultrasonics distance sensor is attached. The body of the robot is designed in such a way that all the hardware components can be easily attached to it.
The circuit diagram is quite simple and all the connections are easily defined, the person can simply connect the rig and echo pins to A3 and A4 pins, servo signal pins go with D3 and D10 pins of Nano.
CODEFor the code open the Arduino IDE and then paste it on the uploading board i.e Arduino nano, additional if you want to change the pins of the servo time delay then you need to change the code. Or you can add further sensors by changing the code. But for the beginner, we just don’t make any changes to the code.
Circuit DiagramMake all connections and cut piece wires instead of jumper reduce wire count, we use 9v battery with the switch, so that I can be off and on whenever required. If you are adding more parts that this should be considered that servo motors can only bear 9g each, so wait for consideration should be taken into the account. After making all the collection we connected the battery at the mid place of a skeleton and then finally added the legs. I recommend using rechargeable batteries if you are planning to run this project for a long period of time.
Here is a link to my website : https://aquabcasing.com/


_iXAZNvtinj.jpg)


Comments
Please log in or sign up to comment.