Step 1: You need to have two pieces of copper sheets. Similar in size. 4-6 inch in width. Then clean both surfaces of both copper plates thoroughly.
Step 2: Now place one of the copper plates on a hot plate. I suggest you use a hot plate instead of gas stove to get a more perfect oxide layer on both surfaces of the copper plate.
Step 3: As the copper heats up you can see varying shades of red, pink, purple, and possibly other colors. This is a sign that oxidation is taking place. Great!
Step 4: When you are finished cooking the copper, turn the burner off. Leave the copper on the burner to cool. This allows the copper to cool very slowly. The semiconductor is ready.
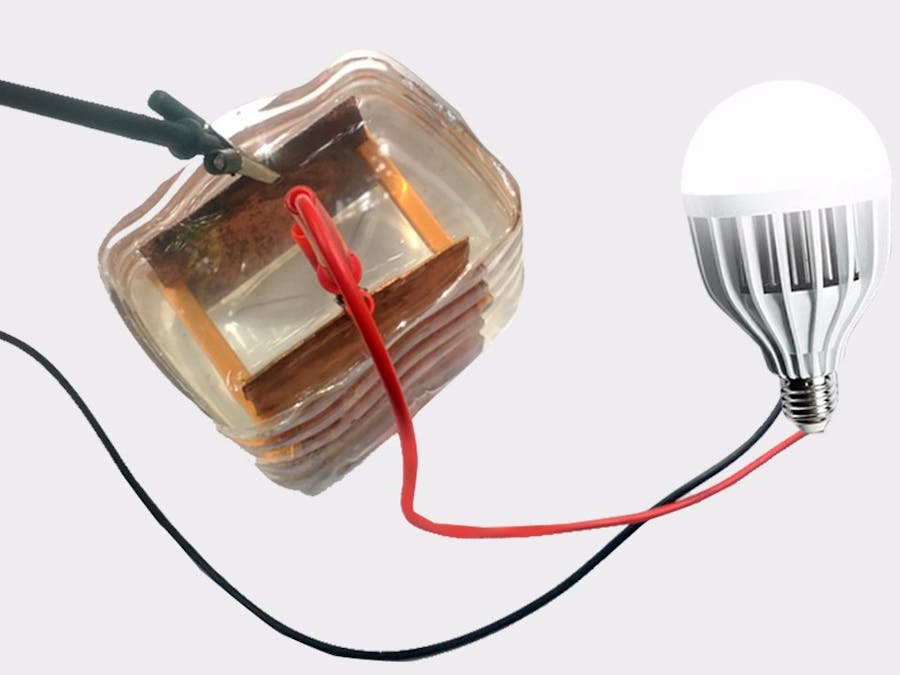
Step 5: An effective electrolyte solution can be prepared from 1:3 salt to water ratio. Now, place the two copper plates into the container. One is oxidized and the other is clean copper. Place the container in sunlight and connect alligator clips to each copper sheets.
Step 6: The copper sheet with cuprous oxide layer should be connected to the clip that will lead to the positive terminal of the multimeter. And the clean copper sheet should be connected to the negative terminal.
Step 7: When the sunlight hits the cuprous oxide layer, it causes electrons to be released. The cuprous oxide is not conductive, but the electrons are able to move through the salt water to the conductive copper plate. This plate transfers the electrons to the wires. Don’t forget to set your meter to read microamps. Now you can see a very small amount of current flowing through the multimeter.
More Info- Watch the full video on YouTube
- Read the full instructions: DIY Solar Cell
- More projects like this: New Physicist


Comments
Please log in or sign up to comment.