Introduction
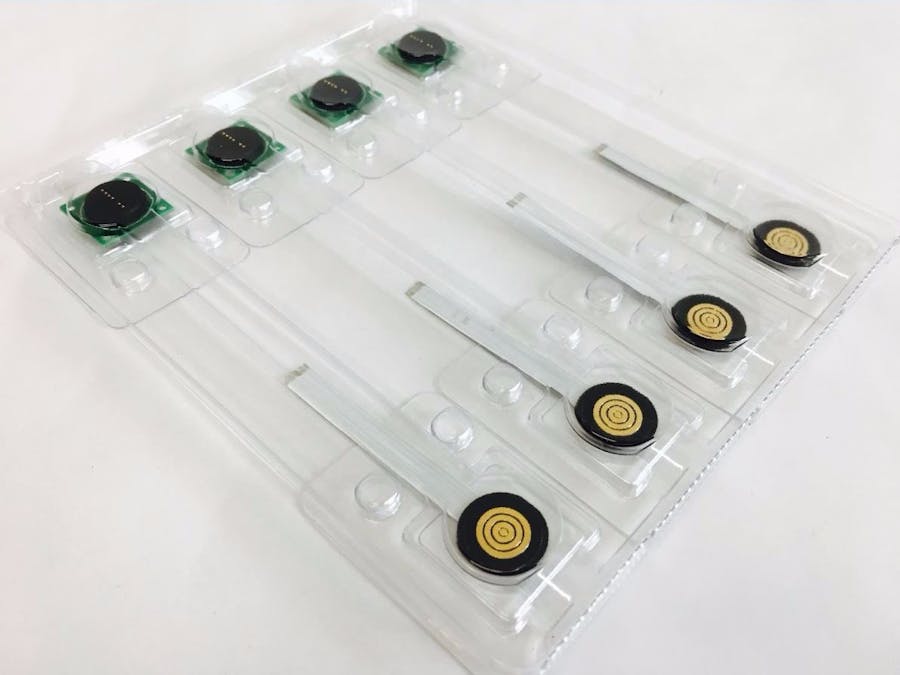
This guide will demonstrate to beginners how to getting started with magconn connector for the first time. The magconn connector replaces the microUSB connector. Demonstrate USB communication using the magconn connector. Below is the picture of things what you need to get started with magconn.
USB communication using magconn
Magconn is a thin connector in which TX and RX are connected via a pair of magnets. Magnets are contained in Tx and Rx, respectively. TX faces S pole, RX faces N pole.
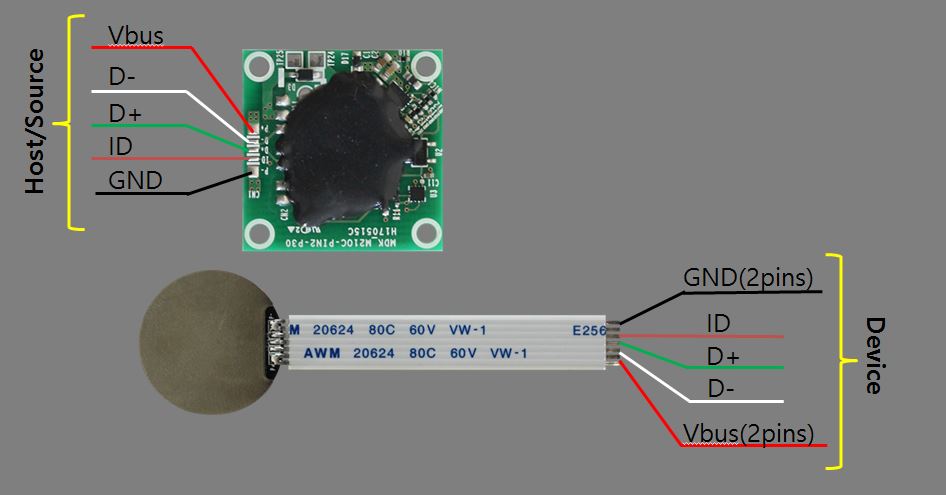
Tx has protection circuits and Rx has no circuit. Five rings of Rx and seven pins of Tx are connected each other. The two outermost pins of the TX and the outermost ring of the RX are connected. Then, the next two pins of the TX and the next ring of RX are connected. The remaining three pins of the TX are connected to the three rings of the RX, respectively. Below shows the function of each pin of TX and each ring of Rx.
If you connect the cable to magconn by soldering, you may experience difficulties due to the magnet. At this time, it is easier to solder by using the bottom iron plate.
I have compared the communication speed of USB memory. This is a comparison when using a regular USB cable and when inserting magconn in the middle of the USB cable. I use a USB memory(SanDisk Cruzer Blade 4G) that supports USB2.0, and the benchmark program(CrystalDiskMark 3.0.3) shows a similar result.
Magconn is a new type of attachable/detachable connector using magnet, no plug-in/plug-out. It is a thin-film form that does not break like a regular USB connector. And it has the advantage of waterproof / dustproof when it is fully mechanically attached to various devices. When applied to special hardware applications, it can exert great synergy.


Comments
Please log in or sign up to comment.