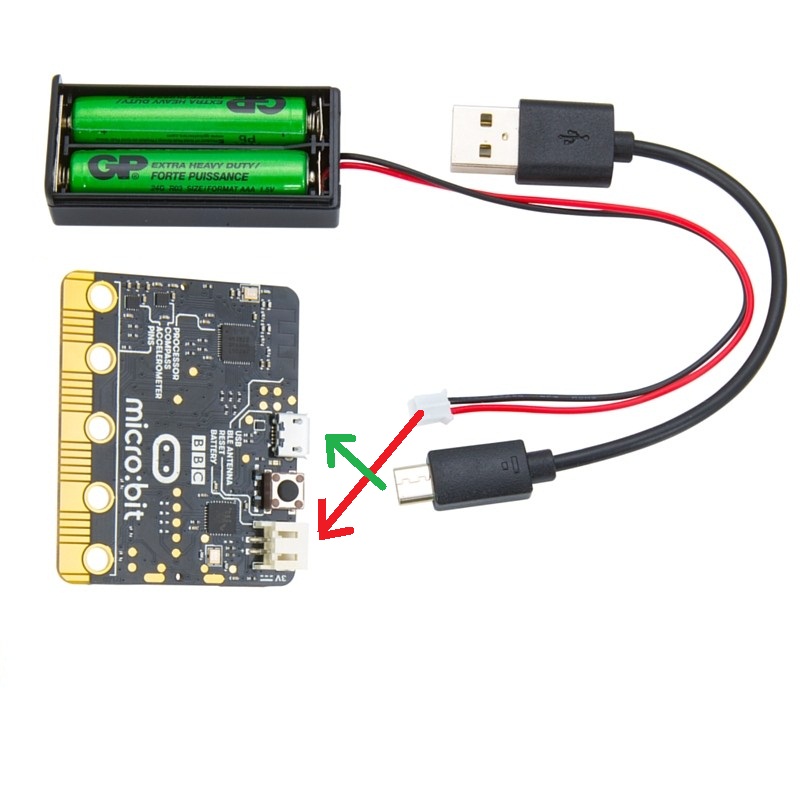
Micro:bit is an easy-to-learn programming platform intended for kids to learn coding. The board is very cheap (buy here) but powerful, with lots of sensors on board. BUT NOTHING BEATS EVERYDAY BAREBONE ARDUINO.
There are lots of ways to create program for a micro:bit starting from easy to difficult. Development is done on web editors (online), generate the hex file for the program. Then connect the micro:bit to computer, an USB drive will appear, drag and drop the hex there to flash the program.
The front of micro:bit has 5X5 LED matrix display, good enough for scrolling text, animation, etc. There is a magnetometer on the back. As for my first project, I wanted to see, if I can make an accurate compass. To my utter surprise, the the compass heading is pretty accurate in degrees. But displaying the heading is annoying because it scrolls, so a pointer like compass with 3 LEDs forming a Line pointer pointing north.
Step 1 : Connect micro:bit to computer and https://www.microbit.co.uk/app/.
Step 2: Create Code > Block Editor, a development window will appear.
Here, I developed the compass (by the way, most of it was done by them inside the block APIs) code block by dragging and dropping function blocks.
Next the code is compiled.
Step 3: By hitting the Run button the compiled code is simulated on the micro:bit simulator on the right. (Optional).
Step 4: To generate hex file, the Convert button needs to be clicked. (Hex is attached below in the code section.)
Uploading CodeIf the micro:bit is connected to the computer properly, a drive with "MICROBIT" name will appear. Drag and drop the hex to flash the program:
A compass has full 360 degrees, each degree can be divided into 60 minutes and further division is possible. This compass has 8 positions only with 45 degrees of resolution, not very practical for navigation but you can roughly get an idea of direction.
Since, the compass works by measuring the earth's magnetic field strength which depends on the location and the orientation of the sensor (or micro:bit board), it is necessary to calibrate the compass by measuring minimum to maximum field strength range and the board tilt using accelerometer to perform critical trigonometric mathematics.
That's why, after flashing the code for the first time, a calibration test needs to be performed. On the first run after flashing, a message will appear and user will be asked to draw a circle with LEDs on the 5X5 matrix display by tilting the board in different direction. Once done, the compass pointer will appear and point appropriately.
Action VideoEnjoy!


Comments
Please log in or sign up to comment.