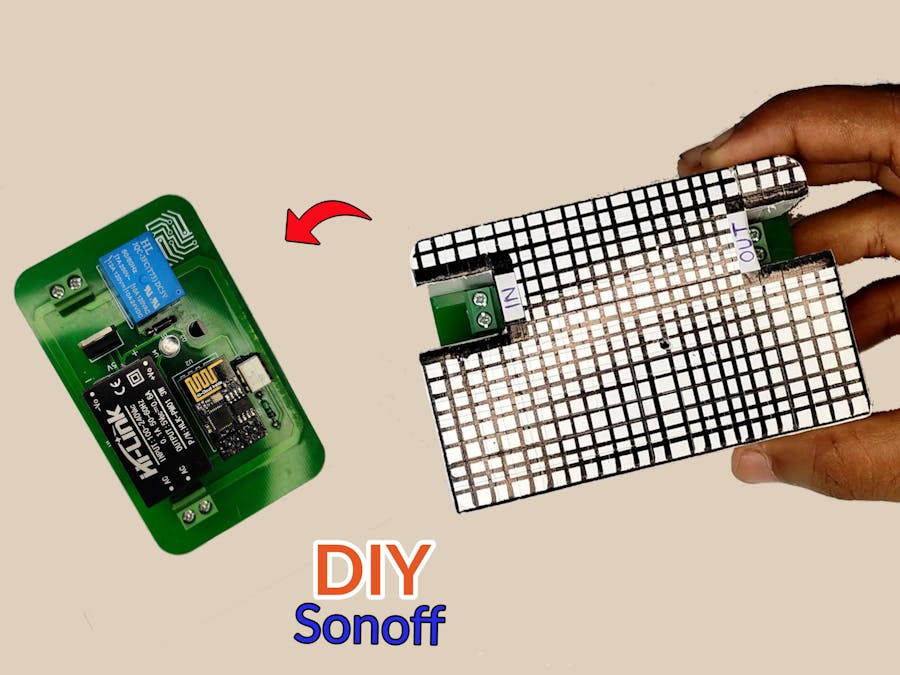
What is Sonoff?
- Sonoff Basic is an affordable device that provides users with smart home control. It is a WiFi-based wireless switch that can connect to a wide range of appliances. Sonoff transmits data to a cloud platform through the WiFi router, which enables users to remotely control all the connected appliances, via the mobile application.
What is ESP8266-01?
- The ESP8266 ESP-01 is a Wi-Fi module that allows microcontrollers access to a Wi-Fi network. This module is a self-contained SOC (System On a Chip) that doesn’t necessarily need a microcontroller to manipulate inputs and outputs as you would normally do with an Arduino, it can save you some money and space in your projects.
Today we are going to show you how to making your own sonoff using esp8266 01 wifi module and relay. With this you can control your home appliances from anywhere in the world.
PCB:-Therefore, case you want your own PCB, you can obtain through this link on PCBWay.com. You can also order good quality PCBS from PCBWay.com at low cost. In addition to the standard pcbs, we could also support advanced Pcbs, FPC/rigid -flex Pcbs, rapid-rpototyping and other related services that could meet your needs to the most extent.
PCB order steps on PCBWay:
- Visit the website: www.pcbway.com
- Click PCB Instant QuoteClickquick-order PCB Upload the gerber file by clicking "+Add Gerber File" and wait until the gerber file is finished
- uploading Set the PCB specifications as you wish, starting from the number of PCBs, the number of layers, thickness, color and others.
- After that, look at the left, it will display the estimated costprocessing time and delivery service selected
- Click Save to cart
Connect all components to the PCB
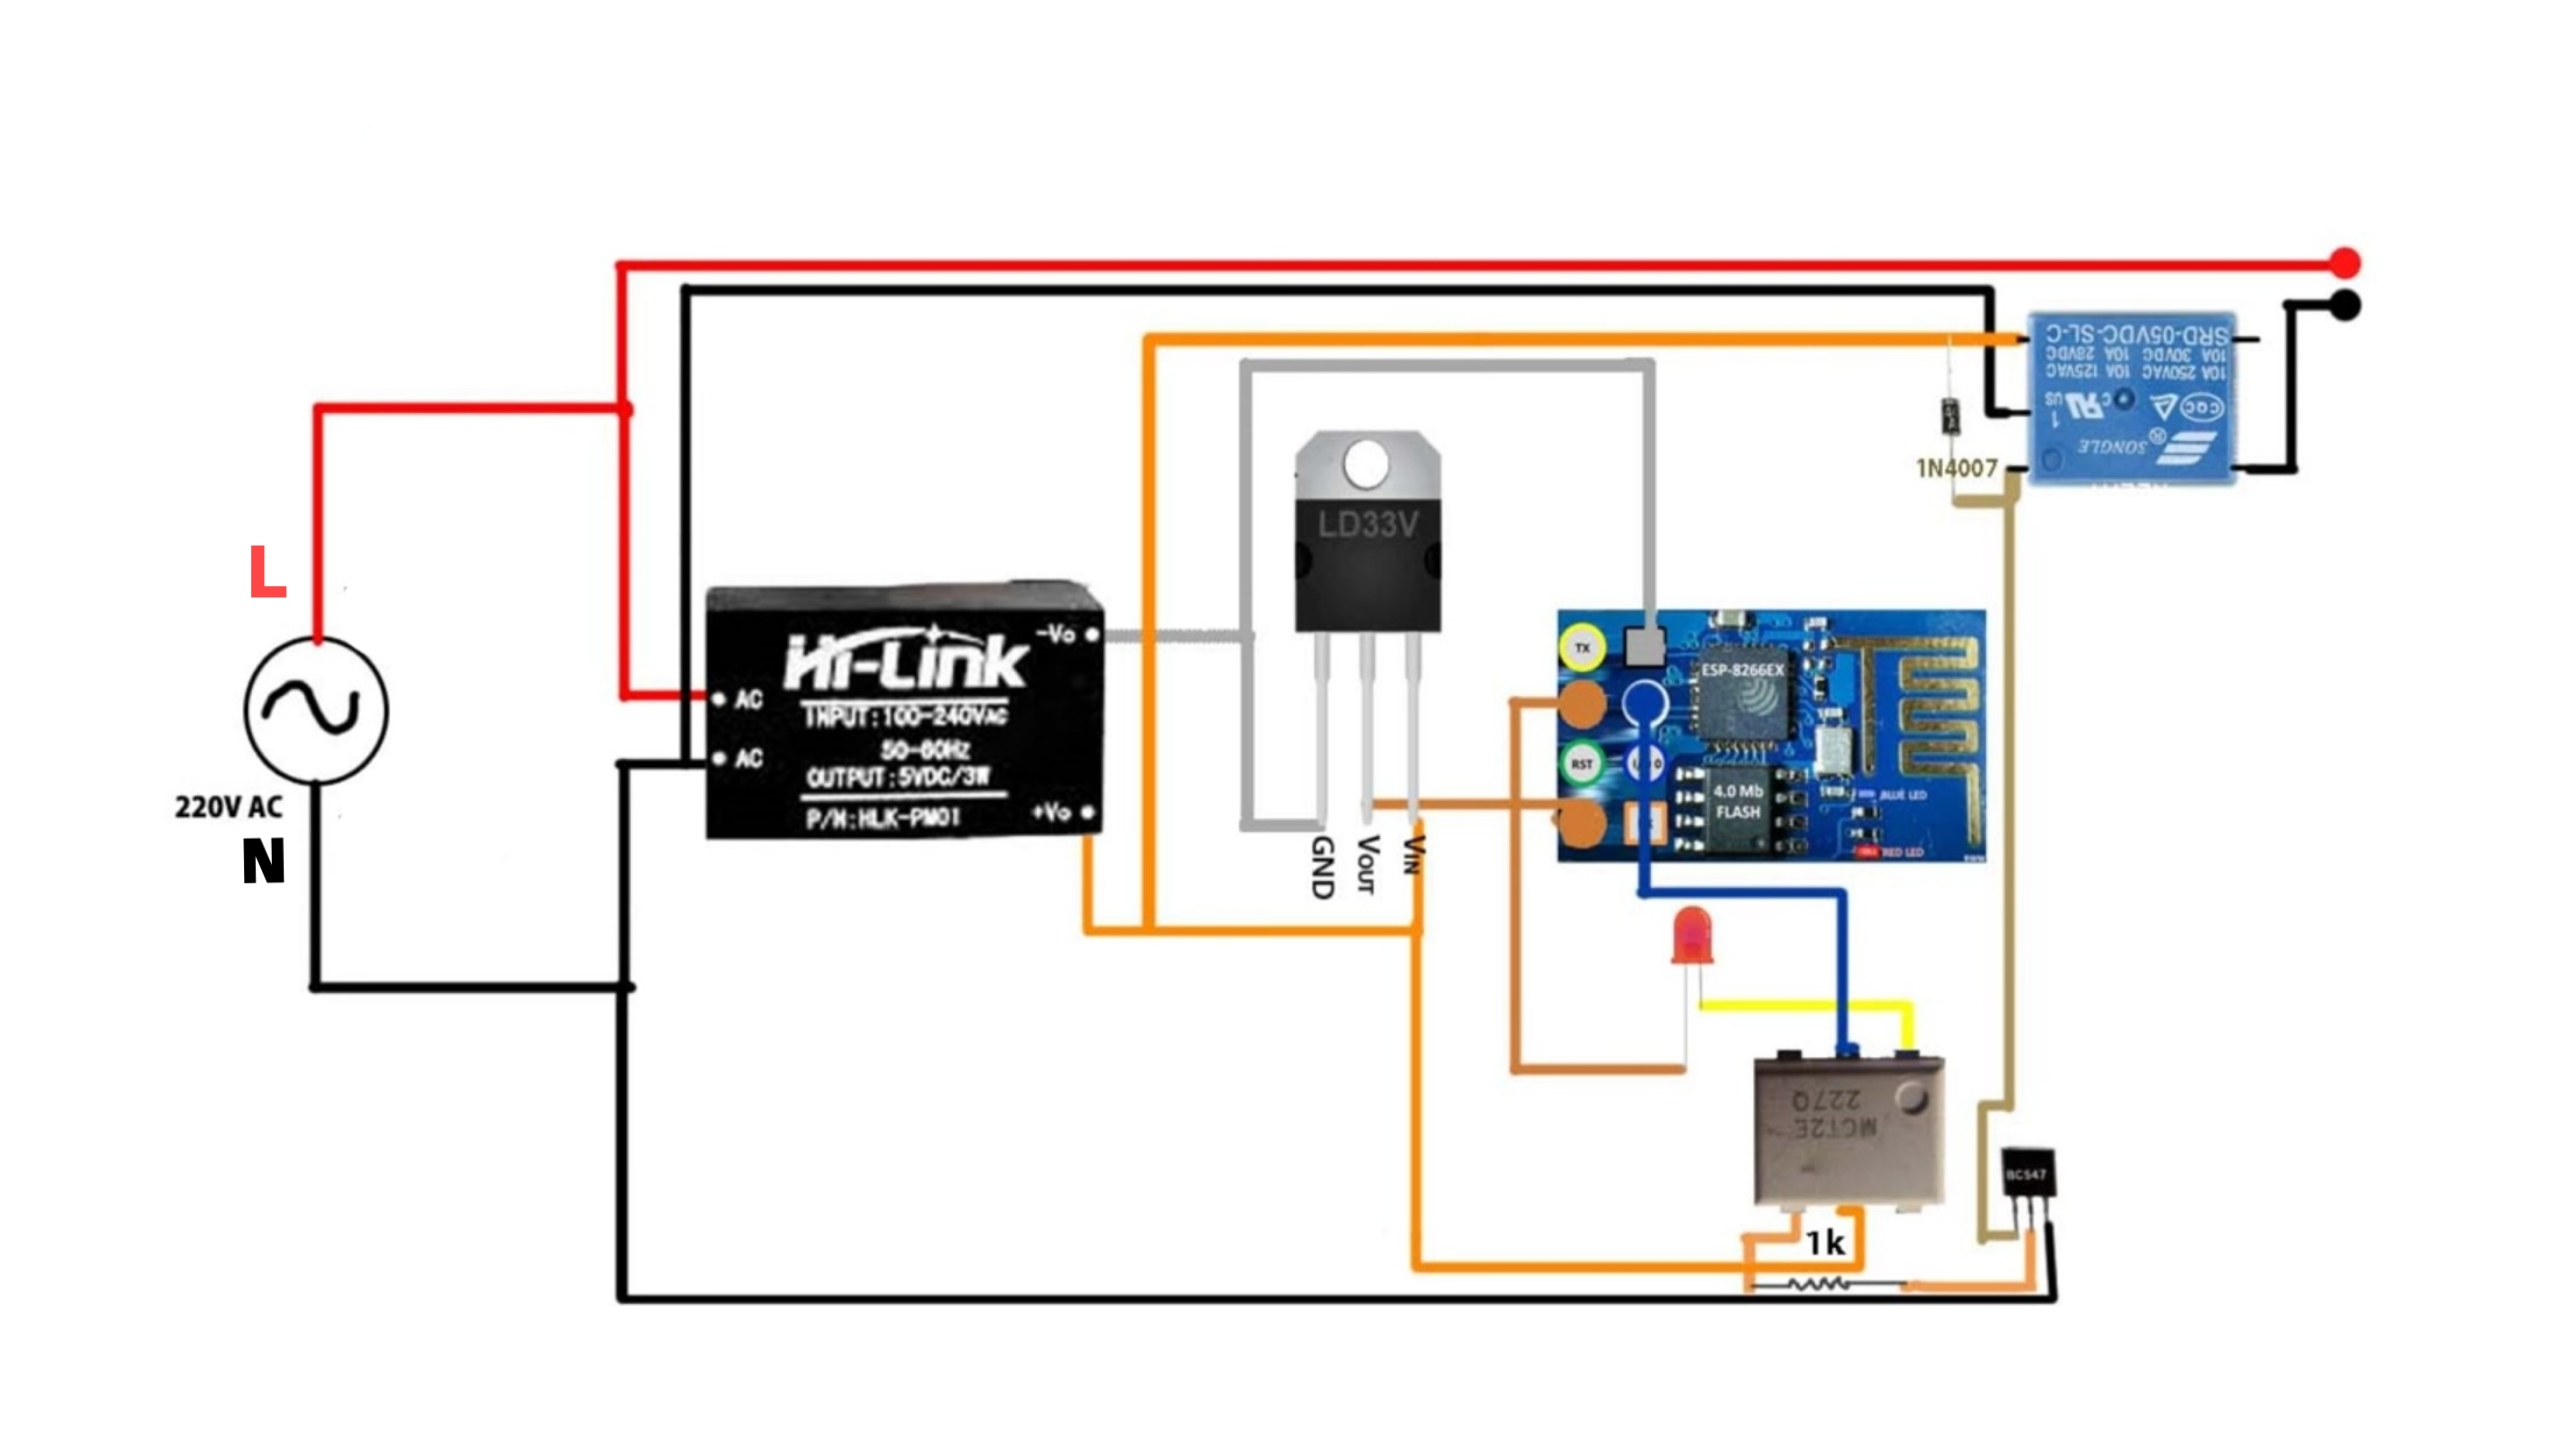
ESP-01 works at 3 volts, so LD33V IC is used to convert 5 volts to 3.3 volt.
CIRCUIT DIAGRAM:-Adafruit IO is an IOT platform built around the Message Queue Telemetry Transport (MQTT) Protocol. MQTT is a lightweight protocol that allows multiple devices to connect to a shared server, called the MQTT Broker, and subscribe or write to user defined topics. When a device is subscribed to a topic, the broker will send it a notification whenever that topic changes. MQTT is best suited for applications with low data rates, strict power constraints, or slow Internet connections.
- First you to create a free account for you on adafruit.io website.
- Then by going to Dashboard you can go to ( Action ) and select " create new dashboard ".give it a name and click create.
- Once you create your dashboard, go to " create new block "
- Choose the type of block you want to use like toggle, slider
- Create block
Click here to know more (Video)
PROGRAMING ESP-01:-I flash esp-01 using the Esp8266 Serial Module Board
- Insert ESP-01 to USB serial module
- Connect Esp8266 Serial Module Board to PC
- Set up Wifi SSID, PASS, AIO USERNAME, AIO KEY & FEED NAME (The username and aio key can be found by clicking on "My Key" in the adafruit account, If you do not understand, watch this video(Click Here))
- Go To Tools>Board>ESP8266 Boards> Generic ESP8266 Module (Adafruit_MQTT_Library must be installed)
- Select Correct Port
- Upload Code Below
After programming, set the ESP-01 module to PCB. With this our PCB work is completed...
INSTALL PCB ON CASE:-I have made a case here using PVC sheet, Just do the case if you want
- First, Insert PCB in to Case
Glue the bottom part using a piece of PVC sheet
- Glue the bottom part using a piece of PVC sheet
Now all our work is completed....
CONNECTION:-
- Connect 230v AC supply in to "IN" terminal
- Connect Load in to "OUT" terminal
I use a led bulb for testing...
APP:-An application called "IoT OnOff®" is used to control the relay..
Open the application and set MQTT Broker
- Host = io.adafruit.com
- Port = 1883
- Username = Your Adafruit IO Username
- Password = Your Adafruit IO Key
Then add switch & Set
- Publish = Username /Feeds/Feed name
- Publish Value = True=1, False=0
If you do not understand, watch this video(Click Here)
WORKING:-Watch this video (Click Here)
THANK YOU....


Comments
Please log in or sign up to comment.