


Hardware components | ||||||
_ztBMuBhMHo.jpg?auto=compress%2Cformat&w=48&h=48&fit=fill&bg=ffffff) |
| × | 1 | |||
| × | 1 | ||||
Software apps and online services | ||||||
| ||||||
The unique issue that I have experimented is the refreshing time when you use direct Bluetooth link. If you try to create a more complete layout on the Blynk app, the rest of the code on the Arduino is delayed and it works erratically.
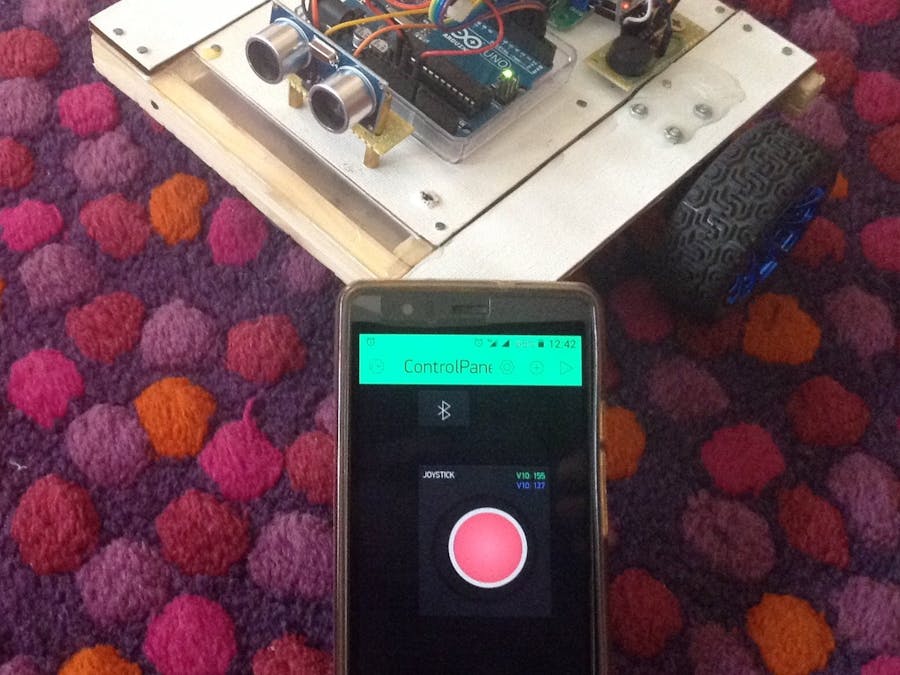
Therefore I added only two controls, the joystick and the Bluetooth control. The rover moves fine, and the ultrasonic sensor in front of the vehicle is used to stop the movements when the distance is too close to an obstacle.
Enjoy.
These are the steps to create a Blynk panel:- Open the Blynk app in your mobile.
- Create a New Project.
- Pickup the auth token. It will be added to your Arduino sketch.
- Add components or controls by pressing the + on the top right.
Pictures of the Blynk app from my mobile to control the rover:
- A list of detected Bluetooth devices will appear. Select one and press OK:
.........................................
If you did like this project you can donate some cents of Crypto currency
Bitcoins SV in the following address.
1sAZQMy5Ci1G88CmbucFJDsF7TxeXAcko
or bitcoin cash in the address:
qzmjpeqrlgd3flltpavm9t2xh0nz8y97mggajvvqnv
or Stellar XLM in the address:
GBAWDPQ4FTRXWE2ZUWVYYZ7XSCQGBYZGOWQMAHSA2FPGJ5QTLF4IJ3NX
thanks


Comments
Please log in or sign up to comment.