Word count: 800 words and 2 videos
Reading time: 60 minutes
Audience:
- Developers who are interested in AI but do not have a solid background
- Developers who haven’t decided whether to buy it or not
- Developers who bought it but haven’t got it yet
As you know, Jetson Nano is now a star product. And it can extensively deploy neural network technology to embedded systems. Here is an unboxing article of details of the product, the process to start-up, and two visual demos…
Part 1. What Is Jetson Nano?Just in case, let me start with a short introduction.
The NVIDIA® Jetson Nano™ Developer Kit delivers the compute performance to run modern AI workloads at the unprecedented size, power, and cost. Developers, learners, and makers can now run AI frameworks and models for applications like image classification, object detection, segmentation, and speech processing. And you can find more information at the official page: https://developer.nvidia.com/embedded/buy/jetson-nano-devkit
What can it do? You can simply concept it as a Raspberry Pi with more computation resource that can support large neural network for a significant number of applications. For me, I have already prepared to build a classification network to identify my 6 stupid cats in the house and feed them automatically lol.
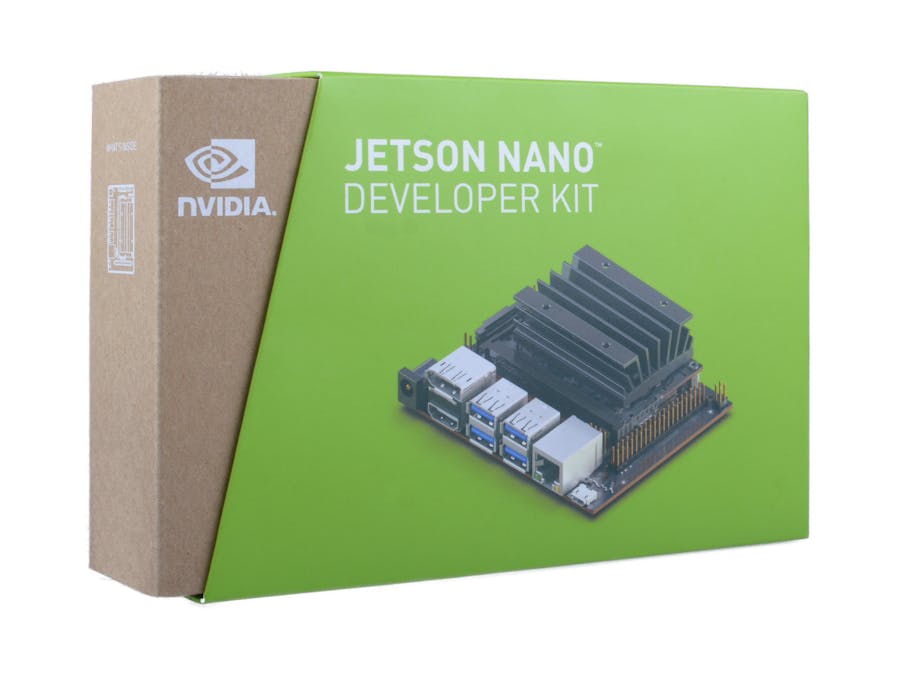
Part 2.Unboxing- A Jetson Nano
- An info card
- A folding bracket of cardboard (really Stingy lol)
- MicroSD Card of 16GB +
- USB keyboard and mouse
- A screen (HDMI or DP)
- Micro-USB (5V⎓4A) or Power Jack(5V⎓4A power supply. Accepts a 2.1×5.5×9.5 mm plug with positive polarity)
- A laptop that can connect to the Internet and burn microSD cards.
- An Ethernet line
> - Not all power supply rated 5V_2A can reach the rated power stably. And as far as I tested, the Jetson Nano is really sensitive to the power supply, and even minor power fluctuations can cause it to crash. You must purchase a power adapter of high quality.
>- Even USB devices should not be hot plugged, or the system of this board will crash for an unknown reason.
>- - Enables either J28 Micro-USB connector or J25 power jack as a power source for the developer kit. Without a jumper, the developer kit can be powered by J28 MicroUSB connector. With a jumper, no power is drawn from J28, and the developer kit can be powered via J25 power jack.
>- No button of Reset, so every time it crashed, developers have to restart it by a manual breakpoint.>- No built-in WiFi module>- No Bluetooth Module
A terse tutorial.
The steps of start-up for Jetson Nano is just the same as other arm-linux board and just in case, here is a brief tutorial. You can read the Official Guide for more info.
Download the system imaging here
Burn it to your SD card. Here are many tools can complete this work. And Win32diskimager is recommended.
Plug in the USB thumbdrive or SD or microSD card to your computer. It should be detected and appear as a drive in Windows.
Open Win32 Disk Imager, choose the.img or image file you want to write as Image File and choose the USB or SD drive as Device and press Write.
The writing process may take a while. Once it is done, remove the USB thumbdrive or SD card.
Insert the microSD card (written with the system image) in the bottom of the Jetson Nano module.
Power on and when the developer kit starts, the green LED light next to the Micro-USB connector will light up.
When you first start up, the Jetson Nano Developer Suite will guide you through some initial settings, including selecting system language, keyboard layout, and such stuff.
Finally, you will see this screen. Congratulations!Part 4. Visual Demo
Follow the Official Guide to configure the environment and compiling the project. I have run 2 projects as imagine classification and face-detection as the demo. Now, the environment for vision and deep learning is totally configured, and I’ll work on my project lol.
Attentions:Here are some questions with the start-up code for the camera and you need to configure by yourself to match your camera. For more specify:line 80 of jetson-utils/camera/gstCamera.h for the frame size:
    static const uint32_t DefaultWidth  = 1280;
    static const uint32_t DefaultHeight = 720;
line 37 of jetson-inference/imagenet-camera/imagenet-camera.cpp as well and other demo for the index of camera. And in some codes, the default index is not defined by macros(e.g., gstCamera.c), you may have to modify them manually when you meet problem opening the camera.
#define DEFAULT_CAMERA -1
In some codes, the default index of the camera is not defined by macros, and you may have to modify them manually if you meet problems.you can use the command V4L2-ctl in the terminal to get the index and size of the frame for your camera.
V4L2-ctl --device=$d -D --list-formats
Thanks for reading & watching!


Comments
Please log in or sign up to comment.