This is the first part of a YouTube series that will show some basic steps you can take to hack your home! We'll rely on the Internet to create a network of IoT devices that can be controlled, tweaked, and hacked.
To build the project seen in this episode, follow the instructions below.
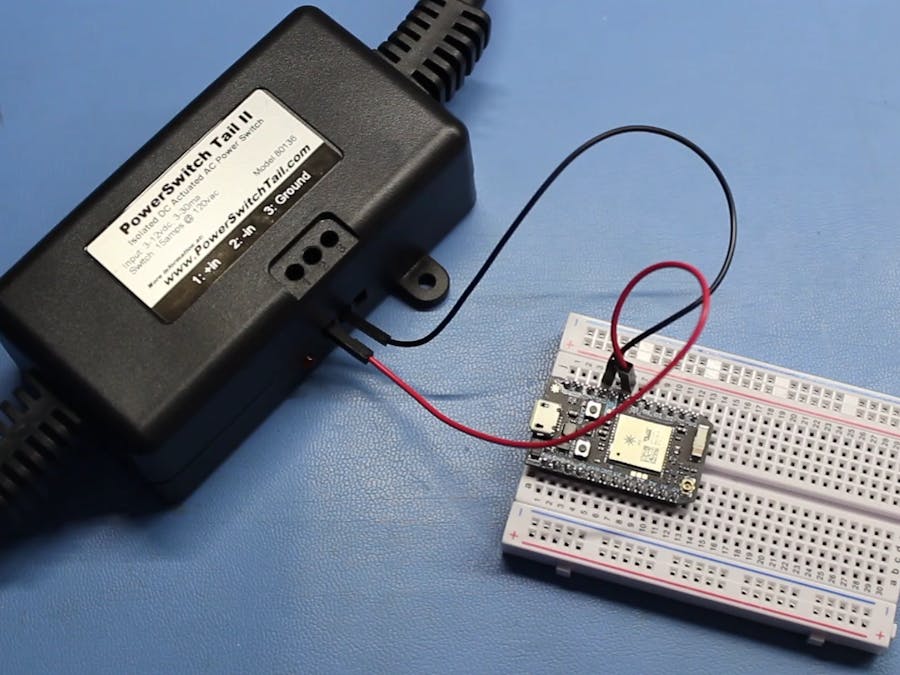
Step 1: Prepare HardwareAttach the Photon to the bread board. Using M/M jumper wires, connect D6 (Photon) to +in (PowerSwitch Tail II) and GND (Photon) to -in (PowerSwitch Tail II).
Download the Particle smartphone app and plug in your Photon. Follow these steps to connect the Photon to a local WiFi access point.
Step 3: Write Some CodeHead to build.particle.io and create a new app. Copy in the code listed in the Attachments section.
Step 4: Run It!Upload the code to the Photon. Plug in an appliance to the PowerSwitch Tail, and it should begin turning on and off.
And that's it for testing the PowerSwitch Tail! Try it out on some other appliances.


Comments
Please log in or sign up to comment.