


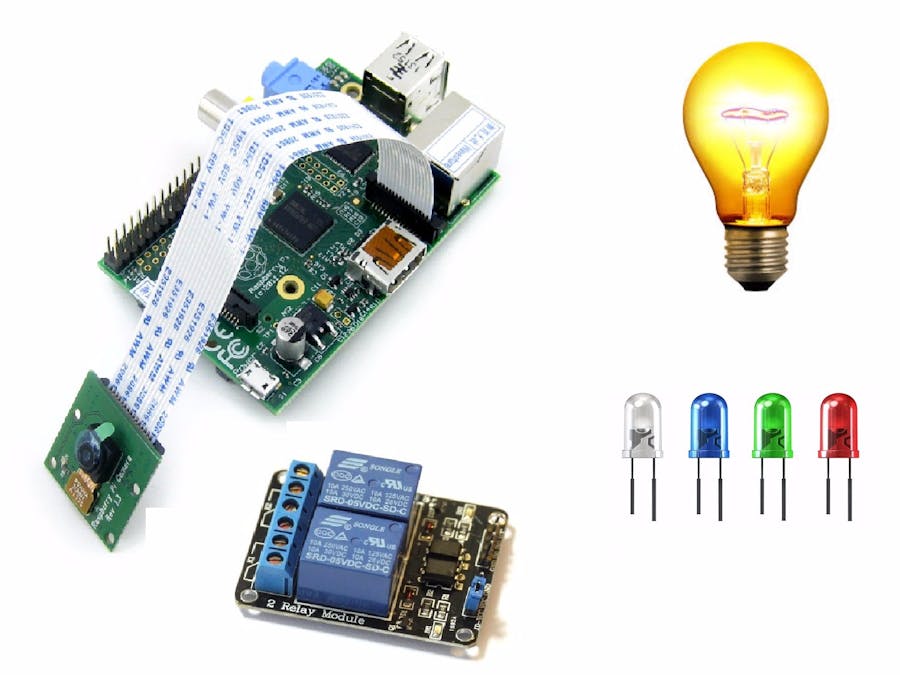
Hardware components | ||||||
 |
| × | 1 | |||
 |
| × | 1 | |||
 |
| × | 1 | |||
 |
| × | 1 | |||
 |
| × | 1 | |||
You can skip this step if you know how to reach your Pi in your network, either by IP address or hostname, to achieve a web page where the RPi camera streams video and click buttons available to control the GPIO of RPi.
Firstly, give a static IP address to your Pi. Reboot the Pi for the changed IP to make effect. Before starting, your Raspberry Pi should be able to act as a web server to host a web page, so install Apache2.
$ sudo apt-get update
$ sudo apt-get install apache2 -y
We're gonna work with PHP so RPi should be installed with required packages.
$ sudo apt-get install php5 libapache2-mod-php5 -y
Note: No need to use 'sudo' before commands when operating as a root user.
Now open the browser in any of the devices connected to the same network and type the IP address of your Pi. You should see an HTML page saying "It's done", which means Apache2 is installed successfully and your Pi is a web server now. Now delete that HTML file.
$ sudo rm /var/www/html/index.html
If using Raspbian Wheezy or older versions, use /var/www/ instead /var/www/html/.
Dependencies:
WiringPi
$ git clone
$ cd WiringPi
$ ./build
To check whether the firmware is correctly installed, try any one of the commands:
$ gpio -v
$ gpio readall
RPi_Cam_Web_Interface
$ git clone
$ cd RPi_Cam_Web_Interface
$ chmod u+x RPi_Cam_Web_Interface_Installer.sh
$ ./RPi_Cam_Web_Interface_Installer.sh
A simple UI will appear in the command line. Select the first option (apache web server). Set installation path as /var/www/html/ or any subfolders inside this (for Raspbian Jessie and later versions), then click yes for reboot.
Connect your RPi camera carefully and again type the IP address of Pi in your browser. You should able to see your RPi camera streaming live video. Now, let's control GPIO additionally.
RPi-web-cam-gpio (author's repo)
$ git clone
$ sudo cp RPi-web-cam-gpio/ /var/www/html/*
Go to the IP address of Pi in your browser and see the buttons for all GPIO pins along with the camera stream.


Comments
Please log in or sign up to comment.