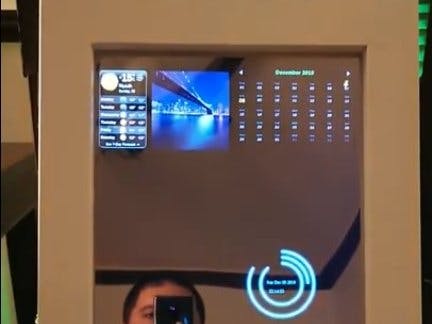
I have been watching smart mirrors over the web for last many years and had it in pipeline of my To Do. I researched many as how people are building it and what type of contents to be displayed. I played with many versions which were good but they were unable to impress me. So, I decided to build my own interface and design and add different flavors to it.
Features of my smart mirrorCurrently my mirror has below features:
- Weather updates
- Calendar
- Time
- Breaking news
- Amazon Alexa
- Youtube video casting
- Mobile mirroring
My next plan is to add below:
- Home automation
- OpenCV implementation to let me know who is at the door (triggers through voice command)
In order to build this mirror, you need to collect all material mentioned in Components section and follow below guidelines:
- Setup Raspberry Pi
- Setup Apache server
- Upload interface files
- Configure Alexa
- Configure Youtube casting
Lets go one by one throuh each step
Setup Raspberry PiThis is a vert usual process and you can follow the instructions via this link:
This video is simple and easy to follow.
Setup Apache ServerRun below commands in same sequence:
- sudo apt-get update
- sudo apt-get upgrade
- sudo apt-get install apache2
After the installation is done, we need to change the listening port (optional but better to do)
- sudo nano /etc/apache2/ports.conf
- Change Listen 80 to 8000
- sudo service apache2 start
In this step, you need to upload the interface html files from the Attachments area to www/html/ directory of apache server and replace all files with the one provided so that once your webserver starts it loads your interface page.
Enable Kiosk ModeRun below commands to enable kiosk mode and run alexa and web page load at boot:
- mkdir -p /home/pi/.config/lxsession/LXDE-pi/
- cp /etc/xdg/lxsession/LXDE-pi/autostart /home/pi/.config/lxsession/LXDE-pi/autostart
- sudo nano /home/pi/.config/lxsession/LXDE-pi/autostart (and copy below to that)
@xscreensaver -no-splash # comment this line out to disable screensaver
@xset s off
@xset -dpms
@xset s noblank
@chromium-browser --incognito --kiosk http://localhost:8000
Configure AlexaIn order to configure Alexa, you need to follow the instructions mentioned at https://developer.amazon.com/docs/alexa-voice-service/register-a-product.html
These are very simple and easy to follow instructions. After this you need to setup a service to start Alexa at boot. Do these steps:
- sudo nano /lib/systemd/system/alexa.service
- Put below text in the file:
[Unit]
Description=alexaservice
After=network-online.target
Requires=network-online.target
[Service]
ExecStart=/bin/bash /home/pi/startsample.sh
Restart=always
[Install]
WantedBy=multi-user.target
- sudo systemctl enable alexa.service
- sudo systemctl start alexa.service
You can follow easy to do steps from this video link
After this it is better to hide your mouse and Taskbar. To hide the mouse, follow below steps:
- sudo apt-get install unclutter
- unclutter -idle 0.01 -root
- sudo nano /etc/X11/xinit/xinitrc
- unclutter -idle 0.01 -root (add to end of file)
To remove taskbar, you can follow any procedure available from Raspberry Pi community that is easy for you to follow.
Building HardwareNow you are done with software setup of your smart mirror, next is to setup the hardware. Follow these steps:
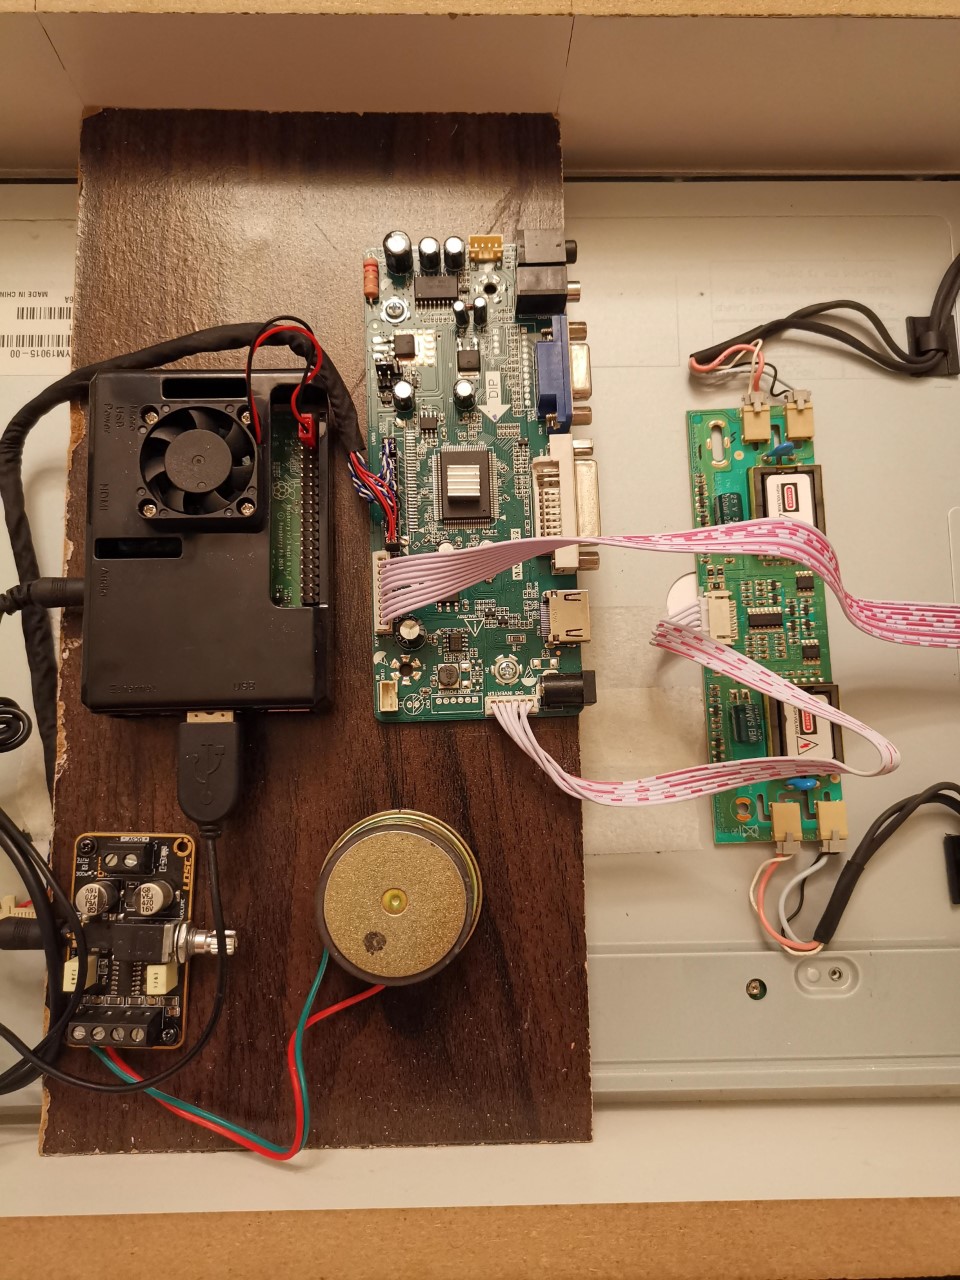
- Connect your LCD (take out from any monitor and use it) to your Video driver and Raspberry Pi via HDMI. Refer to section of Getting the LCD for more details
- Connect Audio booster via 3.5mm connector and also connect speakers
- Connect USB mic to Pi
- Connect L298N to your LED strips and Pi
- Connect power supply to all above devices
- Insert everything including 2 way mirror into the assembly (you can ask any carpenter to build you the custom case)
Use instructions from this link to setup the strips with Alexa https://developer.amazon.com/docs/alexa-voice-service/indicate-device-state-with-sounds.html
Getting the LCDGetting the LCD for this project is very easy. Take some good quality old monitor and remove its LCD (we dont need anything else apart from LCD). Check at the back of the LCD and you will see a model number. Look for the model number in http://panelook.com/ and find the required video criver card from aliexpress or any other supplier. Make sure the video driver oard is compatible with your LCD. you can rotate your screen to match your requirements and LCD orientation
- sudo nano /boot/config.txt (0 is the normal configuration. 1 is 90 degrees. 2 is 180 degress. 3 is 270 degrees.) (If you are using the Official Raspberry Pi touch screen you can use “lcd_rotate” rather than “display_rotate”.)
display_rotate=0
display_rotate=1
display_rotate=2
display_rotate=3
- sudo reboot -h now
In Action


Comments
Please log in or sign up to comment.