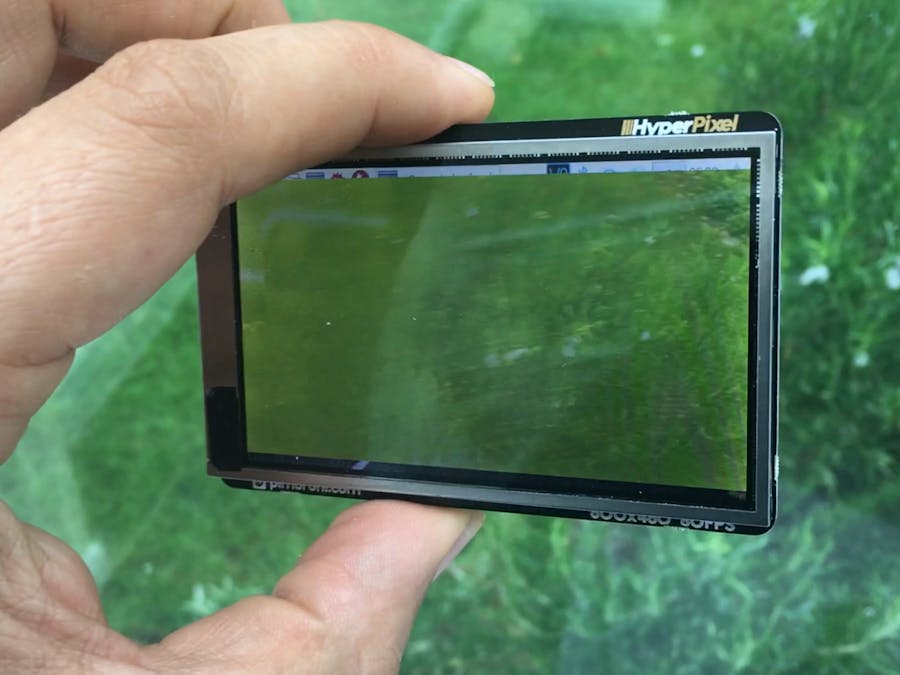
This project is a super slim CamCorder based around a Raspberry Pi ZeroW, a Pimoroni Touchscreen and Camera Module.
This is a straight forward assembly with a bit of soldering.
Hardware Setup Steps- Fit Pin Header
Fit the 40 pinheader to the Pi Zero, either solder it or use the hammer head.
- Fit Zero Lipo
Solder the Zero Lipo to the header. More info here.
- Attach Camera module
Attach the camera module to the Pi's camera connector and peal back the stick on the back of the module to stick to the undersized of the Pi's PCB. If the sticky has worn out use some double sided foam tape to secure it.
- Attach HyperPixel
Plug in in the HyperPixel to the Pi.
- Attach Lipo Battery
The battery should be able to fit between the HyperPixel and the Pi, you may want to use some double sided foam tape to secure it if not. I used the 2000mAh battery, but a 1200mAh could be used, please see here.
- Install Raspbian OS
Download from here.
There are lots of instruction online, like these, on how to burn a SDCard image and setup Wifi/SSH etc.
- Install Hyper Zero Driver
Please see here.
Running- Run Raspivid
For the demo video above I SSH'ed into the Pi and ran:
raspivid -t 0 -rot 270 -o myvideo.h264
Further examples of what you can do with raspivid, such as creating the video as and mp4, can be found here.
Having to use SSH to start the recording isn't ideal. There's probably a decent GUI app to control the camera for taking pictures and videos already out there somewhere, please let me know if you find one.
Adding a NoIR camera and some IR LED's for a night vision camera might be a bit of fun.


Comments
Please log in or sign up to comment.