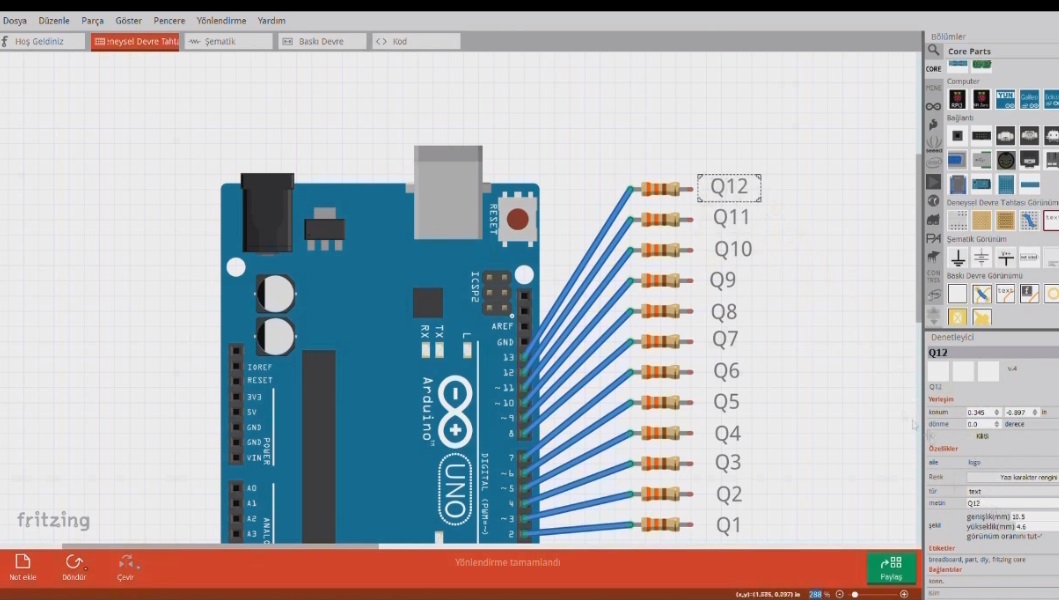
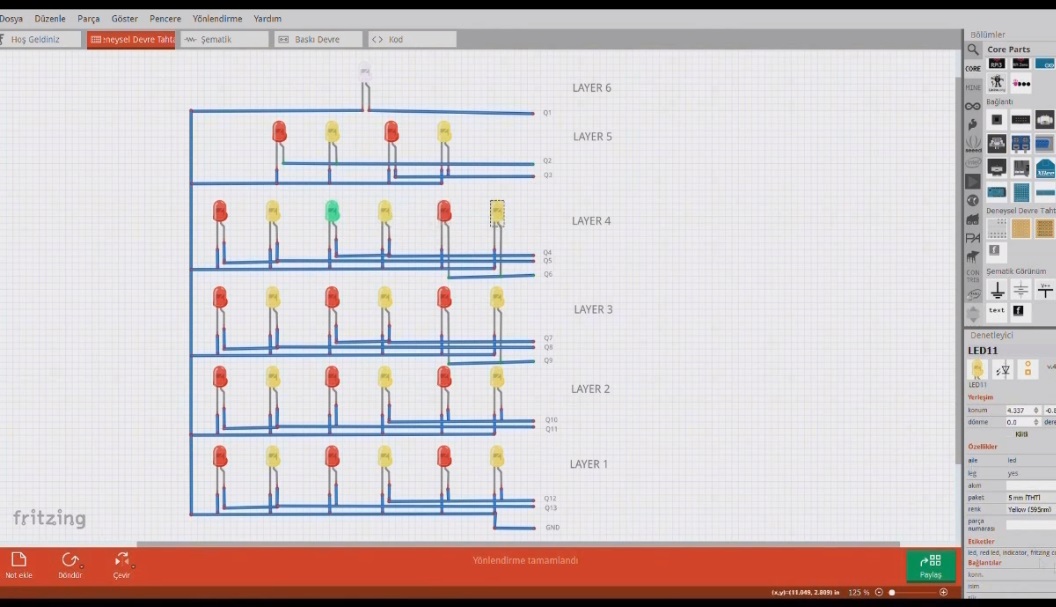
Welcome to Hackster!
Hackster is a community dedicated to learning hardware, from beginner to pro. Join us, it's free!
TheTNR
Published © GPL3+

3D Printed Christmas Tree with Animation

We will enter 2019 in a few weeks. We know that everyone at Christmas wants to have a Christmas tree.

IntermediateFull instructions provided3,048
3D Printed Christmas Tree with Animation

Things used in this project

Hardware components

Arduino UNO
Arduino UNO
×1
Resistor 330 ohm
Resistor 330 ohm
×13
Jumper wires (generic)
×1
5 mm LED: Red
5 mm LED: Red
×1
3 mm LED: Green
3 mm LED: Green
×1

Hand tools and fabrication machines
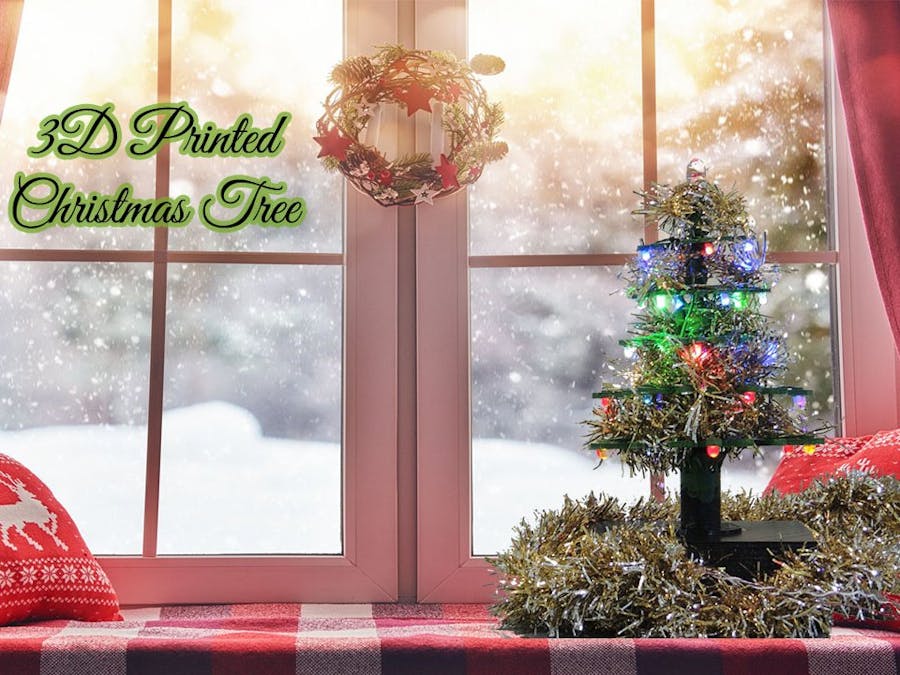
3D Printer (generic)
Soldering iron (generic)

Story

Read more

Custom parts and enclosures

13cm_hzVqujIYFE.SLDPRT

5_cm_FtMAVKkpaG.SLDPRT

Schematics

Fritzing 1

Fritzing 2

5_cm_zjPSJMM8Mf.STL

7_cm_Y1gEfZ90wi.STL

9_cm_xcrA7UklGQ.STL

11_cm_JSBZ8YR6RR.STL

13cm_r69k8W1sjF.STL

direk_x39fq2vX7t.STL

Code

yilbasi.ino

Arduino
/*
  Blink
  Turns on an LED on for one second, then off for one second, repeatedly.

  Most Arduinos have an on-board LED you can control. On the Uno and
  Leonardo, it is attached to digital pin 13. If you're unsure what
  pin the on-board LED is connected to on your Arduino model, check
  the documentation at http://www.arduino.cc

  This example code is in the public domain.

  modified 8 May 2014
  by Scott Fitzgerald
 */


// the setup function runs once when you press reset or power the board
void setup() {
  // initialize digital pin 13 as an output.
  pinMode(1, OUTPUT);
  pinMode(2, OUTPUT);
  pinMode(3, OUTPUT);
  pinMode(4, OUTPUT);
  pinMode(5, OUTPUT);
  pinMode(6, OUTPUT);
  pinMode(7, OUTPUT);
  pinMode(8, OUTPUT);
  pinMode(9, OUTPUT);
  pinMode(10, OUTPUT);
  pinMode(11, OUTPUT);
  pinMode(12, OUTPUT);
  pinMode(13, OUTPUT);
  
}

// the loop function runs over and over again forever
void loop() {


  for(int i=0;i<14;i++)
  {
  digitalWrite(i, HIGH);   
  delay(200);             
              
}


  for(int i=0;i<14;i++)
  {
  digitalWrite(i, LOW);   
  delay(200);             
              
}
for(int x=0; x<5;x++)
{
 for(int k=0;k<7;k++)
  {
  digitalWrite(k, HIGH);   
              
              
}
delay(100);
 for(int k=7;k<14;k++)
  {
  digitalWrite(k, HIGH);   
              
              
}
delay(100);
}
}

Credits

TheTNR
5 projects • 156 followers
A teacher at high school. I am an electronics teacher.
Contact

Comments

Please log in or sign up to comment.