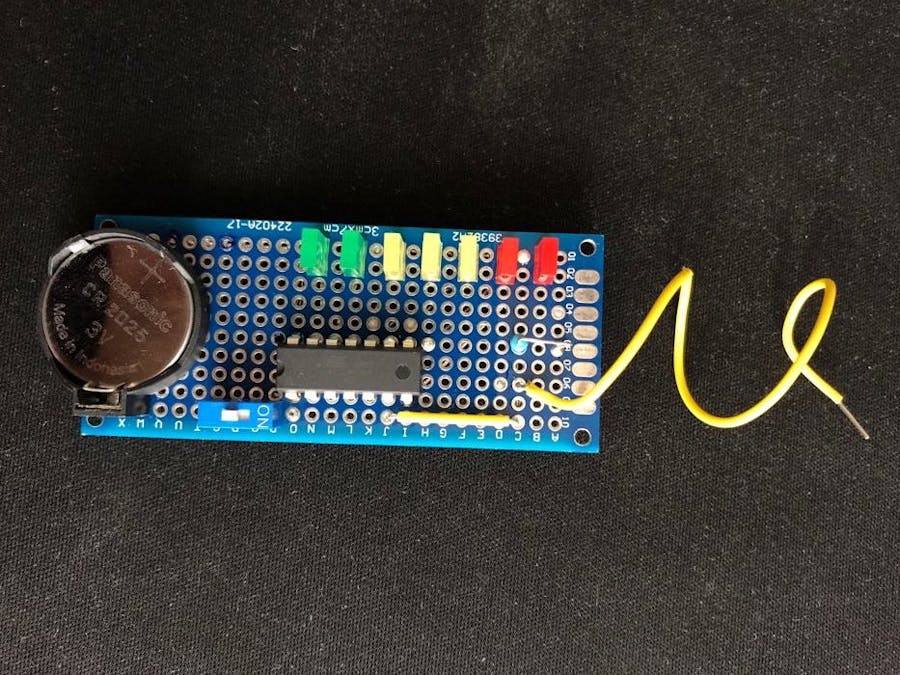
I highly encourage beginners to begin their adventure with attiny doing this project. In this tutorial I am gonna present step by step how to make it.
Materials:
- ATtiny24A-PU Microchip
- 2x Green LED 3mm
- 3x Yellow LED 3mm
- 2x Red LED 3mm
- 1M OHM resistor
- Toggle switch
- some wires
- Protoboard
- CR2025 battery
- CR2025 battery case
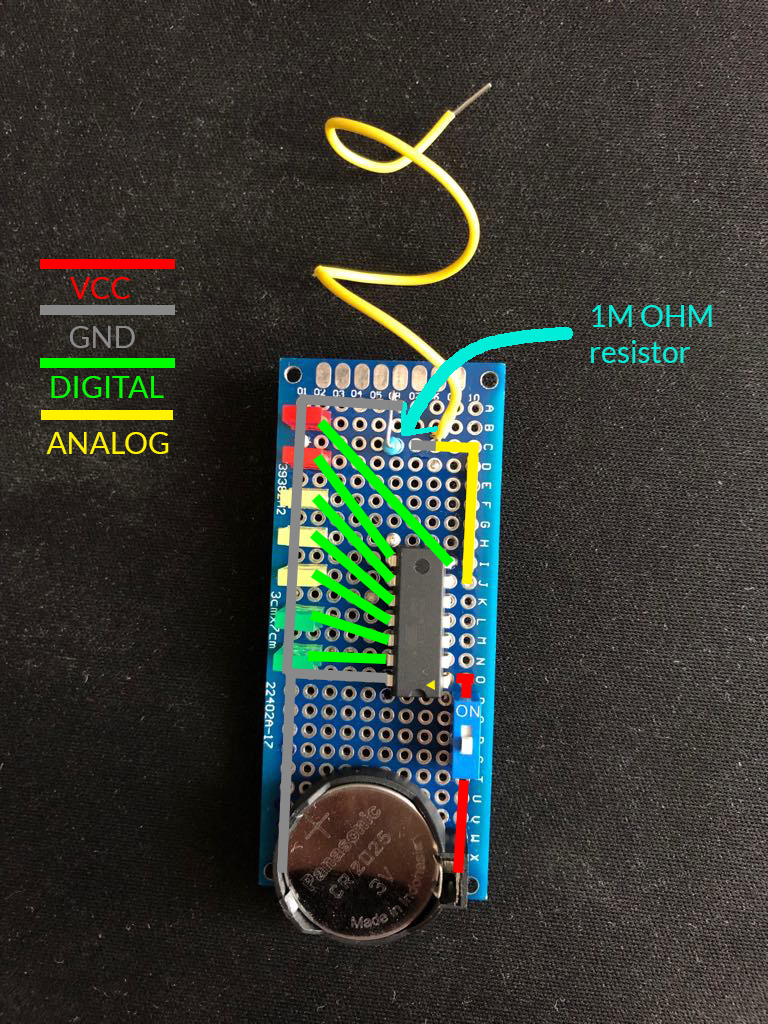
It is neccesary for every project to construct a scheme. If you want to use the same microchip look for pinout:
- Download Arduino IDE software
- Upload Arduino as ISP code from examples to your arduino UNO or other board (If you are using DFRobot Romeo V2 check this forum's latest reply)
- MOST important thing is the connection. For most of the microchip you will have to make it different way. For example, I'm using ATtiny24. I've found pinout for this chip (see image above).
- Now connect your arduino board pins to the microchip on the breadboard using some jumper wires and upload.
Strictly speaking, there are tons of examples that you can find online:)
3. Upload the codeIt is down below.
4. Final Result1 / 4
After soldering all the components you should be proud of yourself;) Chech if everything is working and If so congratulations!
If you have any questions please


Comments
Please log in or sign up to comment.