WellTronic
Published © GPL3+

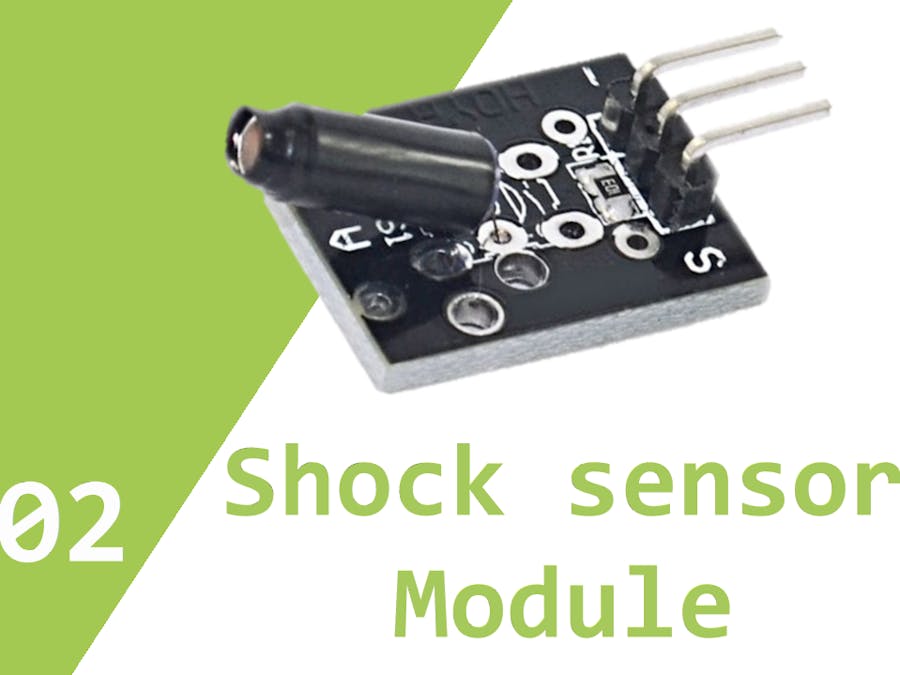
KY-002 Shock Sensor Module

Here you will find the code to start up with the SW18010P shock sensor. Have Fun !

BeginnerFull instructions provided10,858
KY-002 Shock Sensor Module

Things used in this project

Hardware components

Arduino UNO
Arduino UNO
×1
Jumper wires (generic)
×1
Shock sensor
×1

Hand tools and fabrication machines

Arduino IDE

Story

Read more

Code

Shock_Sensor_SW18010P_WellTronic

C/C++
//**********************************************************************************************************//
// Author: 
// WellTronic
//
// Description:
// This code is part of a video series covering all Arduino sensors from the Arduino sensor kit.
// One of the sensors in this video series is the SW18010P shock sensor.
//
// In this video I will explain step by step how to use the SW18010P shock sensor
// https://www.youtube.com/watch?v=hDqkDn6dVJ4&t=177s
//
// You're also welcome to take a look at the YouTube channel for more details about hardware and software.
// https://www.youtube.com/channel/UC0UCNqE8i4unG8nfuakd0vw
// 
// Enjoy working with this sensor and see you soon :) !
//
//**********************************************************************************************************//


int shockSensorPin = 2;
int greenLedPin = 3;
int redLedPin = 4;

bool shockSensorSate = 0;

void setup() {
pinMode(shockSensorPin,INPUT);
pinMode(greenLedPin,OUTPUT);
pinMode(redLedPin,OUTPUT);

shockSensorSate = digitalRead(shockSensorPin);
}

void loop() {
  
  if (shockSensorSate == 1){
      digitalWrite(greenLedPin,LOW);  
      for ( int i=0; i < 10;i++){      
      digitalWrite(redLedPin,HIGH);
      delay(150);
      digitalWrite(redLedPin,LOW);
      delay(150);
      if ( i == 9){
        shockSensorSate = 0;
      }
      }
    }
    else {
      shockSensorSate = digitalRead(shockSensorPin);
      digitalWrite(greenLedPin,HIGH);
    }


}

Credits

WellTronic

WellTronic

5 projects • 2 followers

Comments