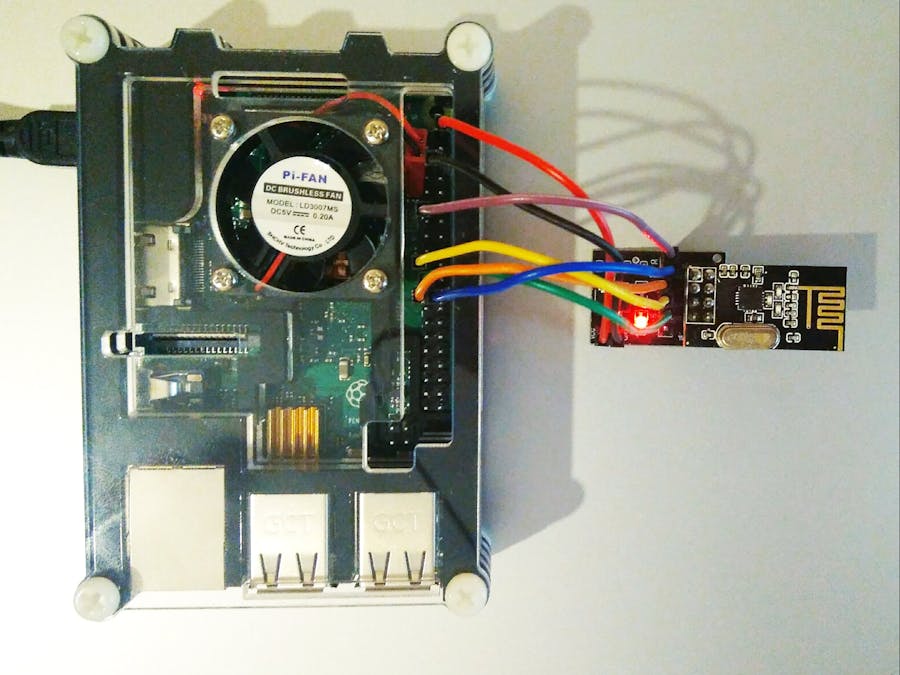
Hi, everyone!
I decided to do this project because of the lack of a simple solution to connect nRF24L01+ to Raspberry pi. Most examples on the Internet have a lot of "extra" things that prevent beginners from getting started, and some do not work out of the "box". The project uses the well-known library RF24, from which I threw away all unnecessary and wrote my own examples that make it easier to work with the module through Raspberry. There is also an extension for Python, but I found some bugs in it, so I decided to focus on C++. In General, follow the instructions and you will succeed !
Getting startedTo work with the module, you must first enable SPI!
To enable SPI, use raspi-config or uncomment in /boot/config.txt string param=spy=on. After reboot. Upon successful download of the driver SPI you will see /dev/spidev0.0.
Then download the remote repository from github by following the link. Or, type the following command:
git clone https://github.com/wirekraken/Raspberry-Pi-NRF24.git
To scan the ISM band of frequencies, run the executable file scanner. You must see:
To compile you will need to install GNU C++ compiler. You can use the following command: sudo apt install g++.
Then go to the folder /simplified (here is the code to test with Arduino). For example, to set Raspberry as a receiver, compile the file simple_r.cpp. In the file do not forget to change the channel value to a free channel.
radio.setChannel(5); // also you can pass it in hexadecimal (0x5)To compile, use g++ -Wall -lrf24 simple_r.cpp -o receiver.
For Arduino as transmitter, flash simple_t.ino. Also do not forget to change the channel.
Video demonstration: https://www.youtube.com/watch?v=6KJGsmSZnzg&feature=youtu.be


Comments