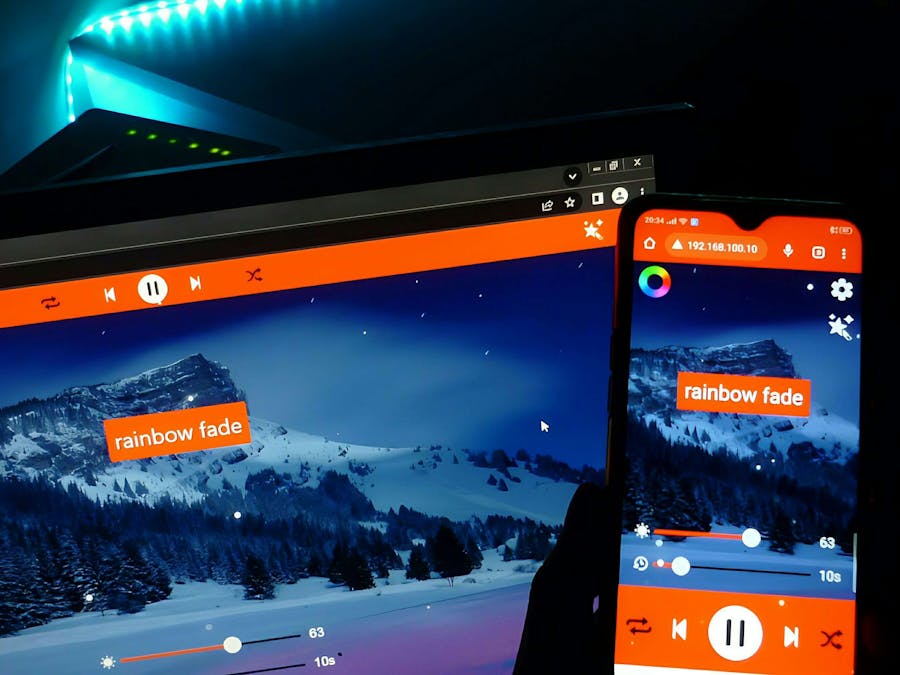
The project is an easy way to start managing your address LED strip. The address strip is managed directly from the browser. No page reloads, communication is only via websockets, which means the status of the strip will change immediately. Also, all connected devices in your ESP8266 will be synchronized. The project uses a minimum of dependencies, so the probability that something will break is much lower.
InstallingTo get started quickly, you need to have an Arduino IDE installed with an ESP8266 board added and follow:
- Download the github repository
- Go to the simplified folder
- Open
ESP8266-LED.inoand update the following lines:
#define LED_COUNT 60 // the number of pixels on the strip
#define DATA_PIN 14 // (D5 nodemcu) pin where is connected the data pin

const char* ssid = ""; // SSID of the access point
const char* password = ""; // password (if the access point is open, leave it empty)

IPAddress Ip(192,168,100,10); // IP address for your ESP
IPAddress Gateway(192,168,100,1); // IP address of the access point (gateway)- In the IDE's library manager, install two libraries: WebSockets (by Markus Sattler) and FastLED (by Daniel Garcia)
- Upload the sketch
- Open the serial port monitor (if the connection is successful, IP your ESP will be displayed)
- Open the browser and enter the IP address.
- See:
To use the main version, unfortunately, you will have to tinker a bit with adding file system support to the Arduino IDE for ESP8266.
More detailed information can be found on github.


Comments
Please log in or sign up to comment.