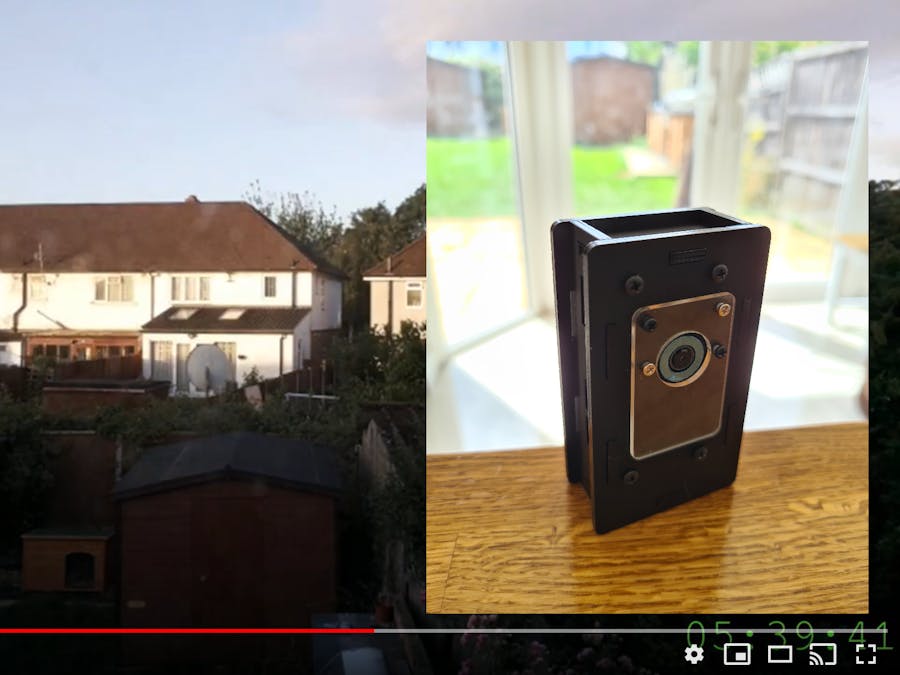
I have wanted to get into using the Raspberry Pi together with a camera for a while and decided that this was a great project to start with.
I wasn't interested in creating time-lapses at all until I started this project, they are loads of fun!
This is a very easy way to setup and get started with the PiCamera module with Python
A huge thanks to Armin Hinterwirth who published code on how to draw timestamps on images (https://github.com/amphioxus) - https://www.amphioxus.org/content/timelapse-time-stamp-overlay
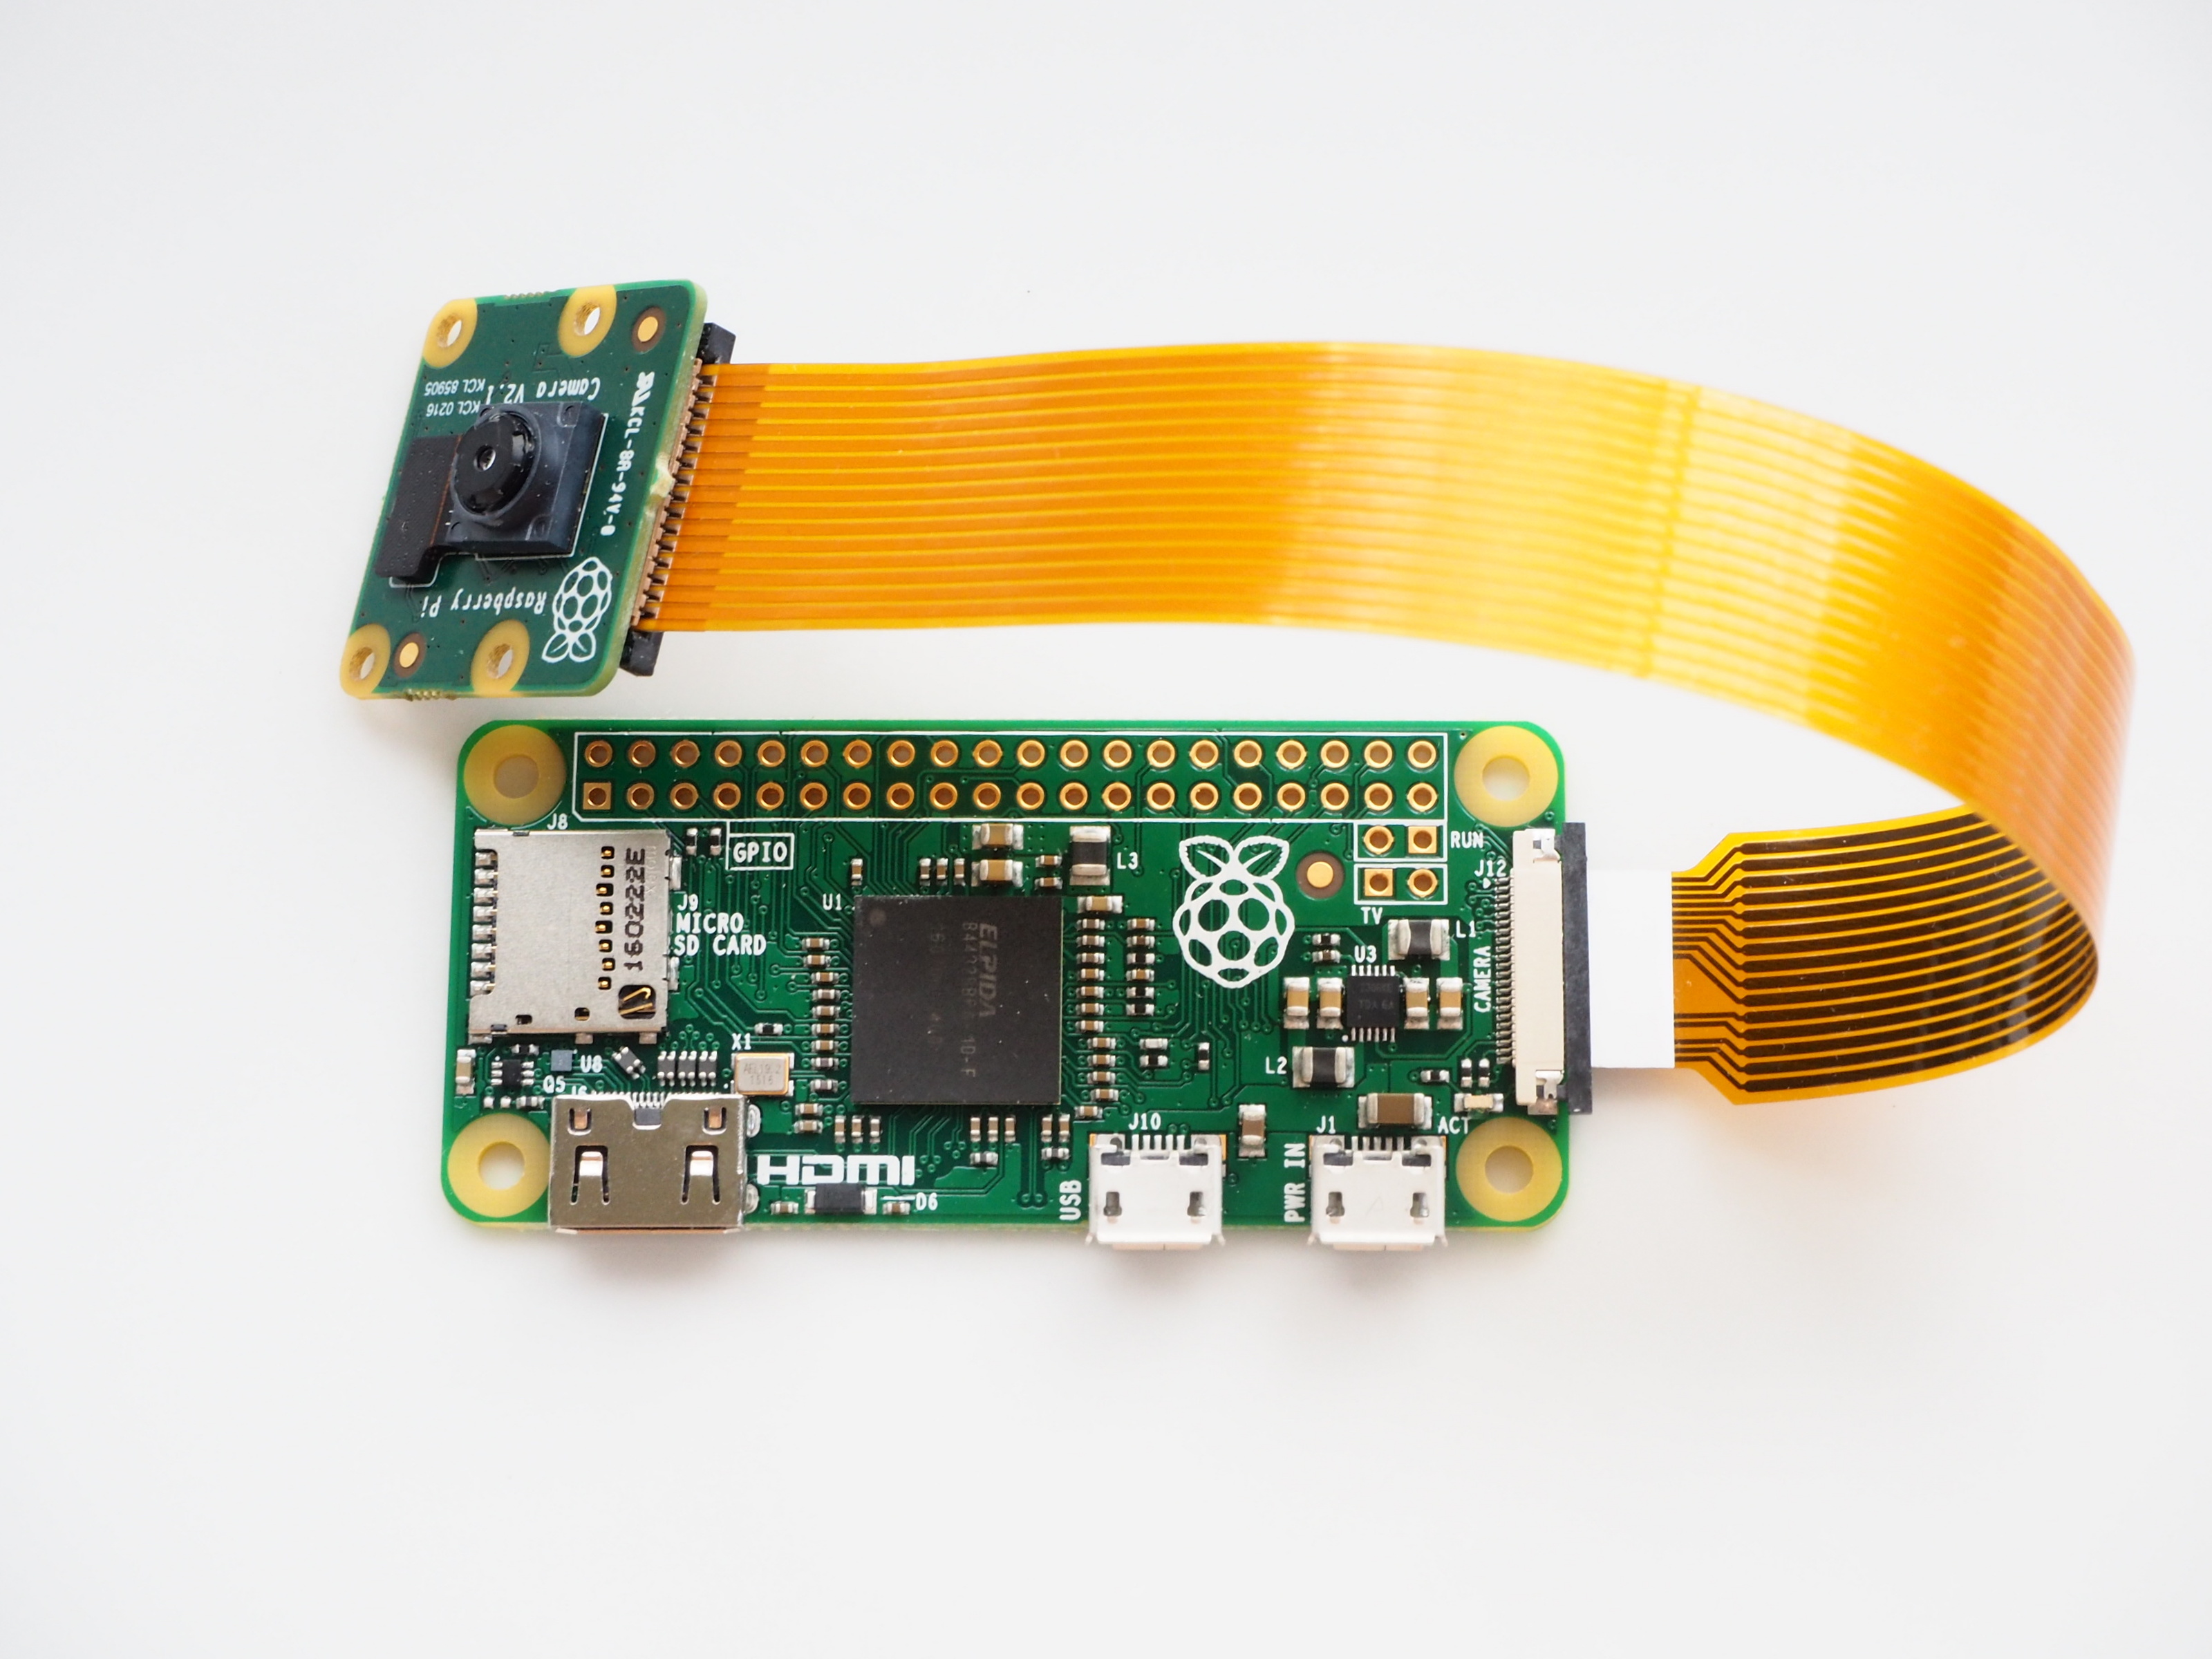
This can be done with other Raspberry Pi's and other Pi Camera versionsAssembly instructions provided by Pimoroni: https://thepihut.com/blogs/raspberry-pi-tutorials/raspberry-pi-zero-camera-case-assembly-instructions
Step Three: Install Raspberry Pi OSVery nice getting started guide: https://projects.raspberrypi.org/en/projects/raspberry-pi-setting-up
Step Four: Enable the CameraLog into the Raspberry Pi using an SSH session or connect it up to a monitor, keyboard and mouse and open a terminal window
Open the Raspi-Config:
sudo raspi-configSelect Interface Options
Select Camera
Make sure to enable
Test the Camera
raspistill -o test.jpgClone the Repo
git clone https://github.com/aawobdev/pi-camera-timelapse.gitChange directory to the pi camera timelapse folder
cd pi-camera-timelapseRun a test timelapse for a few seconds
python3 timelapse.py 10 1 .This will run timelapse.py, these are the parameters:
1. 10 duration of timelapse (in seconds)
2. 1 interval of snaps (in seconds)
3. "." the location of the ouput, in this case, current directory
See https://github.com/aawobdev/pi-camera-timelapse/blob/master/README.md#usage-examples for some more examples
The console output will look like this:
Check the output
ls -laThe images will be placed in an "output" folder, and the resultant timelapse video will be placed into the output folder inside a "video" folder
The "resized" images include the timestamps and if you need access to the original versions, they are without the "resized" suffix
I found it best to setup a samba share on the network to access the images and videos through my Windows Computer: https://www.raspberrypi.org/documentation/remote-access/samba.md
Step 5: Run in the background!If you want to do things like timelapse the sunrise or sunset, the best way to do this is to have the script run at a certain time, using a cronjob
Open the crontab file
crontab -eAt the bottom of the file, enter the command to run at a specific time, for this example: Run at midnight(00:00) for 8 hours
This will also print the output of the script to an "output.log" file inside my folder
0 4 * * * python3 /home/pi/Camera/timelapse.py 28800 3600 /home/pi/Camera >> /home/pi/Camera/output.log 2>&1For more examples or detail have a look at: https://github.com/aawobdev/pi-camera-timelapse/blob/master/README.md#run-in-background
Step 6: Go make some awesome time-lapses!


Comments
Please log in or sign up to comment.