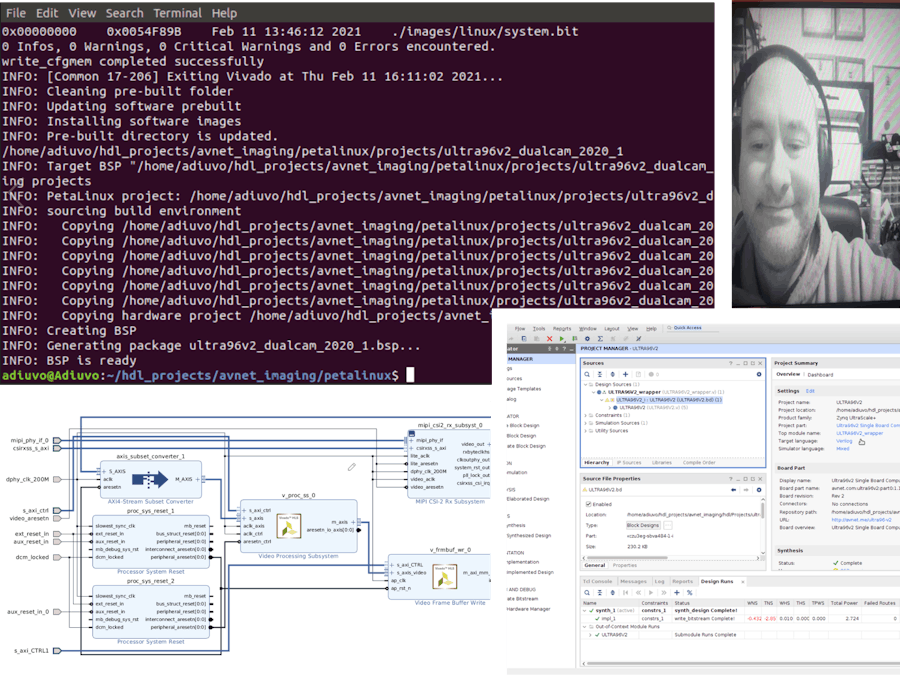
Embedded Linux opens up a significant ability for implementation of embedded vision algorithms. It allows us to access frame works such as OpenCV and of course later accelerate it with Vitis and the Vitis Vision Libraries.
However, creating an embedded Linux, vision system can be challenging as it requires the creation of the Vivado hardware, Device Tree customization and PetaLinux configuration of the Video for Linux Pipeline.
As such in this project we are going to demonstrate, how we can quickly and easily get a embedded vision system up and running on the Ultra96V2 with the Avnet 96Boards ON Semiconductor Dual Camera Mezzanine connected.
Depending upon the speed of your development machine you should be able to get this up and running in less 30 minutes or less.
Set UpIt is recommended the project outlined in this application note is created on a Xilinx supported 64-Bit Linux operating system.
Bitstreams for the Xilinx ZU3EG device can be generated license free as part of the Xilinx Vivado webpack. However, some of the IP used within this design requires an additional license, this license is provided with the Ultra96V2 when purchased and is marked - OEM Zynq ZU3 Ultra96 Vivado Design Edition with SDSoC Voucher Pack. Redeem this license and install it on the machine being used to implement the project, once installed correctly using the license manager you will be able to see the several licensed IP including the On-Screen Display (OSD).
Ensure the Ultra96V2 is powered off and power supply is disconnected
Align the highspeed and low speed connectors on the board and mate the boards.
The entire build process for this project is going to use Avnet provided build scripts.
Create a new directory and into the directory clone the following repositories
- git clone https://github.com/Avnet/bdf.git
- git clone https://github.com/Avnet/hdl.git
- git clone https://github.com/Avnet/petalinux.git
This project will be build in 2020.1 tools
Change directory into the HDL directory and use the command git checkout 2020.1 to ensure we have the correct version of the repository.
With the correct projects set, change directory into the HDL folder and into the scripts directory.
Execute the script Vivado -mode batch -source./make_ultra96v2_dualcam.tcl
The script will create the Vivado project, synthesise the design and implement the design for the Zynq ZU3EG device used on the Ultra96V2. This may take some time.
If you want to explore the project, open the Vivado GUI and select the project ultra96V2_2020_1 under the Ultra96v2_dualcam directory in the HDL/Projects directory.
You will notice the project is split into three elements, the Zynq, Capture Pipeline and Live Video
With the petalinux directory which we cloned we are able to quickly rebuild the petalinux software.
we can rebuild the PetaLinux OS by running the script./scripts/make_ultra96v2_dualcam.sh
This might take some time depending upon your machines capability
Once the script completes, we now have all the necessary elements to load onto a SD Card. The next stage is to format the SD Card such that it is correctly formatted to hold the embedded Linux OS.
SD Card CreationInsert the SD Card into your development machine. Run the command ls /dev/sd* this will list the SD Card. Note your SD Card may enumerate with a different ID number than demonstrated here, please be careful as incorrect identification could damage your wider system.
Unmount the partitions using the umount command umount /dev/sda1 umount /dev/sda2
Run the command sudo fdisk /dev/sda this will start fdisk press p to view the current partitions (if any on the SD card)
The next step is to delete any existing partitions, enter d then 1 to delete partition one, then enter d again and the remaining partition will be removed.
To create a new partition, enter p then 1, followed by 2048 and final +1G to create a 1GB partition. This will become the boot partition.
To make this partition bootable enter the command a
To create the second partition enter the command n followed by 2 then press enter twice to use the remaining space on the SD Card.
Pressing p again will show the newly created partitions
Finally enter the w command to write the partitions to the SD Card
With the partitions created the next step is to format the two partitions correctly. To correctly configure the first partition enter the command sudo mkfs.vfat -F 32 -n boot /dev/sda1 this formats the partition as FAT32 with the name of boot.
For the second partition enter the command sudo mkfs.ext4 -L root /dev/sda2 this will format the second partition as EXT4 and name it root.
Now we are ready to write the generated files to the SD Card change directory into the petalinux/projects/ultra96v2_dualcam_2020_1 directory. Enter the following commands to write the boot.bin, SCR and Linux image to the boot partition.
cp./images/linux/BOOT.BIN /media/<user name>/UID of FAT32 partition>/.
cp./images/linux/boot.scr /media/<user name>/<UUID of FAT32 partition>/.
cp./images/linux/image.ub /media/<user name>/<UUID of FAT32 partition>/.
To write the root file system to the root partition we need to enter the command sudo tar xvf./images/linux/rootfs.tar.gz -C /media//<user name>/<UUID of ext4 partition>/
The final command to run is sudo sync
With the Ultra96V2 Powered off insert the SD Card, connect the USB Uart breakout and power on the board. Connect the Mini Display Port connector to the Display
Open a terminal window with settings of 15200n1 you will see the Linux terminal and the dmsg output as the embedded Linux OS boots.
Once the Embedded Linux OS has finished booting at the command prompt enter run_1920_1080
On the Display Port Display there should now be an output from the two image sensors on the Display running 1080P 60 HZ.
This project has shown how you can quickly and easily create a embedded Linux application which support dual MIPI cameras and enables you to get ready for creating more advanced algorithms leveraging the Video 4 Linux framework and Vitis.


Comments
Please log in or sign up to comment.