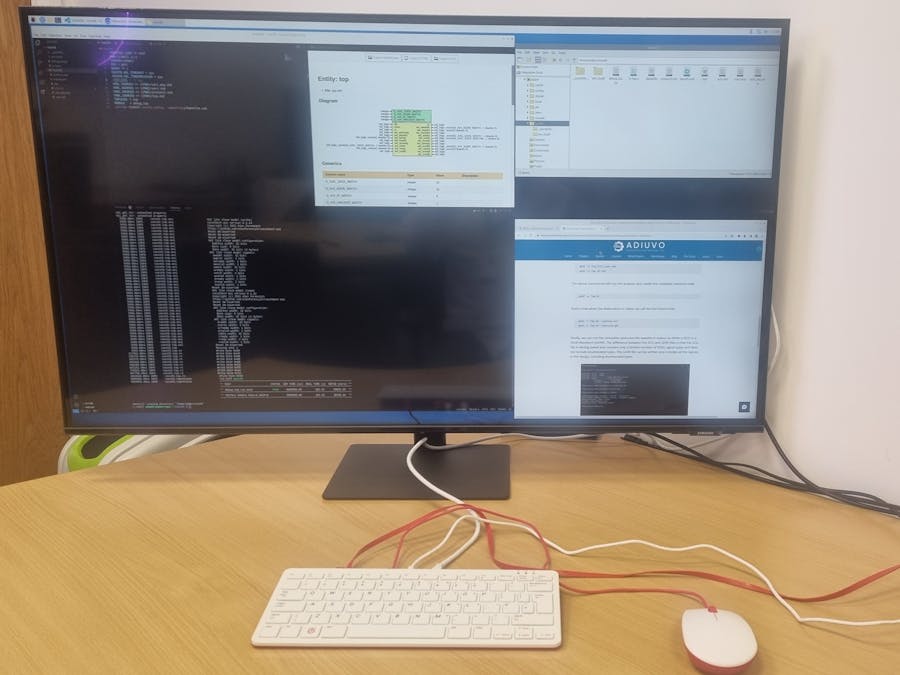
As an FPGA engineer I think they are one of the most exciting areas of electronics. There is often felt that there is a high barrier to entry to getting started with FPGA.
The first step in learning how to develop for FPGAs is to learn one of the two main programming languages VHDL or (System) Verilog collectively referred to as Hardware Description Languages (HDLs).
The way we verify what we have written in our selected HDL is to use a simulator, simulation provides much more visibility into the design the testing on hardware.
As such to get started with FPGA development what we need are
- Suitable source code editor - I prefer VS Code
- VHDL or Verilog Simulator
In this project we are going to look at how we can get started using a Raspberry PI 400 to start developing and simulating VHDL. The same approach can be taken for the Verilog just a different simulator (Verilator or Icarus Verilog) will be needed.
Set UpTo get started with the application we are going to make sure we have the latest Raspbian operating system on our SD Card. Download the 64-bit OS for the PI 400 and burn it to a SD card. Insert it into the PI 400 and boot system with a monitor and mouse connected, I also connected a wired ethernet, but we can also use WiFi too.
Once the desktop starts we are going to do the following things
- Ensure the OS is up to date
- Install VS Code
- Install GHDL and GTK Wave
- Set up the python environment
- Install cocotb
- Test the installation with a test project
To get started with the installation we need to open a terminal and run the command below to ensure the operating system is up to date.
sudo apt updateWith the system packages all up to date we are able to install VSCode using the command
sudo apt install codeThis will install VS Code and we should be able to see it under the programming group on the menu
The next step is to install the GHDL and GTKWave using the command
sudo apt-get install ghdl gtkwaveOnce this is installed we can test it by issuing the command
ghdl help This will list the commands available in ghdl
Opening VSCode with a terminal the first thing we need to do is create a new python virtual environment. We need to do this as python on the PI 400 is a externally managed environment, as I understand it this prevents the use of multiple package managers like apt and pip.
To get around this we will create a virtual environment using the commands
python -m venv .venvSwitch to the virtual environment using the command
sudo .venv/bin/activate We need to be in the same directory as we created the virtual environment in, in this example our home directory. This is true for later use as well.
With the virtual environment defined we are then able to install cocotb using the command
pip install cocotbTo get the best from cocotb there are also a number of packages we wish to install
pip install cocotb-buspip install cocotbext-axipip install cocotbext-uart pip install cocotb-testTo get started using cocotb we need a source files, the python test bench and a make file which defines which files to include and the simulator to use.
To test this installation the files provided to the project should be stored within a folder in the system. There are three VHDL files which enable UART to AXI conversion, a python test bench and the make file.
In VSCode open the folder and ensure we are using the python virtual environment.
Within the terminal type in the command
makeThis will run through the design, compile the source code, and simulate the design with the GHDL under control of cocotb.
You will see the test bench run and any results reported.
We can also view the waveform from the simulator if something has gone wrong in the design and it is not behaving as expected.
To do this one of the arguments passed to the simulator is to write out the simulation waveform as a
To view the VCD we need to use the GTKwave viewer which we installed earlier.
The command below will open the GTKwave with the VCD as the VCD is in the same directory we are working from.
gtkwave <vcdname>.vcdVS code has a number of extensions which can help with development, one of these is the Teros HDL extension. This allows engineers to visualise the module, timing information and state machines which is very useful when learning. TerosHDL will also create testbench files in a number of formats including cocotb!
This can be installed by searching TerosHDL on the extensions marketplace.
An example of the state machine viewer from the provided example code can be seen below
While the IO visualisation is
At this point we have installed all of the elements necessary to get started developing our own HDL and simulating it. Using cocotb enables developers to leverage the python ecosystem which they might be more familiar with.
Of course, this project has shown you predominantly how to install the tool chains. If you want to know more about working with cocotb and ghdl you might want to check out these blogs below.


Comments
Please log in or sign up to comment.