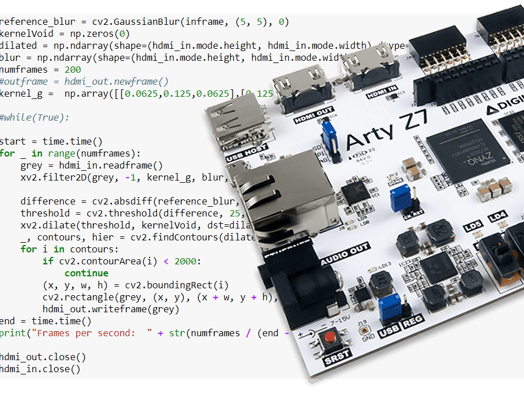
In this example, users can understand how to use OpenCV to create a simple tracking example which tracks and identifies differences between frames.
We are going to need to use Arty Z7-20 loaded with PYNQ image. You can learn how to do this through "Programming Python on Zynq FPGA"
In addition, the following parts are required.
- Logitech 720P USB web camera
- HDMI Camera e.g. the Apeman 1080P action camera
- Associated cables for HDMI In and Out ports
Initially, we will use the USB web camera as the video input coupled with the HDMI output before looking at the benefits of using both HDMI in and out.
Steps in the algorithm are listed belowStep 1: Create a reference frame
- Capture image from the input
- Convert the captured image to grey scale (cv2.cvtColor)
- Perform a Gaussian Blur on the grey scale (cv2.GaussianBlur)
Step 2: Capture a comparison frame
- Convert the captured image to grey scale (cv2.cvtColor)
- Perform a Gaussian Blur on the grey scale (cv2.GaussianBlur)
Step 3: Calculate the absolute difference between the reference frame and the comparison frame (cv2.absdiff)
Step 4: Create a binary image of the absolute difference (cv2.threshold)
Step 5: Dilate the binary image (cv2.dilate)
Step 6: Find the contours within the binary image (cv2.findContours)
Step 7: If the contour area is above, a specified limit identify it as a difference and draw a box around it (cv2.contourArea,cv2.boundingRect & cv2.rectangle)
Step 8: Output the image to HDMI
Step 9: Repeat steps 2 to 8
The code for algorithm in the Jupyter environment is as follows.
Below is a screen capture when the algorithm is running
Running the algorithm on the ArtyZ7-20 results in a frame rate of
Frames per second: 11.20220290817649
This frame rate is reasonable. However, this solution is predominantly a software solution and only uses the PYNQ hardware block for the HDMI output. In theory, we can accelerate the frame rate using a PYNQ overlay which allows us to move some of the image processing algorithms into the programmable logic (PL).
We can do this acceleration using the new computer vision overlay. It provides the following image processing functions accelerated within the programmable logic and comes all wrapped up ready for use with the PYNQ framework
- 2D filter 3×3 with a configurable kernel allowing Gaussian Blurs, Sobel (V+H) etc
- Dilation
- Re mapping
Within the PL, these are implemented as shown in the diagram below.
To install the computer vision overlay, we use a PuTTY terminal connected to the PYNQ framework to download and install the packages.
In the PuTTY terminal use the following Linux commands
$ sudo -H pip3.6 install–upgradegit+https://github.com/Xilinx/PYNQ-ComputerVision.git
$ sudo reboot now
Once the package is installed, we can proceed to updating the algorithm.
The computer vision overlay ideally uses the HDMI input and output for the best performance. To test the result,the web camera-based approach is still applied. We update the algorithm and use the 2D filter to replace the Gaussian Blur. In addition, we use the dilation function to replace the OpenCV function.
CodeThe code is as shown below
When I ran this on the ArtyZ7-20, the frame rate is slightly below the previous one (11.20220290817649)
Frames per second: 10.499496622675153
The reason for this is because the image capture is still very software intensive. This means the color space conversion is still performed within software using OpenCV.
The best way to accelerate this is to use the HDMI input (HDMI camera) since this allows us to keep the initial stages of the processing within the programmable logic. Updating the algorithm to read in data from the HDMI in and to convert it to greyscale within the PL before using the same filters for the gaussianblur and the dilation results in the code below.
When we run this code, we receive a frame rate of
Frames per second: 29.75061900599775
Overall, this is not a bad increase in the frame rate, and we can use these filters in the overlay to implement otherimage processing applications such as the Sobel edge detection which is very useful in industrial applications.
The Jupyter notebooks is available here. So, you can get started with this project.
Adam Taylor
 Alex Wong


Comments
Please log in or sign up to comment.