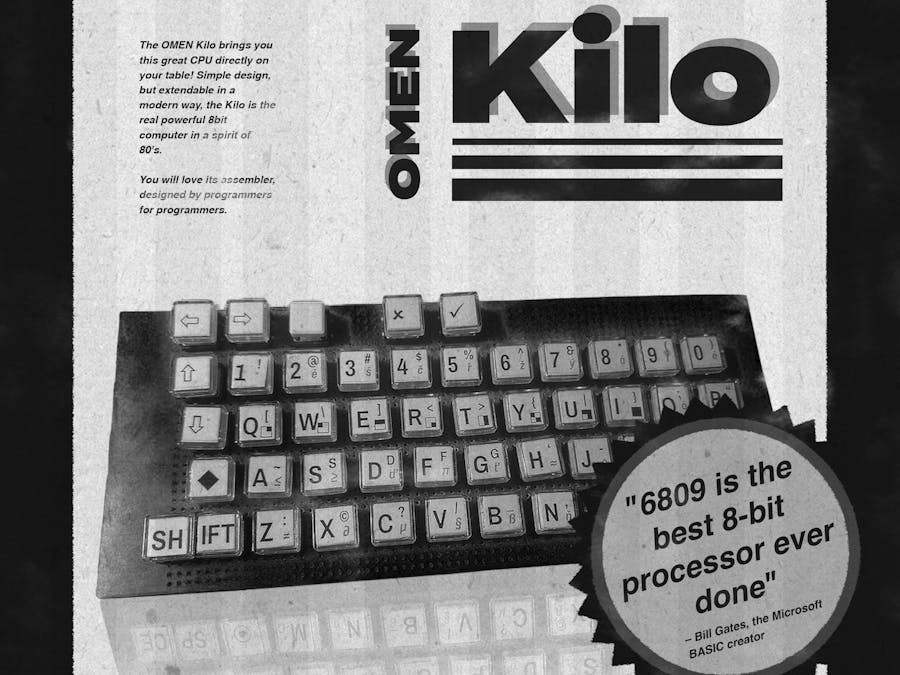
It was obvious from the very beginning of the whole OMEN story: I will build a computer with the famous 6809 CPU, or much better - with the HD6309 CPU.
I took the basic concept from the OMEN Bravo, prepare a PCBs and...
Here starts my pain
Okay, let's come clean: It was one fail after another!
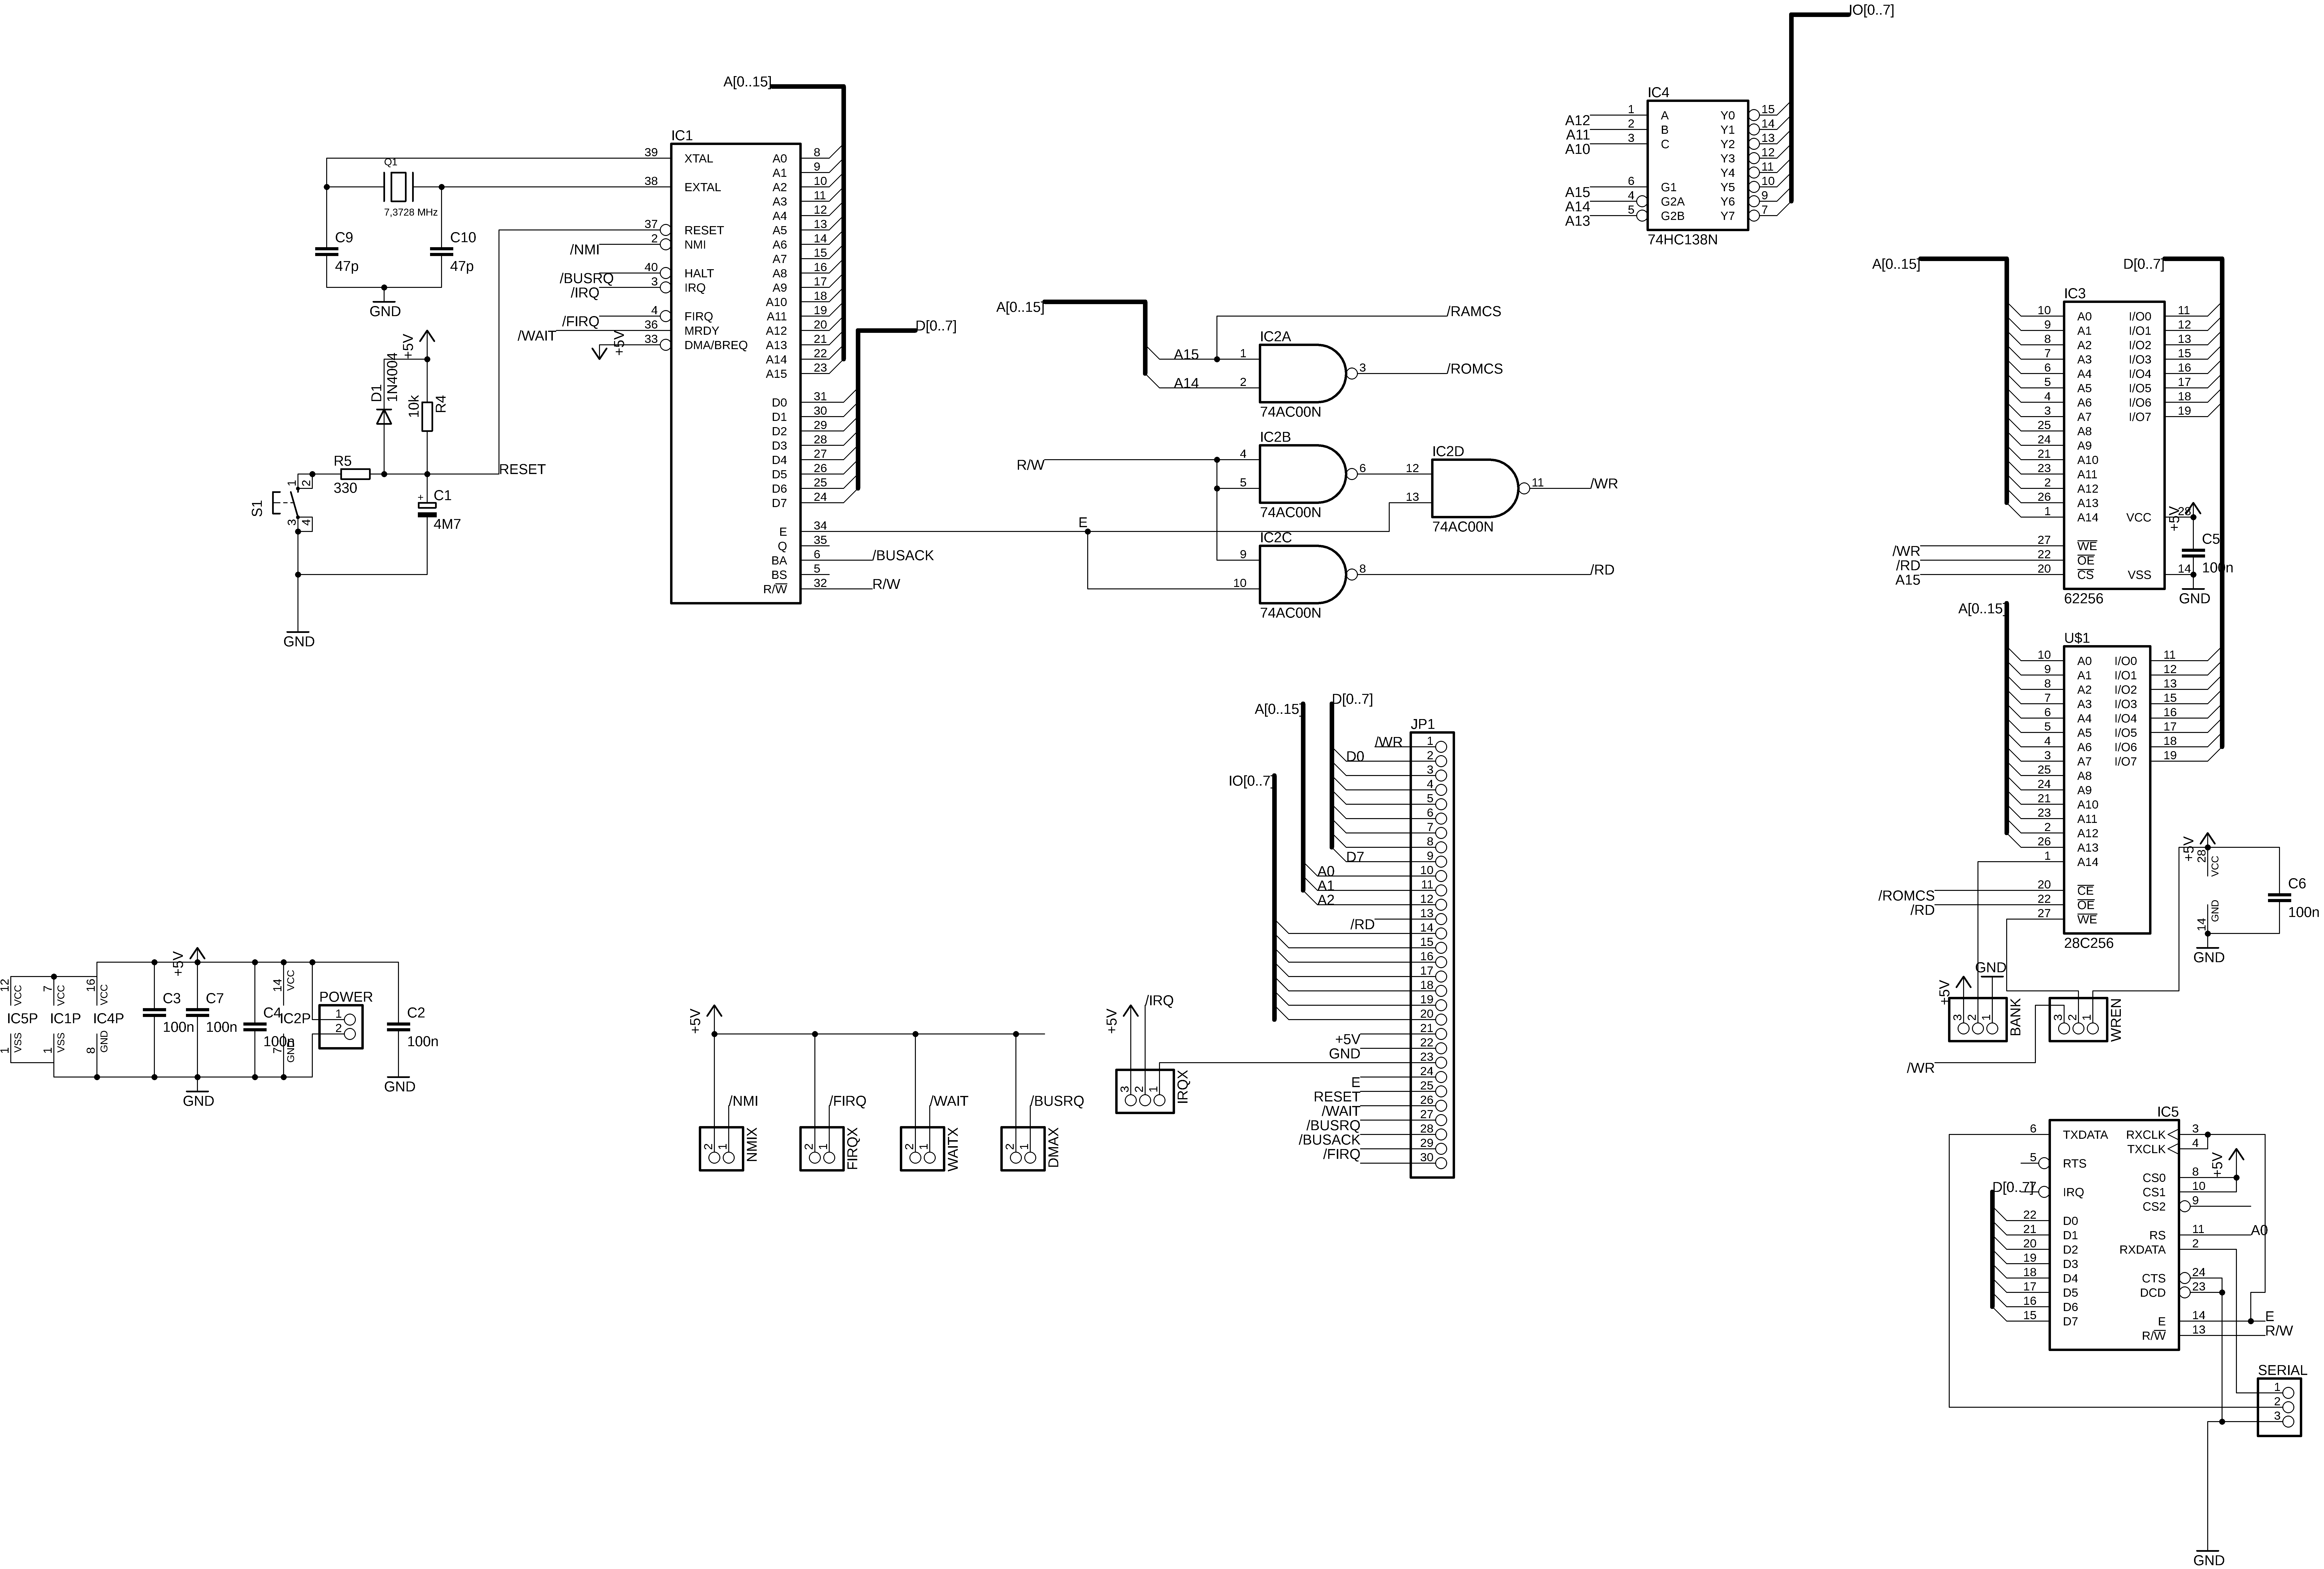
PCB was perfect (as always, thanks to JLCPCB). I solder CPU socket, crystal, capacitors, and a power line. But there was no pulse wave on the E output.
A few minutes later I realized I have to sanitize the /WAIT signal. OK, done, but there was no signal on the E output.
I had sanitized all unused inputs. But there was no signal... Should I continue?
It was really strange, so I wired up a test bench on a breadboard. And there was no signal... again...
I decide to connect an external clock signal. But nothing on E.
Okay, maybe the CPU is dead. Fortunately, I have a lot of 63B09 so I can test another...
... and nothing happened. All 8 CPUs tested, no signal. There must be an error I cannot see, or all my 6309s is dead.
I have ordered another batch of 6309, from another seller, C grade this time: HD63C09P. Pay attention, some sellers offer the 63C09P, but it is a 09EP (with an external clock)!
Three weeks later the new 63C09 have arrived. I have tested them in my breadboard workbench - all of them works and generates the clock signal!
It was a great news, but the bad one was all my 63B09 are gone, bad, fake...
I took a tested CPU, place it in my PCB, power it up and there was no clock on the E pin. It is a little bit boring, isn't it?
The problem #2 was, of course, the old crystal. A new one made the CPU works.
Step 2: I have soldered the IO sockets, place them into their places and power up. Nothing.
Okay, it is a "KiloProblem" now! I took the logic analyzer and test. But it was strange: everything seems to be OK. But the data seems to be corrup... OH! MY! GOD! I have forgotten to switch the Write Enable for the EEPROM chip to the DISABLE state and the content of the chip was corrupted!
I took another attempt: CPU runs forever in a wait loop, waiting for an ACIA transmission ready state. So it was a great step. I place the ACIA chip back into its socket, run - and it returns still the 00h.
I was a little bit hopeless. So I took an ACIA from the Alpha I have tested, put it to the Kilo... nothing.
I have tested all signals, and I realized the /WR is still high. Why? Why?
And then I took the multimeter and I have seen the problem: Those cheap micro switches I have used for the Write Enable! They have three pins: left, common, right. And the right pin is connected to the metal body. The result is you have the two states: The first one with common and right connected, and the second one, with all three pins connected. So I had /WR connected to the Vcc
I was a little bit furious and have destroyed those damned switches by pliers.
And then... then the whole thing starts work!
Become a patronHurry up the production and innovation cycle, become a patron...
Today I have prepared a new Kilo revision (available on the GitHub). The Issue 2 has some improvements:
- Better silkscreen
- Switches for IRQ, FIRQ etc. was replaced by 8x10k resistor network (SIP-9)
- Write Enable switch has been removed
- Bank Switch has been removed (it is obsolete for the AT28C64 8k EEPROM)
There is a new simple monitor, available on GitHub. It has basic functions:
- M - memory list and modify
- D - memory dump
- G - Go to the given address
- : - start loading a HEX file
- U - List and run the user EEPROM software
With M and D you can use the Enter key to move to the next address, the Backspace key to move to the previous address, or the Space key to end memory viewing.
The "U" command looks through the EEPROM from the $E300 to the $FF00. If it found a software module (e.g. utilities), it show its name. You can select and run the selected module by pressing the assigned letter, or return to the monitor by pressing Enter or Space.
See testmod.a09 and basic.a09 source codes for further information how the software modules are done.
The final HEX contains the Tiny BASIC and the one test module you can use to write your own.
PCBI can recommend Seeed Fusion PCB Assembly Service. It offers one-stop prototyping for PCB manufacture, PCB assembly and as a result they produce superior quality PCBs and Fast Turnkey PCBA from 7 working days. When you prototype with Seeed Fusion, they can definitely provide Free DFA and Free functional tests for you! Check out their website to know about their manufacturing capabilities and service.


_t9PF3orMPd.png?auto=compress%2Cformat&w=40&h=40&fit=fillmax&bg=fff&dpr=2)
_3u05Tpwasz.png?auto=compress%2Cformat&w=40&h=40&fit=fillmax&bg=fff&dpr=2)
Comments
Please log in or sign up to comment.