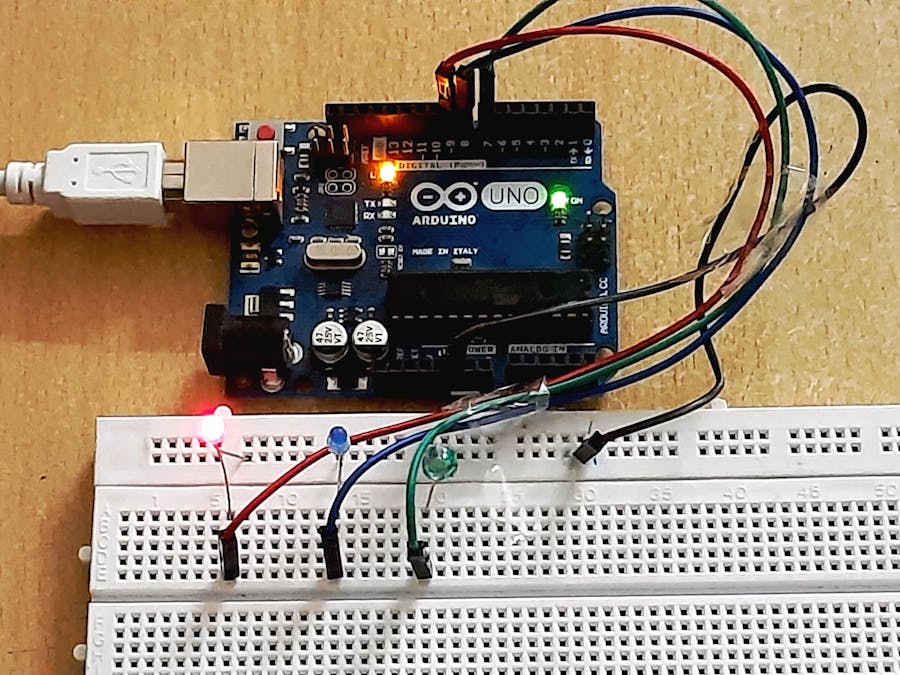
Below is a video that goes through all the steps to assembling and running the traffic lights using the Arduino. Click Here
IntroductionIn this project I will Demonstrate you how to make a very simple and very cool traffic light Using Arduino.
This project will involve using a little a bit of code and a very simple circuit that’s great for beginners.
The video further down this page will go through all the steps to completing this cool traffic light project.
This simple little project uses an Arduino and some LEDs to replicate a traffic light. It uses code as an internal timer and continues to run until you cut the Arduino's power supply.
Working on BasicsThe LED have been powered by Arduino UNO (Board). It contains a code which uploaded to the board. And once it simulated LED Start's blinking like a traffic light. In this 15 Second will for Red Light 6 Second for Yellow Light (In my Project Blue) and 20 Second for Green Light.
UsageThere is multiple usage of the project:-
- If you are beginner so it is a intro to arduino
- You can Make a real but small Traffic Light using it
- You can also add more LED and Can change as per your usgae
- Hook the GND pin (Negative Pin) of all led to Pin GND of Arduino.
- Connect Red LED VCC Pin (Positive Pin) to Pin 9 of Arduino.
- Connect Yellow LED VCC Pin (Positive Pin) to Pin 8 of Arduino.
- Connect Green LED VCC Pin (Positive Pin) to Pin 7 of Arduino.
- Copy or download the code attached with the project.
- Watch the video to Check the testing Click here


_ztBMuBhMHo.jpg?auto=compress%2Cformat&w=48&h=48&fit=fill&bg=ffffff)


Comments
Please log in or sign up to comment.