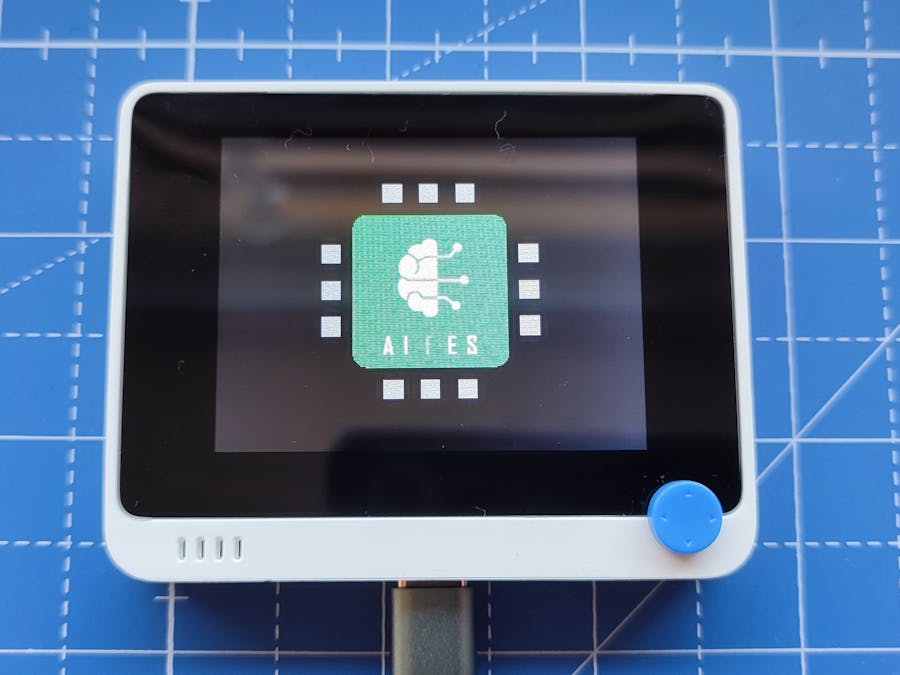
In this tutorial we would like to show you how to implement a simple AI based gesture recognition with AIfES® on the Wio Terminal. The special thing here is that everything is implemented directly on the Wio Terminal without the need for a PC. Three different gestures can be trained. As AI an artificial neural network (ANN) is used, which can be trained with the Adam optimizer in AIfES® directly on the device.
The internal 3-axis digital accelerometer (LIS3DHTR) is used for the gesture recognition. No additional hardware is needed.
The shown gesture recognition is also available for various Arduino boards. In the AIfES® for Arduino library you can find these in the examples.
For the following boards an example is available:
- Arduino Nano 33 IoT
- Arduino Nano BLE Sense
- Arduino Nano RP2040 Connect
Of course, other boards with an integrated or connected accelerometer will work as well. Just adapt the examples and get started.
More info about AIfES®:
Required software- Arduino IDE
- Install AIfES® (search for aifes) with the Arduino library manager
- Install the Wio Terminal Board Library
- Install the "Grove - 3-Axis Digital Accelerometer ±2g to 16g (LIS3DHTR)" with the Arduino Library Manager (search for LIS3DHTR)
This tutorial was inspired by the work of Eloquent Arduino. After talking to him, the data / feature recording was taken from his project. He used support vector machines for the classification and trained them on the PC. We used an ANN, which we can train directly on the device using AIfES®.
Here you can find his complete project, in which also the basics are explained nicely. You can find the code here.
What kind of gestures can be trained?Various gestures can be trained, such as:
- Flex
- Twist
- Punch
- Movement to one side
- ...
A minimum acceleration must be reached for the data acquisition to start.
Data / featuresIf there is little or no movement, no data will be recorded. An acceleration threshold must be exceeded in order to record measured values.
A data / feature set consists of the acceleration values of the 3 axes (X, Y, Z). In the current configuration, 20 X, Y, Z acceleration samples are recorded one after the other and stored as one data set together with a label. Thus, a total of 60 inputs are passed to the neural network. The label is generated automatically by the training process.
The labels are created as follows:
- Gesture 1: 1, 0, 0
- Gesture 2: 0, 1, 0
- Gesture 3: 0, 0, 1
A data set for e.g. gesture 1 looks as follows:
X1, Y1, Z1, X2, Y2, Z2, ..., X20, Y20, Z20, 1, 0, 0
This way of data acquisition is of course not a real feature extraction. We have avoided more complex pre-processing such as FFT etc. in order to better demonstrate the principle.
The artificial neural networkThe ANN has a total of three layers and consists of the following structure:
- Input layer 60 Inputs
- Hidden layer 4 Neurons (sigmoid activation function)
- Output layer 3 Outputs (softmax activation function)
How did we find the ANN structure? In the concrete example, we did the development with AIfES® directly on the device. You can of course also use AIfES® on the PC or a Python framework like Keras, TensorFlow or PyTorch to find the optimal network structure. In this case you would then send the training data via UART to the PC and perform the training there. If you train in a Python framework, you can extract the weights afterwards and import them into AIfES®.
For the implementation we used AIfES-Express. The implementation is much easier and the ANN structure can be adapted with a few changes. If you want to change e.g. the number of neurons, activation function or number of layers, this is done quickly. Of course you can also increase the number of gestures, but then you have also to increase the number of neurons in the hidden layer. AIfES-Express is easier to use but since the model is built at runtime, it is slower than the normal AIfES® implementation. An advantage of AIfES-Express is that the ANN can be changed at runtime.
TrainingInitialization of the weights:
For the initialization we first need a random seed. Here we use the noise at an analog pin, this is set in the setup() function using srand(analogRead(A1));. For the actual initialization we use the glorot_uniform method already integrated in AIfES®.
Parameters for training:
- Optimizer: Adam
- Loss: Crossentropy
- Learn rate: 0.1
- Epochs: 1000 (Maximum number if the target loss is not reached)
- Early stopping: ON
- Target loss: 0.09
- Batch size: Full batch
- Print interval: 10
In AIfES-Express an early stopping can be activated. Hereby you can specify a desired target loss up to which training is to be performed. AIfES® stops the training as soon as this loss is reached or undershot. This function is coupled with the print interval. In the example the interval is set to 10. After every tenth epoch the loss is calculated, checked and printed via the custom print function.
How does the process workThe entire process is fully automatic, following is an outline of the steps:
Recording the training data/features:
- After the start you will automatically enter the training data recording mode
- Think about your first gesture and perform it five times
- The data recording of a gesture takes place automatically when an acceleration threshold is reached.
- Take a short break between gestures so that the accelerometer reaches a steady state
- Repeat this procedure for the other two gestures of your choice
- Finally, 15 data sets for the training are available
- The labeling of the data already takes place during data acquisition
Training:
- When the last gesture is recorded, the training starts automatically after a 3-second countdown.
- Every 10 epochs the loss is printed on the display
- When the target loss is reached the training stops automatically
Classification:
- After the training the classification mode starts
- The program remains in this state until the restart
AIfES® is registered as word mark/ figurative mark. The logo has the dimension 166 x 166 and is in the color R5G6B5 with 16 bits per pixel.
Known bugsIt can happen that the acceleration sensor is not initialized correctly
- Unplug the Wio Terminal, plug it in again
- Flash it again


Comments
Please log in or sign up to comment.