Posted on January 29, 2017January 30, 2017 by electromaniaweb
In this project I will give you an introduction to UART that is also called serial communication and understand how an arduino interacts with a computer.As the name implies serial communication means sending and receiving data bit by bit over a single line. Arduino uno board has one serial port at digital pins 0(RX) and 1(TX) to communicate with other external serial devices or with computer through USB cable. The process of sending and receiving data can be observed by flashing of TX and RX LED’s on the arduino board.
Just beside the Atmega 8U2 chip on arduino uno board we can observe two LEDs they are the TX and RX LEDs.
In case of serial communication between arduino and computer digital pins 1 and 0 should not be used as I/O pins. The Atmega 8U2 chip on Arduino Board acts as a bridge between the computer and arduino processor.; It runs on a software called firmware that can be updated through a special protocol called DFU(Device firmware Update).
SERIAL COMMUNICATION BETWEEN ARDUINO UNO AND COMPUTER- The communication between arduino and computer is established at a specific baud rate. The baud rate specifies how fast the data is sent over the serial line or in simple terms, the speed of serial communication. Some common rates for UART are 9600 baud, 11520 baud etc. To start serial communication the baud rate set for arduino and computer must be the same, if baud rate for both is set at 9600 baud, then to transmit 1 bit of data it will take 1/9600 sec = 0.014 msec! Amazing isn’t it?
- I will first try to write a simple program to send a character from computer to arduino and receive it back by the computer. Firstly, connect the arduino and upload the following sketch to your board.
- The program starts with opening the serial communication between the arduino and the computer using serial function “Serial.begin(9600)” at baud rate 9600bps. Another useful function used here is Serial.available() which return the number of bytes that are currently present in the arduino serial buffer.
- The while loop in the program continues to wait until any serial data is received from the computer. If any data is sent by the computer the data will be available in the serial buffer of the arduino and the while loop breaks as the Serial.available() function will return a value greater than zero. If the serial data is available the next step will be to read the data using Serial.read() function and store it in a character variable called ‘value’.
- After the data sent by the computer was received by the arduino processor we want to send this data back to the computer. The function which helps us to do that is called Serial.println(). This function prints data to the serial port to which arduino is connected.
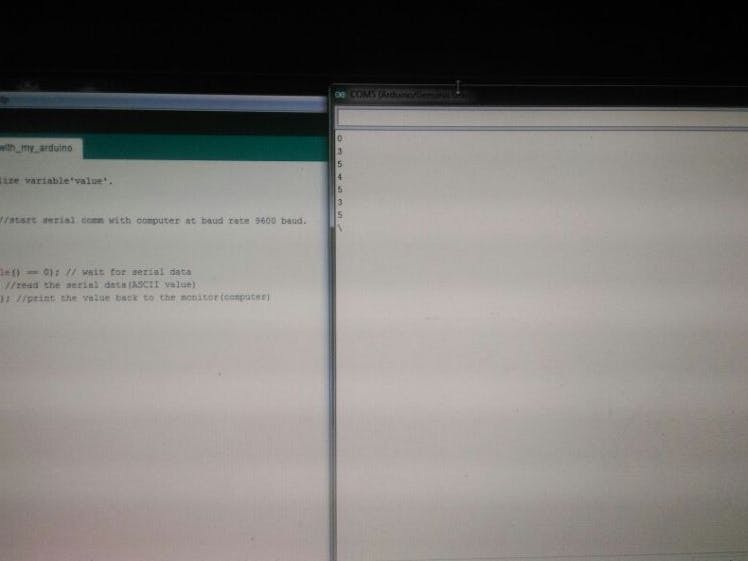
- Press Ctrl+Shift+M to start the serial monitor on the arduino IDE. Serial monitor ispart of the arduino IDE which allows user to send the data from computer to the arduino board as well as recieve data from the arduino board.
- After uploading the program write character 0 in the edit box of the serial monitor and click on the send button. This means we are sending character 0 from computer to the arduino board.
- According to our code the arduino board sends the received data back to the computer so we will see a zero in the serial monitor below the edit box.
- Repeat the same for 1, 2, 3, 4 etc and receive them back on your screen, i.e the serial monitor.


Comments
Please log in or sign up to comment.