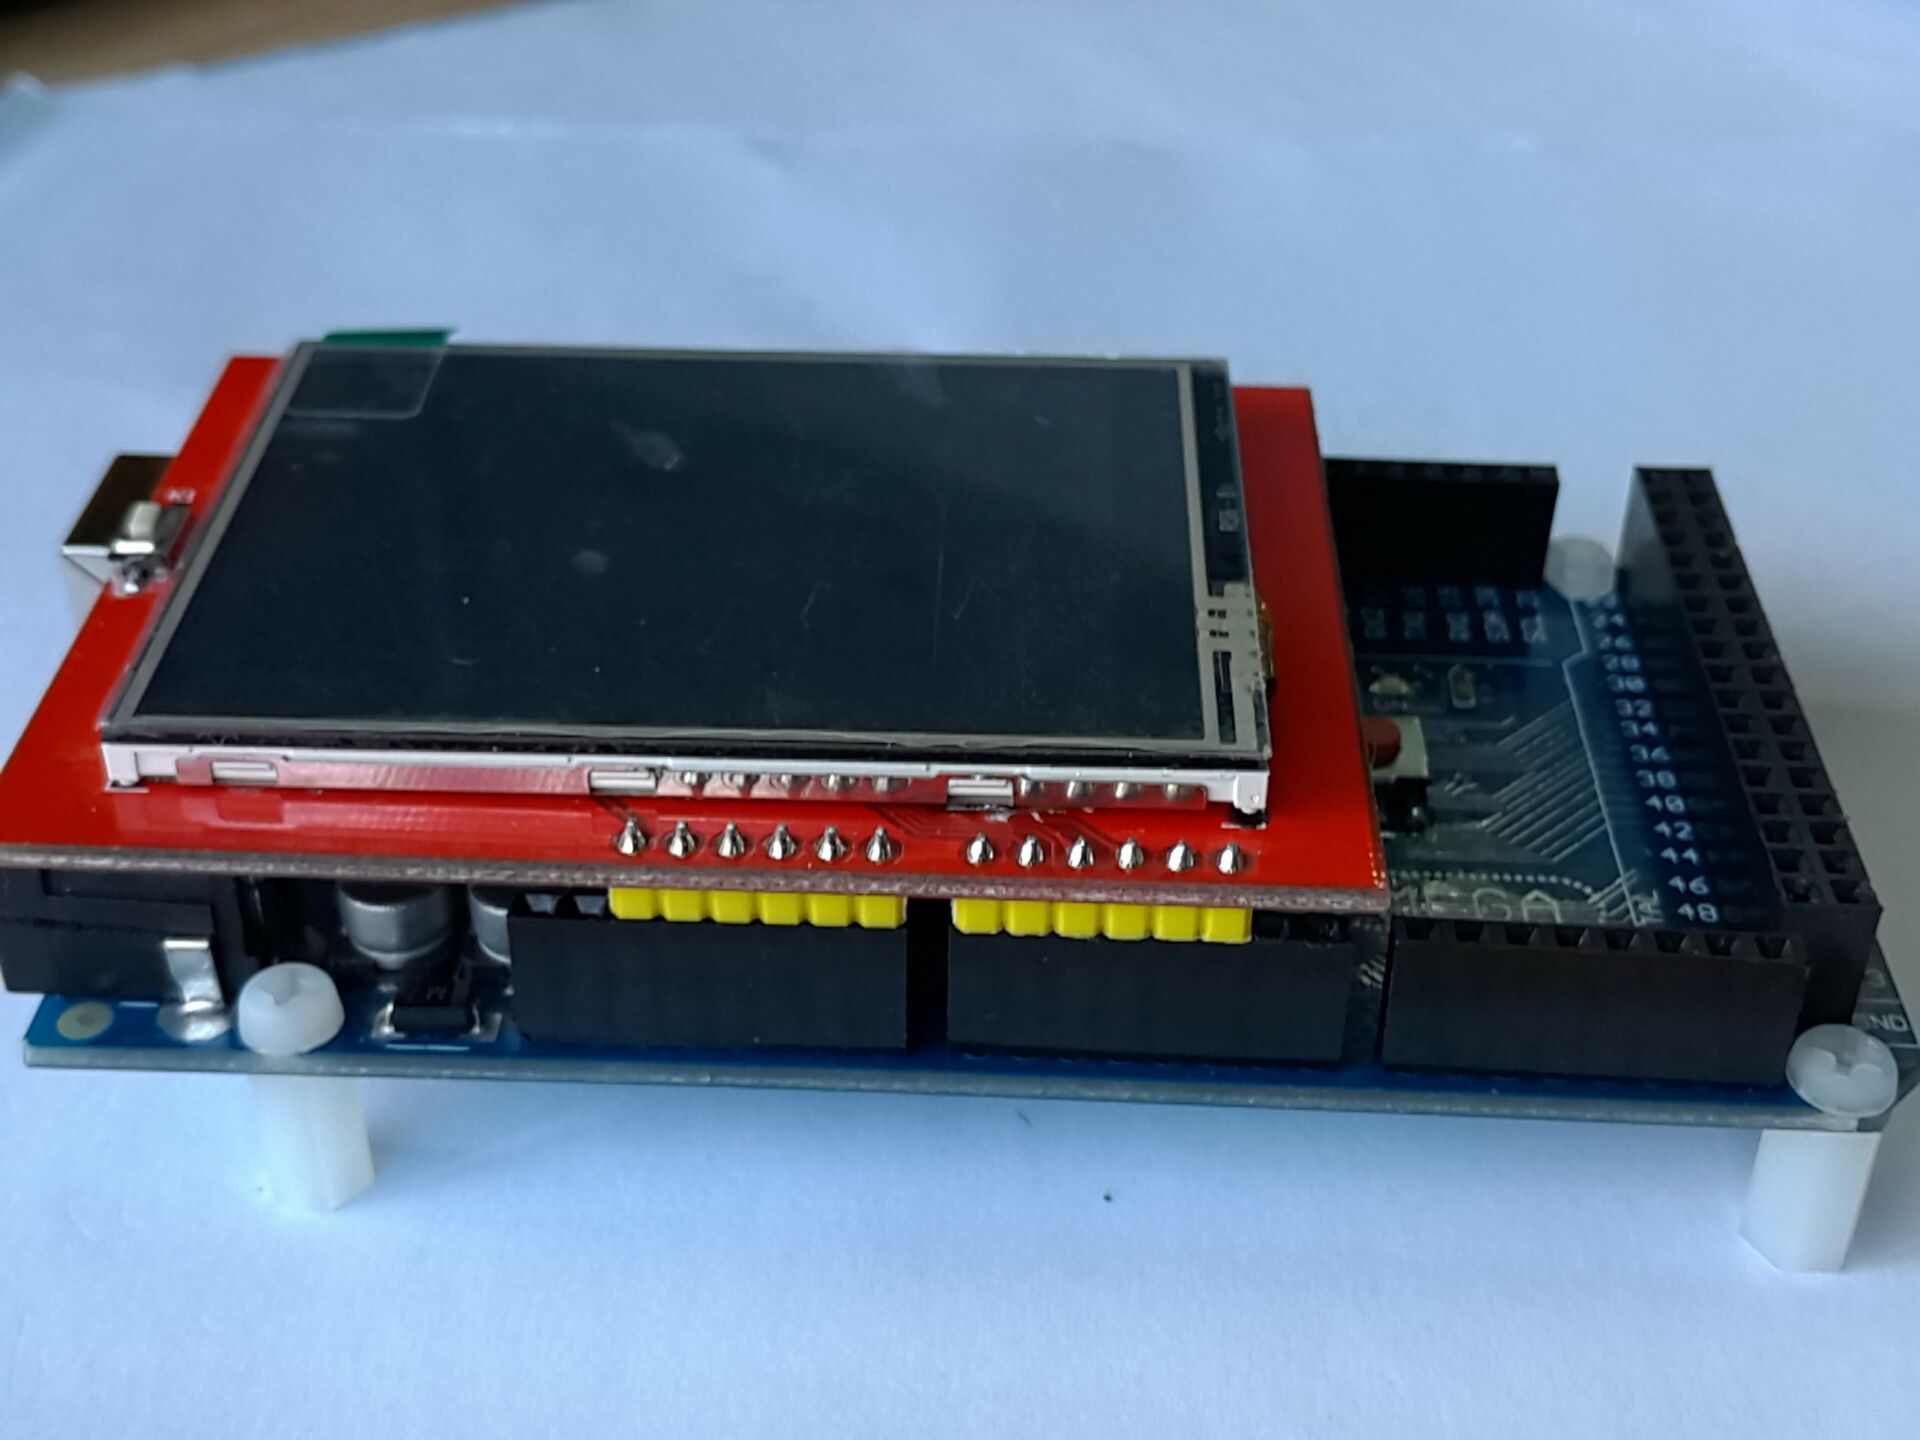
Hello everyone to my new tutorial in which we are going to program arduino for tft lcd shield of 3.5" with ILI9486 driver, 8 bit. I found it important to write this tutorial as if we see we find tutorial for 1.44, 1.8, 2.0, 2.4, 2.8 inch shields however there are no or less tutorials available for 3.5" shield as its completely different from other smaller tft lcd shields -
- adafruit tft lcd library doesn't even support ILI9486 driver in 3.5" tft lcd, it supports drivers of tft shields lesser then 3.5"
refer to following link for understanding why adafruit TFTLCD doesn't support ILI9486 driver- https://forum.arduino.cc/index.php?topic=558333.0
Go through the above link to know better, lets start with our tutorial however if we can't use Adafruit_TFTLCD library which library will we use ?, there's a simple answer to this that's MCUFRIEND_kbv library which helps to use 3.5" tft lcd shield, if you see this library makes it much more easier to program arduino for tft lcd shield than adafruit as we have to simply create a tft object in MCUFRIEND_kbv library and then using that we can control the tft lcd shield however in Adafruit_TFTLCD library we will have to create the object and also define connections which makes it a very long task.
There are two tutorials in this project -
- Displaying text on tft lcd shield ;
- Displaying graphics on tft lcd shield.
1. Lets first start by learning to display text :-
To display text we first create a tft object after including the appropriate library which is #include<MCUFRIEND_kbv.h>
Once added, create the tft object using library name and a name for object, you can also define some color codes for text which we are going to type, using the define function and giving color code. This all is to be done before setup.
#include<MCUFRIEND_kbv.h>
#include<AdafruitGFX.h>
#define BLACK   0x0000
#define RED     0xF800
#define WHITE   0xFFFF
MCUFRIEND_kbv tft;
Its time to now start our tft lcd screen and change the background, this is to be done by using some simple functions by obtaining the tft ID and changing the background by tft.fillScreen("color_name");
void


}
Now we will be programming in loop for printing text on TFT LCD shield, for that we will be using a number of functions such as -
tft.setCursor('x','y');x means the position from the x axis on screen and y means position from the y axis on screen of tft lcd shield.
tft.setTextSize('number');number here refers to text size which take parameter as number you can give any number from 1 according to your requirements.
tft.setTextColor('color');color here means to give the color name we had defined before setup, this makes the text color as whatever you give.
tft.print('value');value is nothing but what you want to print, whatever you give as value must be in double quotes.
void loop() {
 // put your main code here, to run repeatedly:
 tft.setCursor(0,0);
 tft.setTextSize(3);
 tft.setTextColor(WHITE);
 tft.print("my first project with tft -");
 tft.setCursor(0,70);
 tft.setTextSize(2);
 tft.setTextColor(RED);
 tft.print("welcome to the world of arduino and display , myself I love arduino and game programming very much. This is why I have my own youtube channel in which I share my arduino projects and games made by me , isn't it amazing !");
}
2. Lets learn how to display graphics :-
Graphics which we see in our phone is combination of square, rectangle, circle, triangle, lines. This is why here we will learning how to draw the following shapes.
tft.drawRect(x,y,width,height,color);x means the position from the x axis of the screen, y means the position from y axis of the screen, width refers to set the width of rectangle, height refers to set the height of the rectangle and color means the color of rectangle you want it to be. You can use this same function by simply keeping the height and width same.
tft.drawCircle(x,y,radius,color);x means the position from the x axis of the screen, y means the position from y axis of the screen, radius is a para to set the radius of circle and color means the color of circle you want it to be.
tft.drawTriangle(x1,y1,x2,y2,x3,y3,color);x1, y1, x2 etc. are to set the position of triangle's three points from which lines are drawn.
tft.drawLine(x1,y1,x2,y2,color);x1 and y1 are to set point 1 from which line is made to point 2 which is set by x2 and y2.
I have shown we can draw text and shapes by which we can make various graphics, you can also refer to code given by me, one is for text and other is for graphics display.
See the whole video to understand the output of the code given by me properly and please subscribe to my channel and enjoyyyy :) !


_ztBMuBhMHo.jpg?auto=compress%2Cformat&w=48&h=48&fit=fill&bg=ffffff)


Comments
Please log in or sign up to comment.