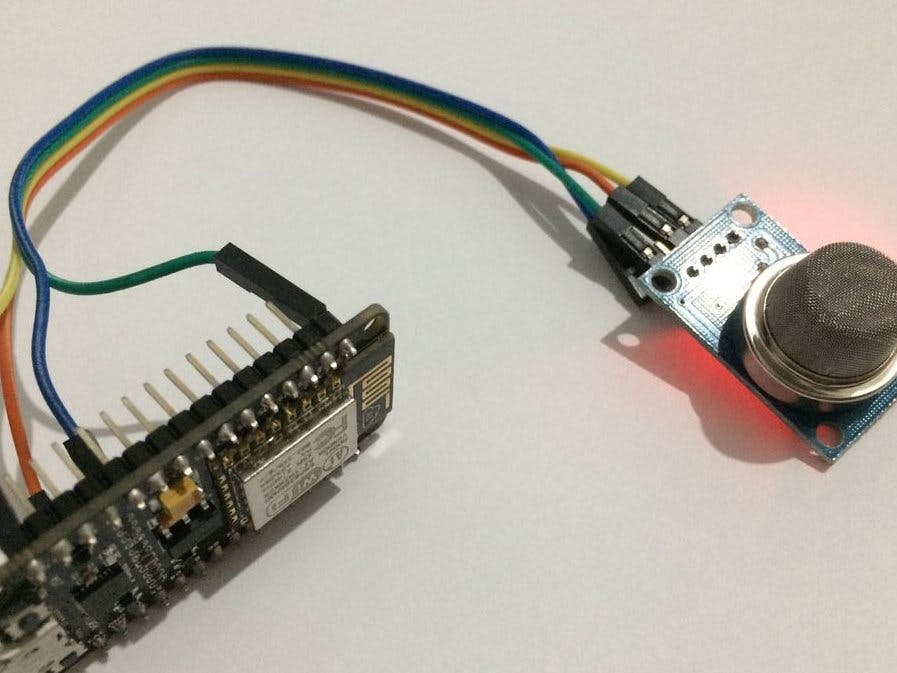
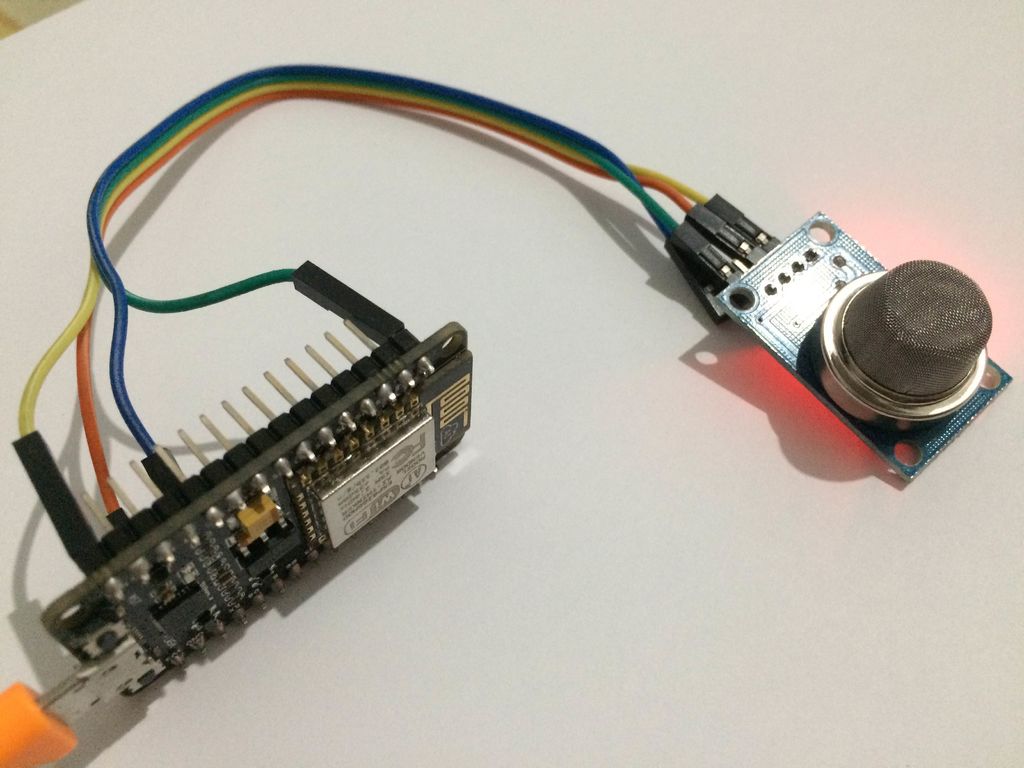
NodeMCU is one of the most popular IoT Development platform use by the thousands of developers worldwide. What is more attractive is that it can run on the even more popular Arduino IDE, which defacto choice for hobbyists and students.
The goal of this tutorial is to enable you to send capture and send data to cloud from your NodeMCU device. Before starting this tutorial make sure you have your NodeMCU and MQ-135 sensor handy, so that this tutorial should go smoothly.
Part I: Installation and Settings Arduino IDE- If you have not already done, follow the installation and settings of Arduino IDE through this link https://youtu.be/4Ih39hGcPzg
- Follow the settings of ESP8266 through this link https://youtu.be/G6CqvhXpBKM
- To create the gas sensor project, go in options files-----> New
You can add the library files from sketch-->include library --->manage library
Add all the libraries specified in theprogram
“ ESP8266WiFi.h” “ DNSServer.h” “ESP8266WebServer.h” "WiFiManager.h"
- You can search for the libraries you want to include and click install
You will get your Device ID. After that, Enter the device name and click on the create and configure device:
- You will be on your device dashboard: track your device’s special parameters here.This can be set in the device configuration(default to null)
- you can see your real time and special parameter’s graph
- you can see all your data points
- you can see here your last 5 data points
Click on the “Send trial data” to send a trial data to the server:
Part III: Setting Up NodeMCUNow switch back to your NodeMCU project.
Goin sample device code options in http://thingsio.ai/ account and click on the Node MCU. You will getthe sample code from there.
copy and paste thesample code into your IDE
compile thesketch by clicking on the compile icon on the top left corner
connectthe node MCU(ESP8266) via the USB cable
Upload the sketch by clicking on the upload icon
You can check the output on the serial monitor
Part IV: Charting and Visualizations on Thingsio.AI- ThingsIO.AI is an IoT Platform for developers. As a developer we understood the pain of not having a seamless place to connect, analyze and process device data. Many pure analytics platforms does not offer device management, which is core for the IoT. That is the reason of ThingsIO.AI
- Register the account in http://thingsio.ai/#/register.
- You will get the notification for sign up.
- Go in your email address and verify your account. You will get the notification for the email verification
- After that, sign in your account with your email address and password
- Now, you will be on the project dashboard of your account. Click on the new project option:
- Click on the add a new device option:
- Go in sample device code options and click on the Node MCU. You will get the sample code from there.
- Go in sample device code options in http://thingsio.ai/ account and click on the Node MCU. You will get the sample code from there.
- Copy and paste it on your IDE
- compile the sketch by clicking on the compile icon on the top left corner
- connect the node MCU(ESP8266) via the USB cable
- Upload the sketch by clicking on the upload icon
- Now, click on the configure device option
- You can set the special parameters (this is tracked on the dashboard) & transform it accordingly and add new parameters
- Click on the update device option:
- You can also set your device geographical location
- To create a graph for your device click on the “create graph option”.
- Click on the preview option and click save change
- You can monitor the response from the server, connection with the Wi-Fi etc on the serial monitor (make sure that the baud rate is same as that specified in the program i.e., 115200


Comments
Please log in or sign up to comment.