What Do I Build Next? A newly released metal stamped SMART Raspberry Pi based robot by SunFounder called PiCar-X.
This is another SunFounder product (added to Ezblockpi, PiMobile, PiCar-S, PiCar-V, and three Raspad versions) that is managed/programmed/and updated using the web-based application Ezblock Studio and through the Wifi using Python code. It can be accessed using an Apple, Android, Ubuntu device and even a Windows based computer or cell phone or tablet. Although Windows support requires a proprietary Bluetooth USB dongle. The use of the Ezblock Studio software requires a persistent Internet connection and an account on the SunFounder servers.
Everything for this kit is included except the Raspberry Pi (either 3B+ or 4B+) and two 18650 batteries. Be sure to purchase the SunFounder Bluetooth dongle for the EzBlock products.
I found this on Amazon for a reasonable price.
Boy I was glad this was constructed out of metal parts. I've not had good luck with early prototype wood or acrylic kits...I don't like pealing protective films....
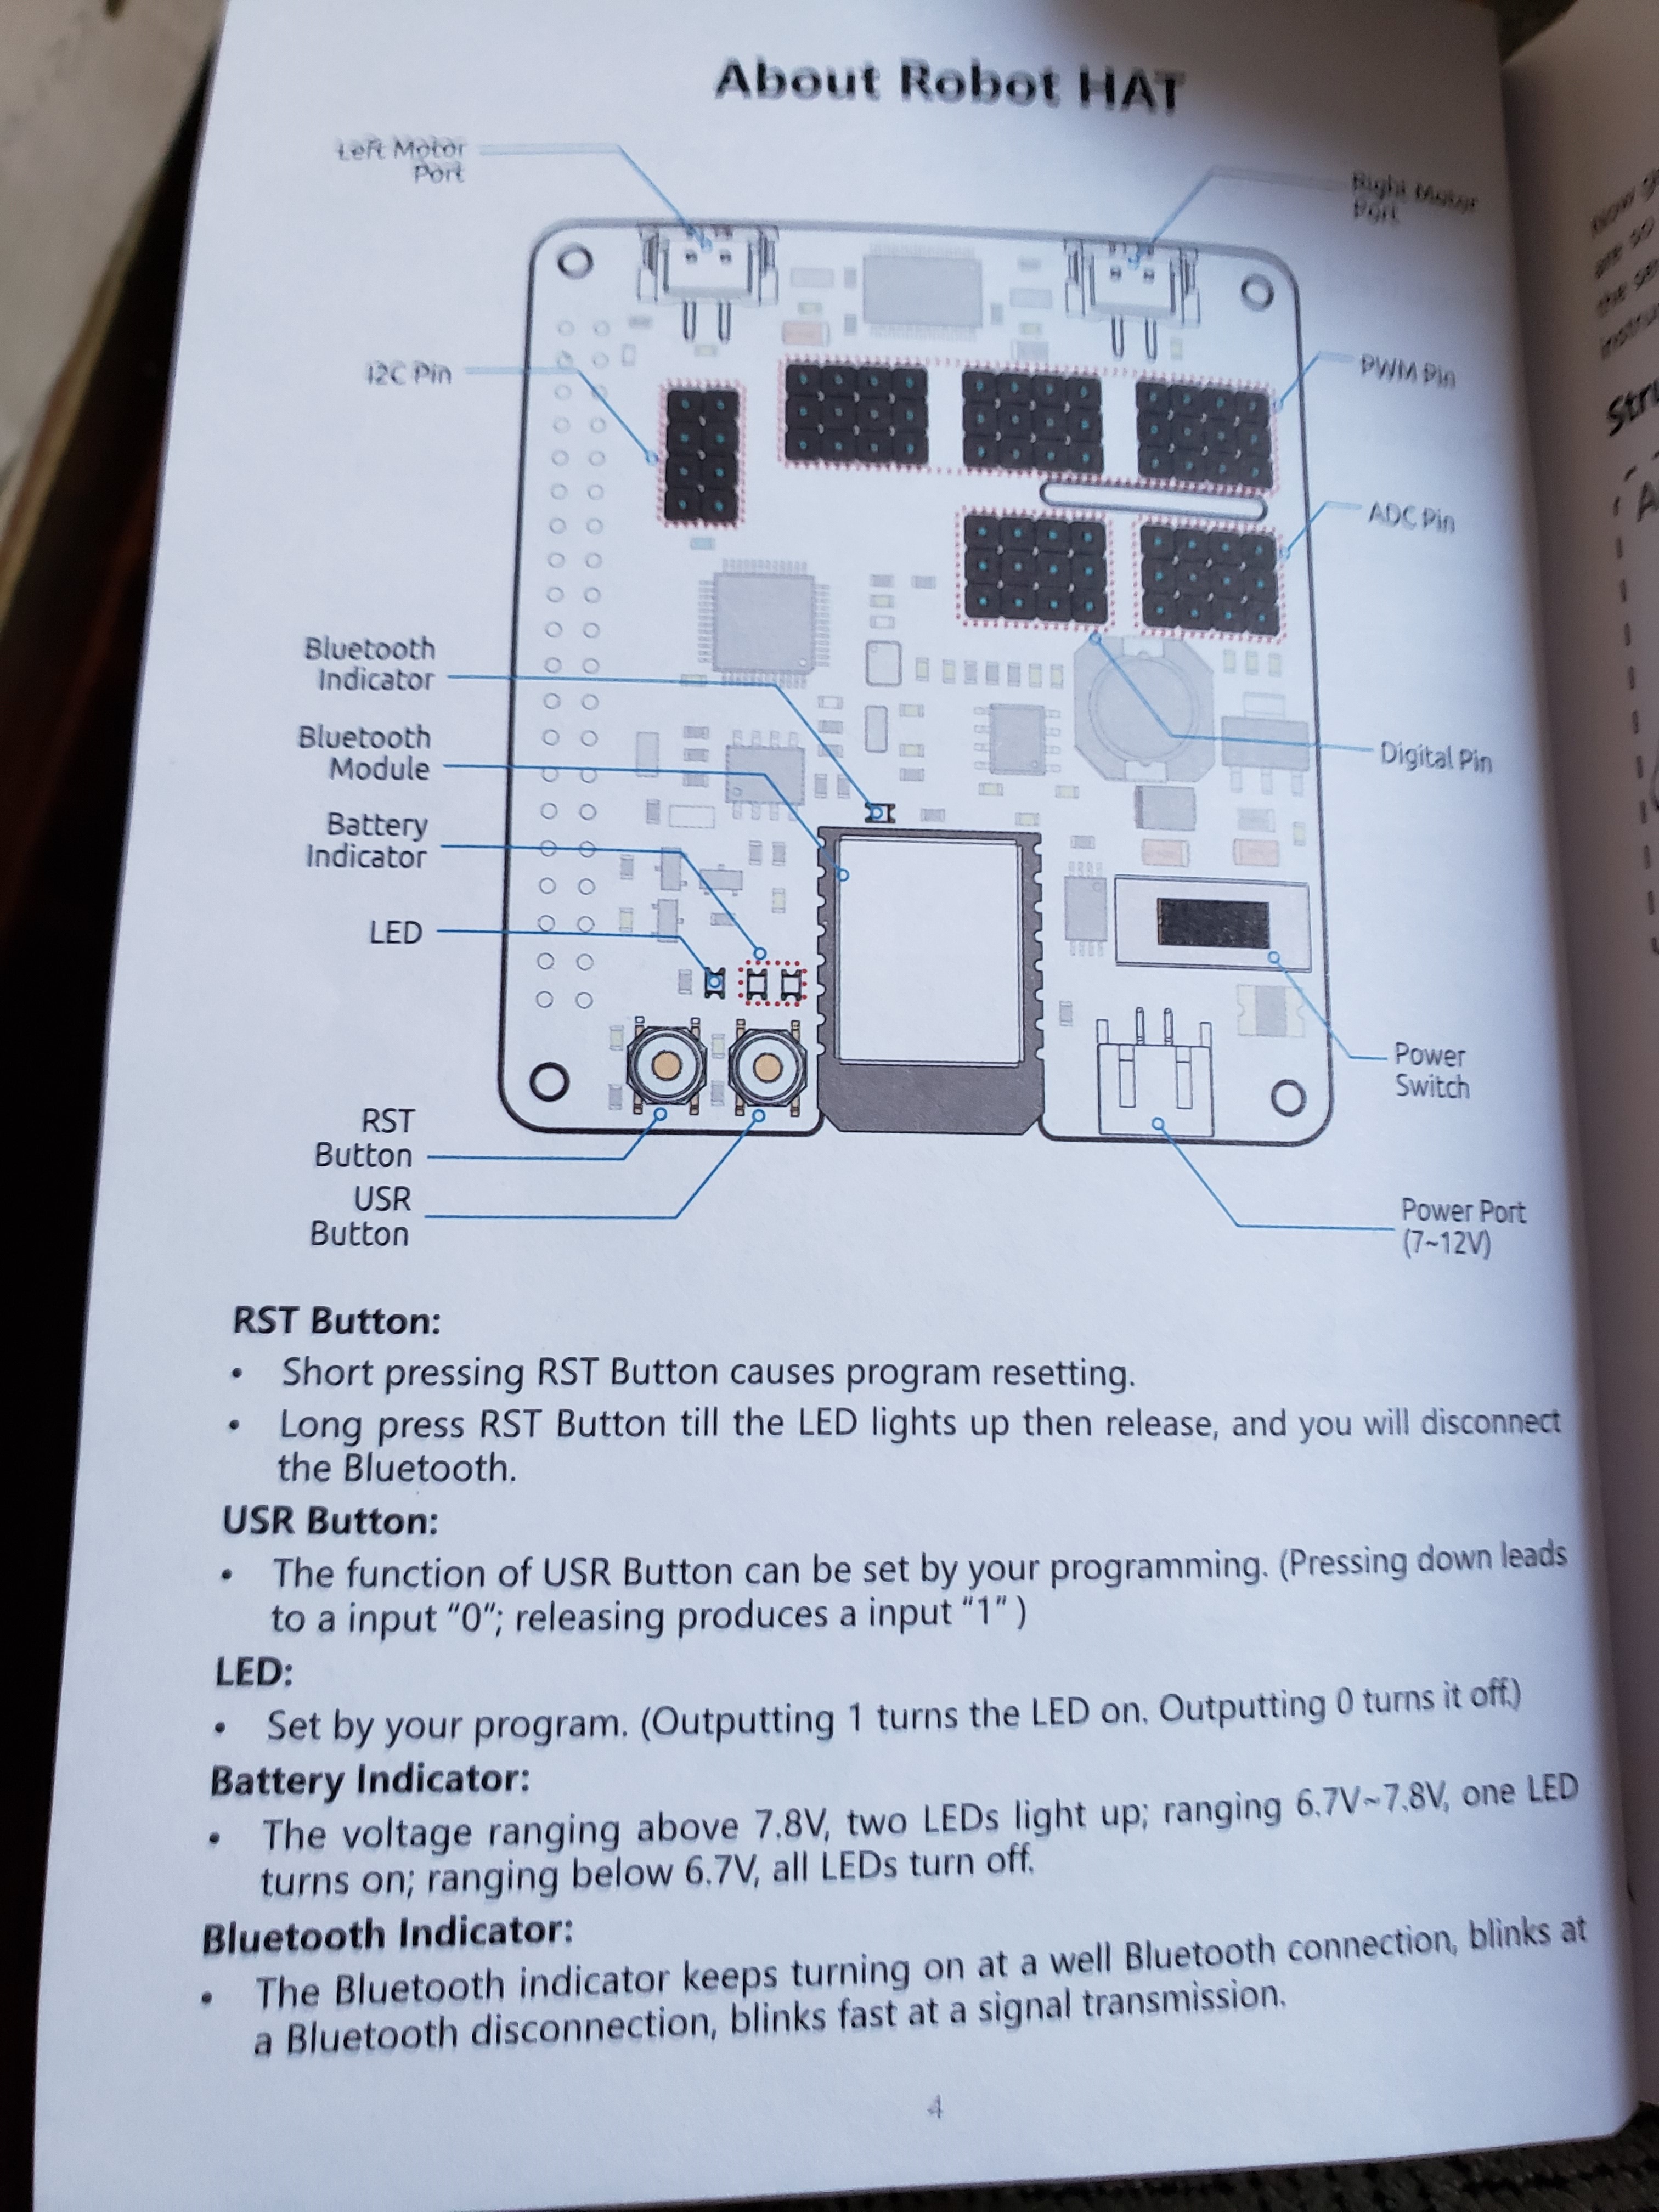
The electronic parts: battery holder, ultrasonic sensor, and servos were common parts. I've even seen the IO shield "Robot Hat" on other SunFounder kits that I have purchased (does that mean the Raspberry Pi Python code will be the same? or at least very similar...we'll see. Are we able to utilize "blocky" code snippets from one SunFounder robot and use them with another if compatible?) is it using the proprietary Bluetooth module that requires a "special bluetooth dongle" but YES it does and the dongle is included.
I was able to upload EzBlock code for a different product that had used the Picamera and execute on the PiSloth BiPed (reviewed previously) this would allow for FPV from the PiSloth as it navigated my livingroom.
This dongle is required for Windows 10 PC/laptops when used with the EZBLOCK Studio software. My previous exposure to object programming and this EZBLOCK platform was not good. I could not find documentation as to these building blocks requirements.
I had programming difficulties because I didn't own an "I-Pad type product" or an "Android Tablet" but I did have a Samsung S9 phone that was Android based but the screen was too small to program on. (This was my bad experience)
Let's continue with the build. It would be many small steps.
I would first need to decide on a Raspberry Pi to use, download the current correct "Raspberry Pi Ezblock Image software" image from the SunFounder website, create my own SD card using Balenaio or Raspberry Pi Imager, and yes locate two 18650 batteries. I had so many unused Raspberry Pi's available (really, I had a variety of 3B, 3B+, A+, and 4B+'s with different memory configurations due to Christmas gift cards and eight robot kits to build)...Remember this Robot doesn't need WIFI or Bluetooth since it is using the bluetooth dongle and module on the Robothat.
You'll also need to download and install the Ezblock Studio App for your programming device: A windows laptop/pc, and Android, Apple or Ubuntu tablet or device from the " https://ezblock.cc/download/index.html " website.
My antivirus had an issue with this website, (http://ezblock.cc/download/index.html) I had difficulties connecting to this domain in China due to security certificates and very slow downloading speeds that resulted in a corrupted image...
BUT in February of 2021 !!!!!!!!! the issues were corrected and I was able to get updated software for the SD card and my Windows 10 laptop. Even my Android phone updated its "older/outdated version"...but what about my SunFounder/Kickstarter RASPAD's??? I didn't test these either because I am still waiting for my RASPAD 3 to arrive (its March 18th SunFounder!!!!!!!!!! I am still waiting for my Kickstarter pledge to arrive) funny as I update and annotate pictures for this project today (March 27th) I had received an email stating my long awaited Raspad 3 was in the USA on March 22nd and would be delivered on Tuesday, March 30th via FEDEX.
I used a 32gb SD card purchased from Amazon.
To burn the PiCar-X SD image, you can use Balenaio Etcher (https://www.balena.io/etcher/), Raspberry Pi Imager, (https://downloads.raspberrypi.org/imager/imager_1.6.exe) or you imaging software of choice.
As usual, I would take the "standard image" and customize with my localiztion settings for my network and do the Raspi-config updates using my favorite terminal utility PuTTy. " https://www.chiark.greenend.org.uk/~sgtatham/putty/ "
After downloads were installed, I did perform a few quick tests for connectivity after localizing the Raspberry Pi/Ezblock SD image for my network.
Now for the unboxing and build
Prep my Raspberry Pi and SD card image...I copied blank SSH file and customized wpa_supplicant info to SD card before 1st Boot
Assembly- layout parts-prep battery holder ribbon
Install battery holder
Prep PiCAR-X base to mount Raspberry Pi
Mount Raspberry Pi to PiCAR-X base (I decided to use a RPi 4B+ with 4gb)
next prep and install DC drive motors and wheels (rear)
Next install the rear wheels on DC Motors
Assemble hardware for PZT camera-attach camera to moun
Assemble hardware for PZT camera- attach servo horns
Assemble hardware for PZT camera- attach servos
Assemble hardware for PZT camera- attach PiCamera, RobotHat to Raspberry Pi
Assemble hardware for PZT camera- secure RobotHat
Attach battery holder and DC motor cables to Robothat
Assemble hardware for PZT camera- attach pan-n-tilt servo horns
Assemble hardware for PZT camera- attach pan-n-tilt servo horns 2
Assemble hardware for PZT camera- attach completed PZT Camera assembly to Robot Base
Assemble steering assembly-top servo
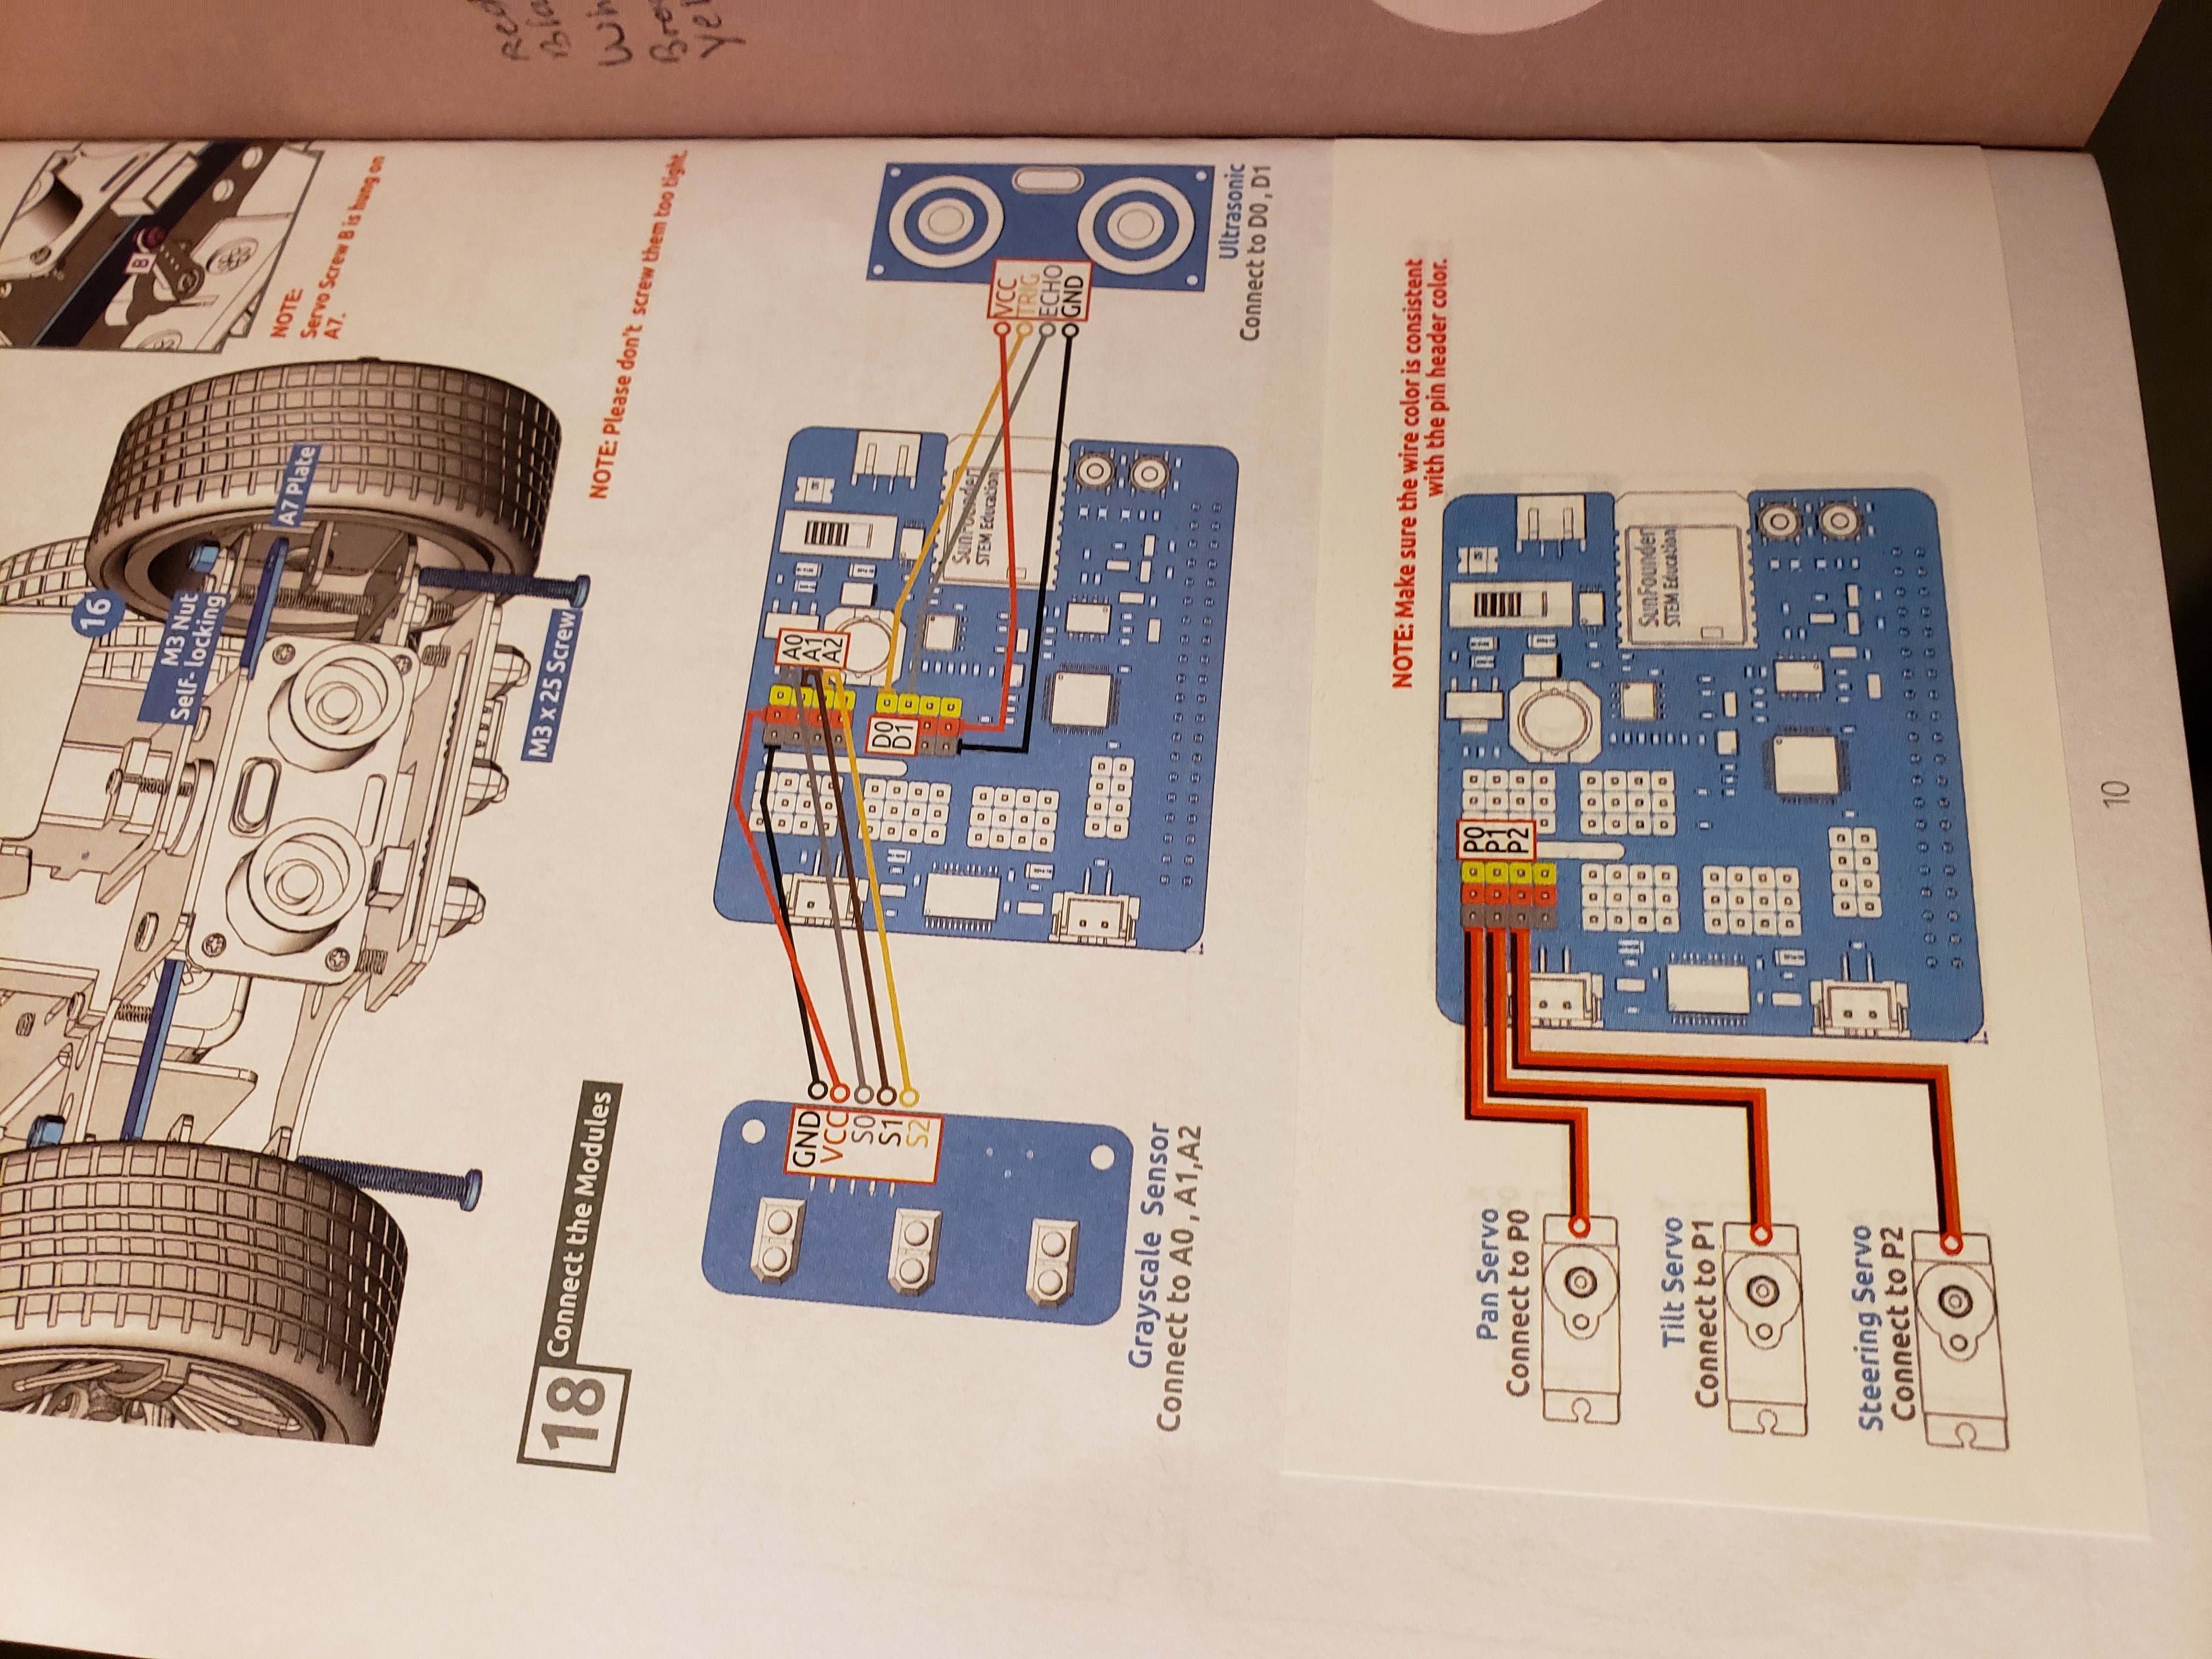
Assemble-ultrasonic sensor
attach
Assemble lower steering plate-line detector/lower steering assembly
Assemble-front wheels
Assemble-front steering assembly
Assemble-steering continued
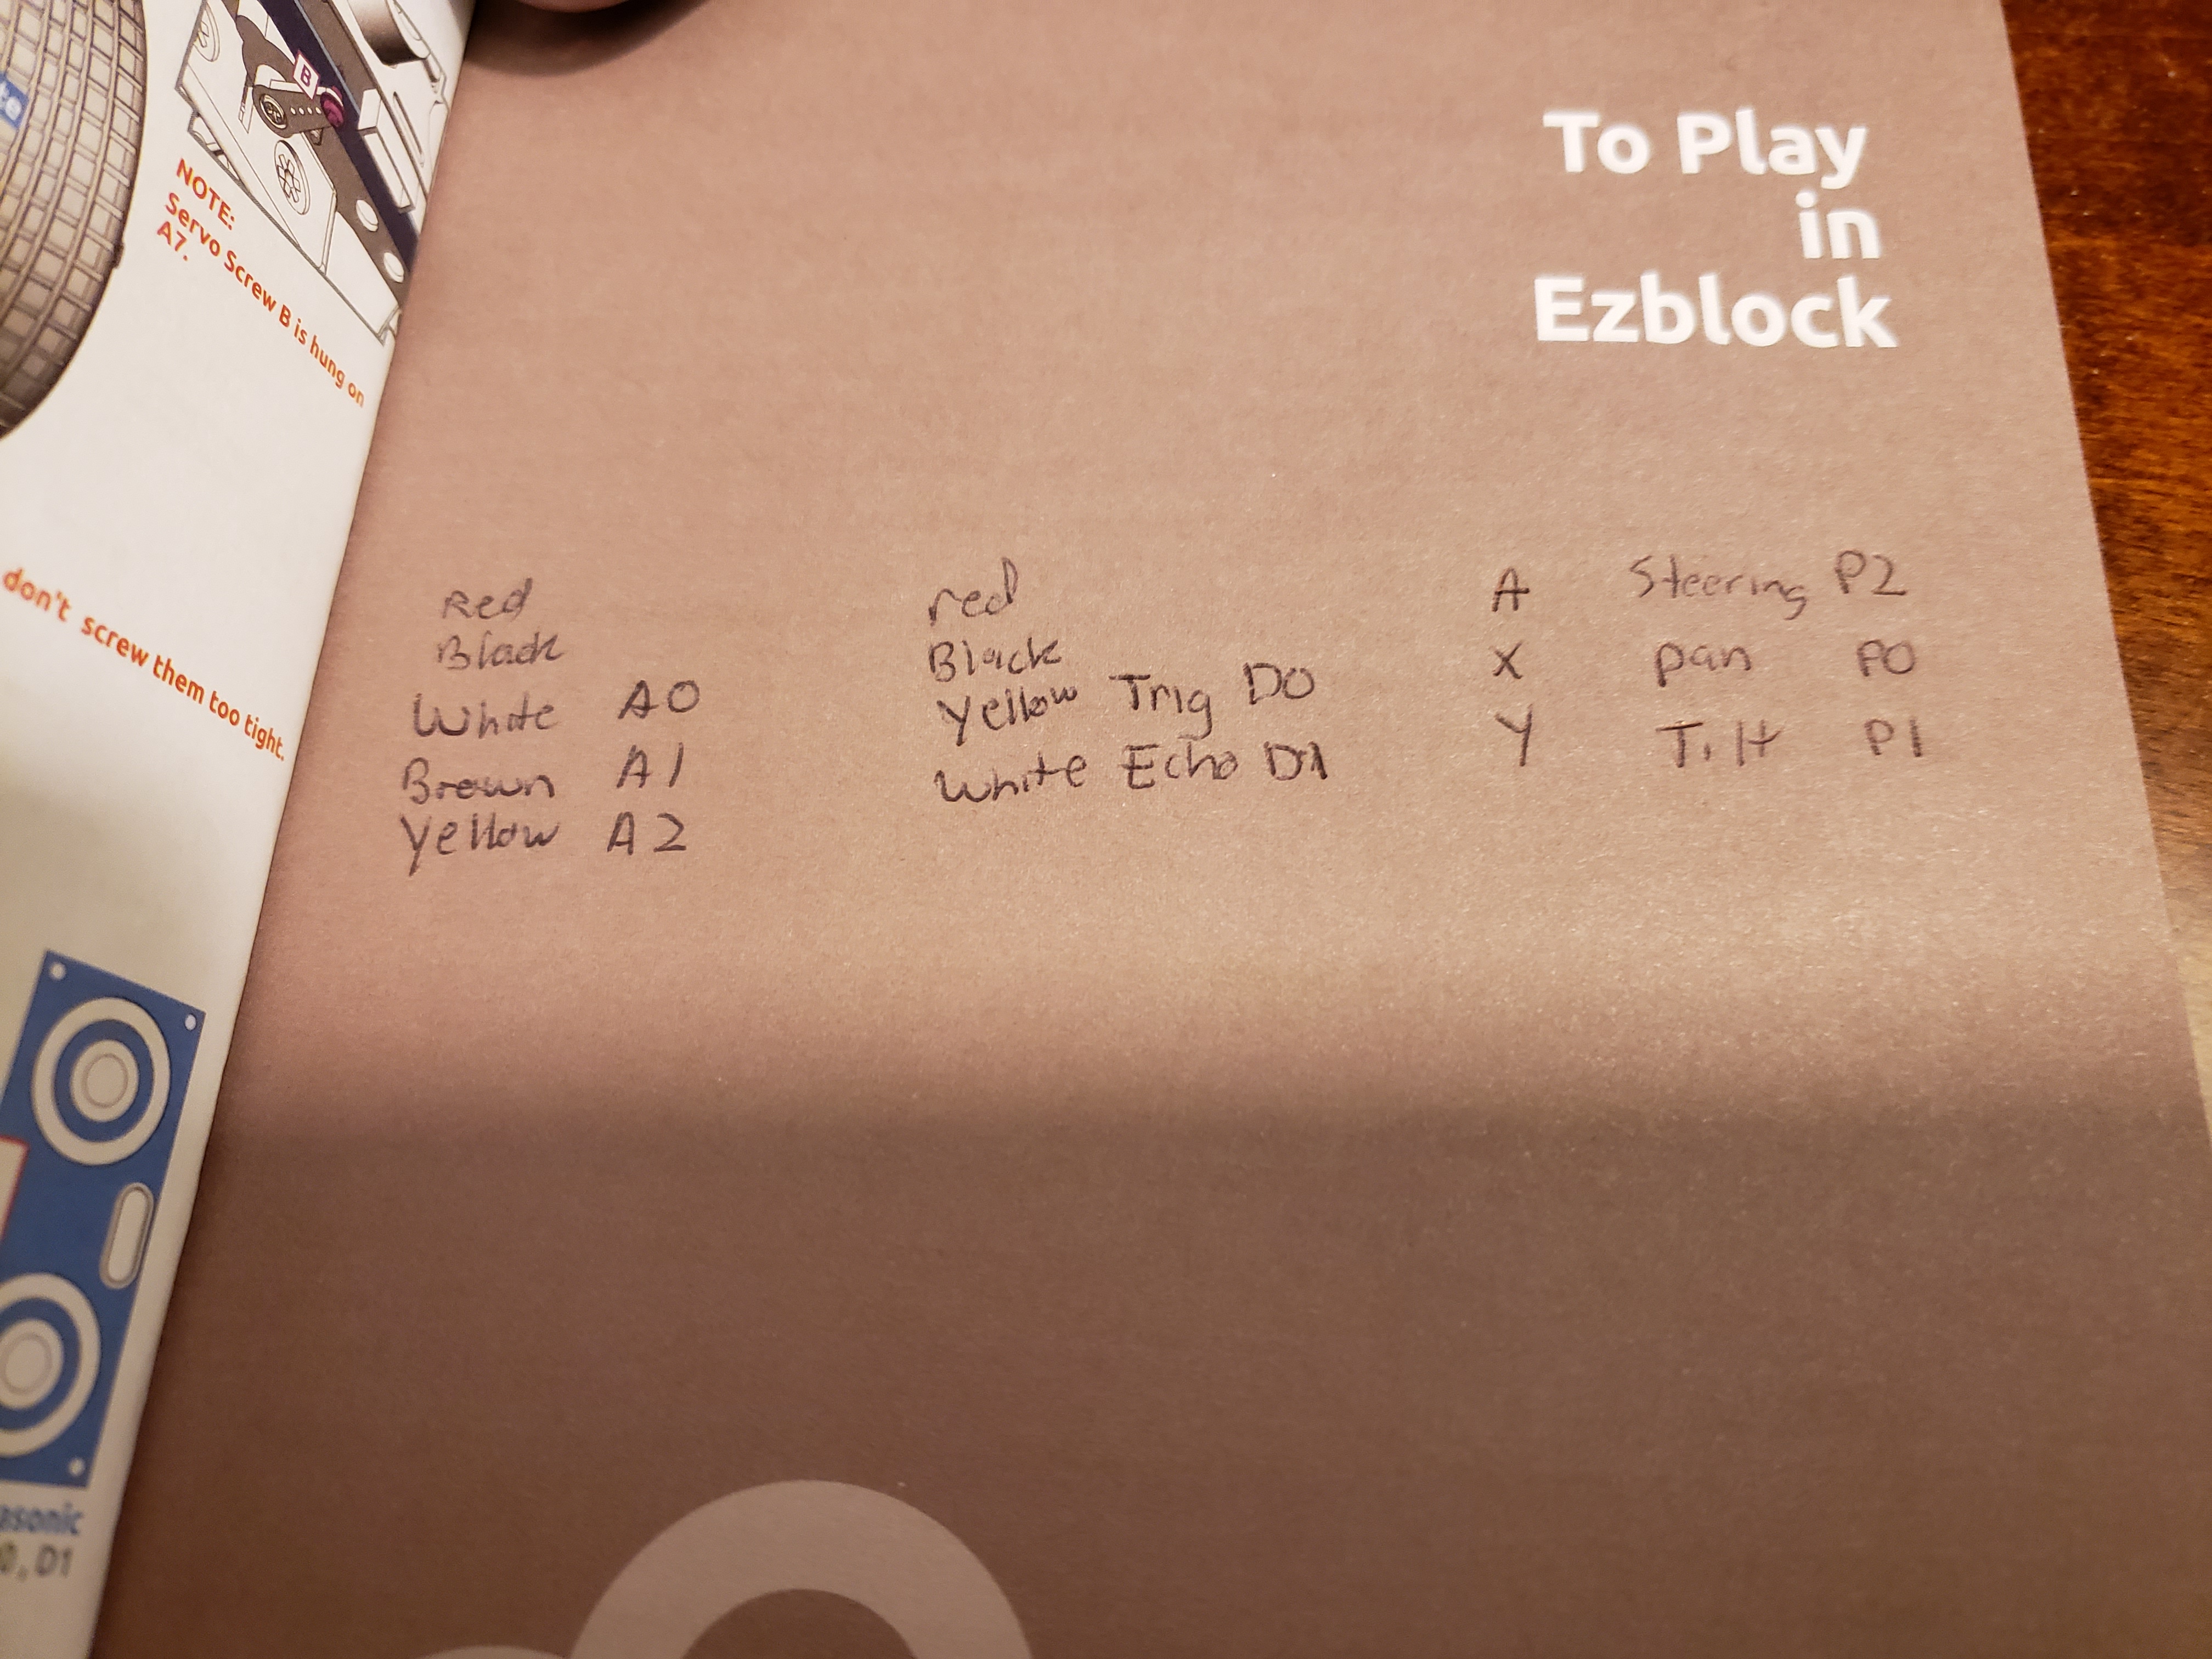
Assemble-cabling and cable management
What's next? Oh yeah...videos
1stboot of RaspberryPi with RobotHat and the Ezblock image
after some assembly steps...I want to control my robot
remote control mode
backgroundmusic
backbgroundmusic2
uctest
basicmove
basicmove2
Once again the previous videos were a result of using the Ezblock Studio App on a Windows 10 laptop and the SunFounder bluetooth dongle. If you use an Android or Apple cellphone or tablet you can have fun with these basic examples while learning how to program using this "blocky IDE".
If you want to use or are more familiar programming in Python, you can connect to the Robot using SSH and Putty and then using GIT install the Sunfounder repository and run the same examples.
Python Code Control
in this kit, there are two different methods available: python code control or web control.
There are 13 python codes and a web_control folder...
using SSH and Putty terminal for Windows users:
cd /home/pi/
git clone https://github.com/sunfounder/picar-x
sudo service ezblock stop
or
sudo service ezblock start
cd /home/pi/picar-x/examples
***using this format: (AND consulting the USER MANUAL for an explanation of each code and its use)
ls
cd /ezb-pi/ezblock/ezblock
sudo python3 1.move.py
2.ultrasonic_sensor_test.py
3.gray_scale.py
4.color_detection.py
5.face_detection.py
6.sound_effect.py
7.background_music.py
8.say_hello.py
9.music_car.py
10.cliff_detection.py
12.minecraft_plus.py
These Python code examples have equals in the Ezblock Studio App. I have found that the Ezblock Studio APP can control many robot platforms by SunFounder. The "blocky" environment has code snippets specific for each platform and its special features.
I haven't found how to copy snippets from one device to another to build upon but code snippets can be utilized if the robot has the robothat IO board.
Each robot environment allows for custom code blocks as well, although I also haven't found a "BLOCKY" environment guide to build from...still looking though
Finally, today is March 27th...finished annotating all pictures. Time to publish


Comments
Please log in or sign up to comment.