Inspired by the projects of Geek Mom Projects and MakeFashion, I got some ideas in mind to make wearable projects. As a huge fan of earrings, I decided to create illuminated earrings. The first time, I picked Grove WS2813 (I'd like to reuse it after my first project Time by Wind), but the experiment shows that it’s not a good choice. The shape is a little bit larger for earrings. While I am distressed about which board is suitable, my colleague mentioned an interesting idea about his available PCBs, that may be good for wearable projects. After seeing those boards, I get addicted to them. They’re pretty gorgeous.
Here is the result:
Let's get started to make glowing LED earrings!
Step 1:The most difficult thing in this project is the soldering part, there are seven LEDs on the front per board, and four resistors on the back. I tried my best to weld three LEDs on the first board but when continuing work, it seems three solder spots are loosened weld one by one… God, have I broken this board? Luckily, I met a good PCB soldering teacher- Dingding, he explained the reason becasue my electronic iron remained for a long time in a spot, two seconds is enough. He demonstrated a better way of soldering and also repaired this beauty. I used a heat gun on the first LED soldering, the reality is it's not the fast and good option for this project. I realize working smarter, not harder, is the secret to efficiently getting work done.
Then solder the PCB to Seeed XIAO
After soldering work, now it’s time for code. Download Arduino IDE. The latest version is much easier to use than the old one and suitable for a starter like me. I can search the library on the left side, and the notifications on the bottom right corner are also a good design. For the microcontroller, I chose two pieces of Seeed XIAO, it's tiny and powerful functions are the best choice for wearable projects. Then follow the Seeed XIAO introductions and download the libraries. Seeed also provides several great XIAO project documents, such as the guidance Seeeduino XIAO programming course. I tried different colors and prefer green, blue, and Magenta combinations.
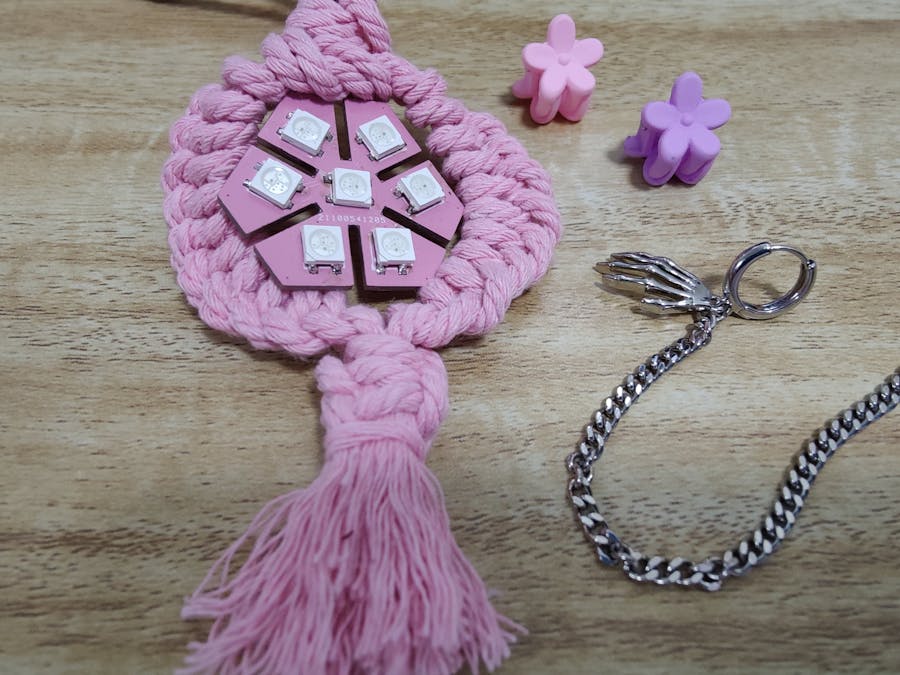
For the appearance, in the beginning, I wanna try Tinkercad 3D printed flower petals using translucent material. Normally LED exposure looks not beautiful. But when trying one, it looks not exquisite as I imagined. By accident, I saw a roll of strings the color is exactly what I want-pink! For knitting, I have several techniques in mind.
I prepared two hairpins that have a similar color to fix the threads on the hair and combined a normal earring with the DIY earring to better put on to the ear. Last, connect with the power bank and hide in the cloth. Done! For now, I used a power bank to power up the earring, but if you prepare it for a party, absolutely need a battery. But now it’s enough.
This is my first wearable project, DIY LED Earrings. Although it looks shiny, I know it still needs to upgrade, for instance, how to change the colors so that more attractive, or use a more surprising way to light it up, etc. If you have any suggestions for this project, welcome to share them with me. Hope my upgraded version can meet with your guys soon!
More videos: https://www.youtube.com/shorts/HFMOu_KnQk0


Comments