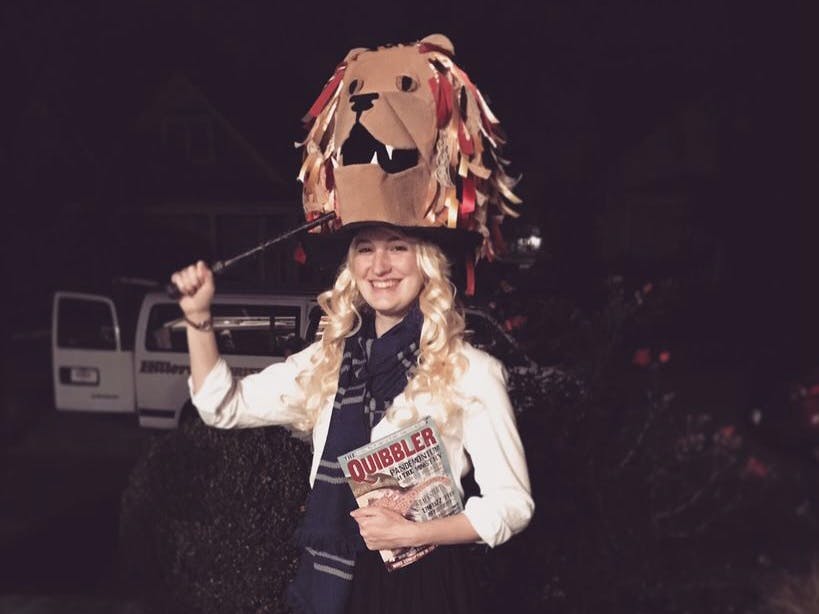
A Luna Lovegood Lion Hat!
I wanted to make a lion hat for our book character day (halloween) and wanted it to be more like the book version (a giant lion head on a witch hat)!
Step 1: MaterialsI tried to use as little and light-weight materials as possible for my hat.
-cardstock paper
-tan thin fleece
-around 10 rolls of ribbon (I raided the clearance ribbon for reds, golds, & tans)
-two large buttons
-black felt
-witch hat
-hot glue gun
-tape
-mod podge (optional)
Step 2: Creating The Lion FrameI originally planned on using a free paper craft template I had found online. However, when I went to print it out, I found that the file was unavailable and I couldn't find any others that were free and similar. So I had to make a lion head from scratch, which was interesting!Using cardstock paper, I made a paper cylinder the same diameter as the opening of the witch hat. Next, I began cutting and taping together paper shapes to form a lion face. I mostly tried to look at my cat's face for reference. When I had a face shape that I was okay with I began to hot glue it to the paper cylinder. I also replaced the tape with hot glue.
Step 3: Adding FurNext, I began glueing the fleece on the face for fur. I glued sections at a time to make it easier to smooth it out. After doing the face I also did the neck all the way around.
Step 4: Making The ManeI cut all the ribbon into around 3-5" strips and began glueing them down to the lion head starting from the bottom and working up.At this point, I also used the cardboard from the ribbon to make ears. I tore off the side cardboard circles and cut them in half. Then I glued two halves together like a tent or a V. I glued the ears on the head and covered them with the fleece.
Step 5: Eyes, Mouth, And NoseFor the eyes, I cut out black felt pupils and glued them onto my giant buttons. Then I glued the eyes on the head and made some eyelids out of scrap fleece.I eventually would like to replace the eyes with taxidermy/stuffed animal eyes to make it look a little better. However I feel like Luna would use whatever she had and the buttons make it look more homemade! For the nose, I cut out a nose shape from black felt and glued it on!For the mouth, I cut and glued black felt inside the mouth to give it a clean look. I also sealed the paper cone teeth with mod podge so they will hopefully last longer. In the future, I hope to add a tongue and perhaps even some tech to make the lion roar!
Step 6: Finishing The HatTo finish, I attached the witch hat to the bottom of the lion. I cut off the top half of the point and cut some slits in the remaining point of the hat so it would glue down in sections. Then I glued each section into the inside of the lion to make it one big hat. The hat stays on fairly well, however in the future I would like to attach a helmet on the inside and strap it to my head for more stability. I would then cover the straps in material to look like ties for the hat! It was a very rushed job, but I am overall happy with the turnout and hope to make additions to it in the future!


Comments