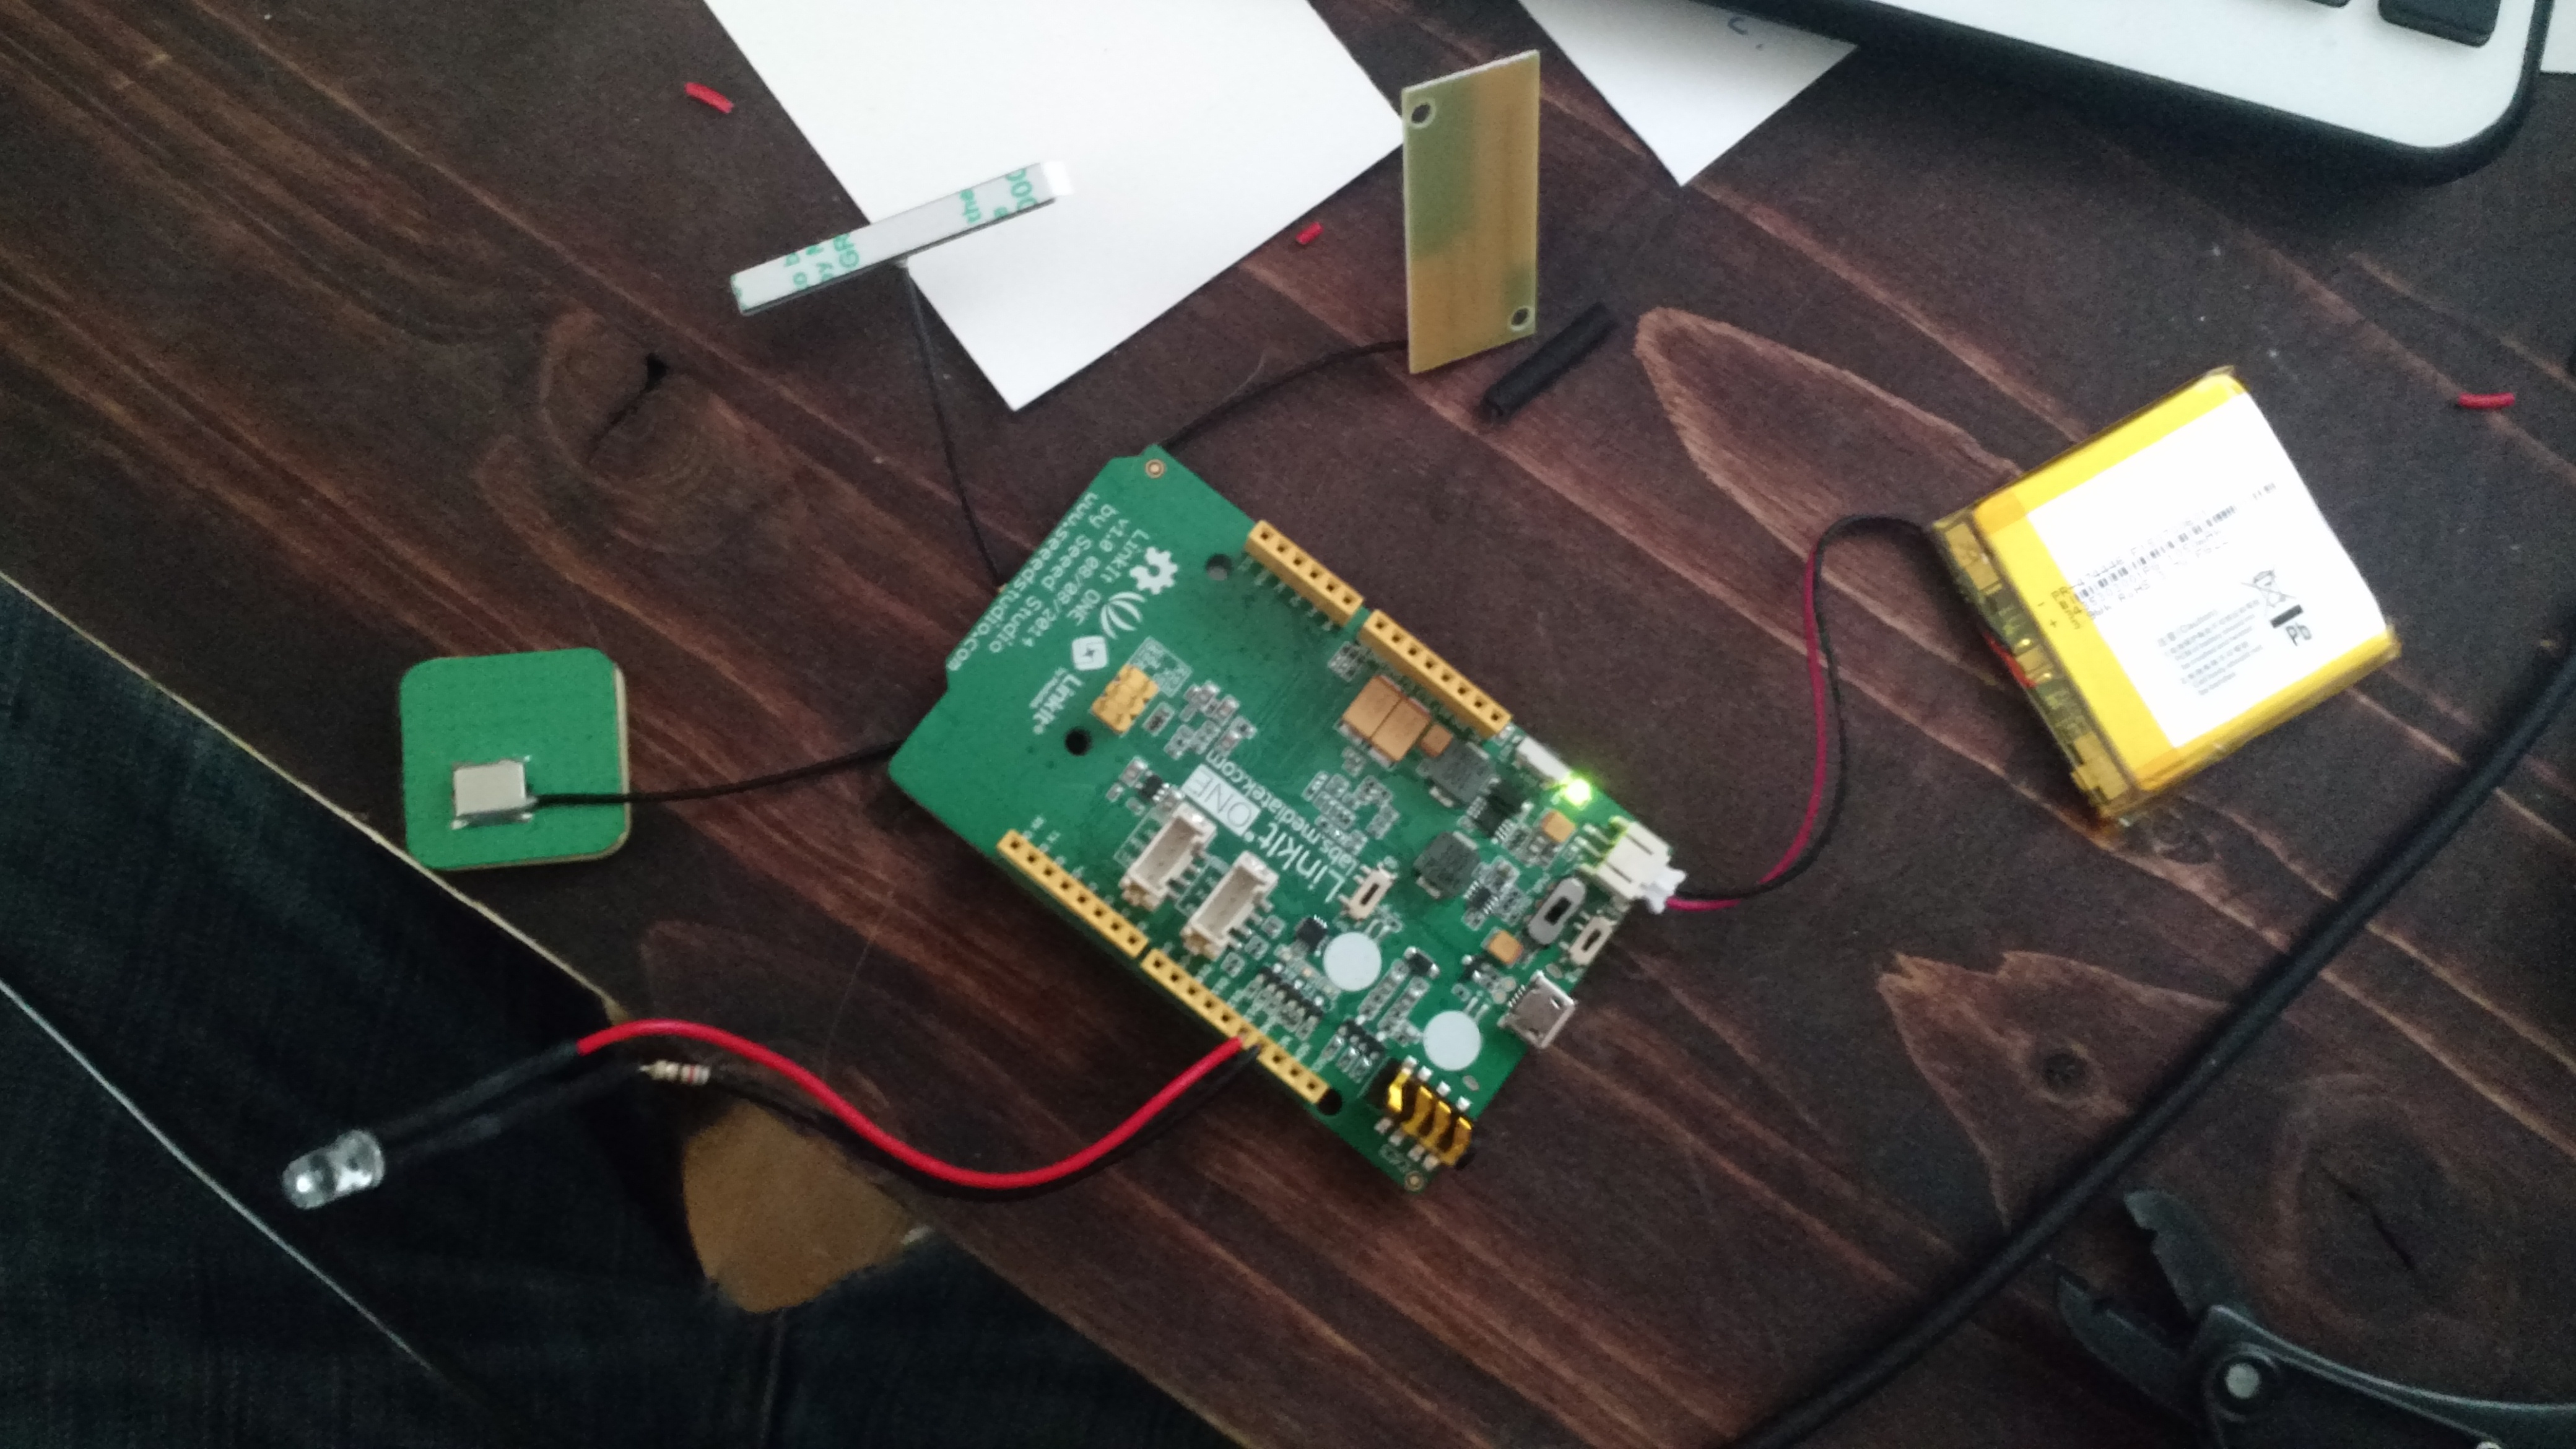
My cat has an annoying habit - whenever I need to find him, he's hiding. He likes to hang out in small and obscure spots so locating him is always a struggle. I decided that I could use the Linkit One and the MediaTek Cloud Sandbox in order to create a system that would help track him. I then added an LED so that I could easily find him in a dark room.
I used a mac mini to set up and develop on the linkit one and used the following guide: http://labs.mediatek.com/site/global/developer_tools/mediatek_linkit/get-started/mac_osx_stream/install/index.gsp , What these instructions do not mention though is how many times you need to restart your computer in order for the Board Manager to recognize the Linkit One as existing. I also had to uninstall and reinstall the Arduino IDE before the USB COM port driver for LinkIt ONE development board could install.
Create an account on https://mcs.mediatek.com/. The tutorials on MediaTek are very helpful but there are, unfortunately, not that many of them. I followed the tutorial for the basic switch (which basically outlines how to turn the internal LED on and off) : https://mcs.mediatek.com/resources/latest/tutorial/implementing_using_linkit_one. I've attached the code for the basic switch and any comments that I found that might be helpful for someone trying to understand the code.
As it says in the tutorial to do, I created a project and I created an LED Control (with a data channel id named LED_Control) as well as a GPS Location (with a data channel id of GPS_Location).
The structure for sending GPS information to the MediaTek Cloud Sandbox is: "GPS_Location,,latitude,longitude,altitude".
I modified the code so that I wouldn't send back the status of the LED and instead send back the GPS coordinates. The control from the Data Channel for the lights still enables or disables the LED but I felt that I didn't need the feedback to come for that piece of information.
I primarily modified the code that was given as a sample from the testGPS file in the examples for the LinkitOne. One important trick to remember is that Arduino defaults double format variables to just two decimal places when displaying it as a string. For example:
longitude = 32.024554;
latitude = -45.023543;
altitude = 250.6;
When I try to display this in the format to send:
infoToSend = "GPS,," + longitude;
infoToSend = infoToSend + ",";
infoToSend = infoToSend + latidude;
infoToSend = infoToSend + ",";
infoToSend = infoToSend + altitude;
When I print infoToSend it will show up as: "GPS,,32.02,-45.02,250.6"
In order to get it to show up with all six decimal places you have to specify it using the String() command (converting the double into a string). You can specify the number of decimals by having it be String(doubleVariable,numberOfDecimalPlaces). For the example laid out above:
longitude = 32.024554;
latitude = -45.023543;
altitude = 250.6;
infoToSend = "GPS,," + String(longitude,6);
infoToSend = infoToSend + ",";
infoToSend = infoToSend + String(latidude,6);
infoToSend = infoToSend + ",";
infoToSend = infoToSend + altitude;
When I print infoToSend it will show up as: "GPS,,32.024554,-45.023543,250.6"
Combining the information together and the final result is a system that you can control remotely as well as a system that will update in real time. I have made a video that`shows the system in action (unfortunately my cat was less than thrilled that I was trying to put a harness on him in order to attach the Linkit One to track him).


.jpg?auto=compress%2Cformat&w=900&h=675&fit=min)


Comments
Please log in or sign up to comment.