- MIKROE-2094 - Hexiwear Docking Station
- MIKROE-1370 - Relay click
- Rapid IoT
- Windows Computer
- Microusb cord
The docking station is initially configured to work with Hexiwear. In order to set it up to work with Rapid IoT, follow the directions found in the manual - SLN-NPK-NODE-UG starting in section 4.1.5 Programming of K64F and KW41Z Bootloaders. There's a good video shown here: https://community.nxp.com/docs/DOC-342112. Once the bootloader is on, you can move to using the online studio.
The online studio is found in section 4.2 in the same document. It's worthwhile going through how the logic of it works.
Design RequirementsI want to build a smarter fan controller where I don't have to necessarily have something external in order to control it. So what I want to do is three things:
1) I want to have a system where I can turn on the fan with a press of a button on the Rapid IoT
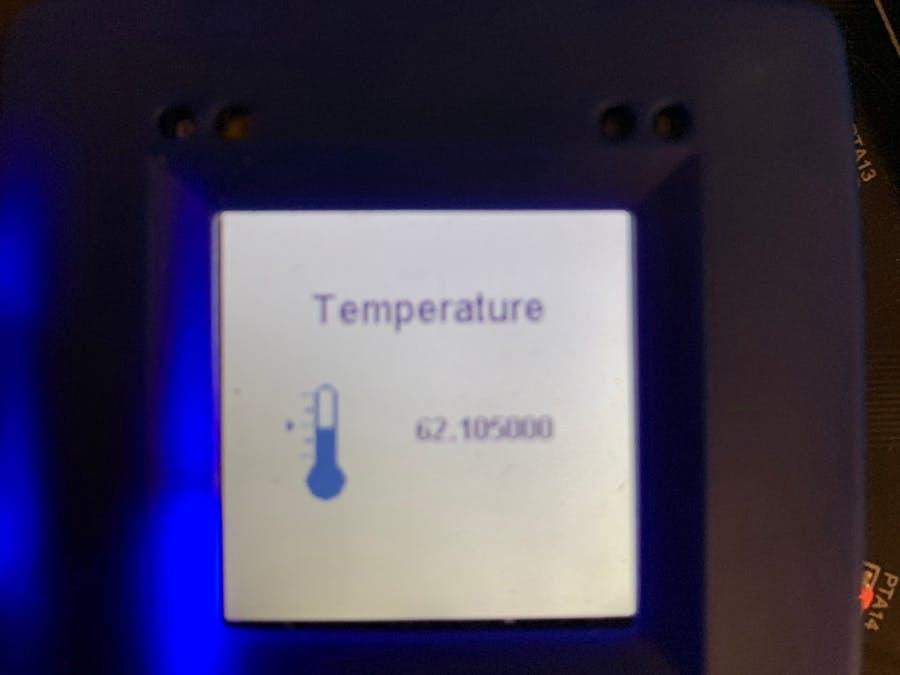
2) I want to be able to turn it on and off with an app on my phone and see what the current temperature is
3) I want to have the system turn on and off the fan when the temperature gets too hot and turns off after it gets cold enough
DesignUsing the Docking station makes the design very straightforward. The Relay Click board fits easily in the docking station. The Rapid IoT locks directly in the device. The whole thing is powered by a microusb so there's no need for an additional power supply. Wiring the device in requires you to cut the hot wire only and feed it through the relay click board. The relay click board is a one pole relay board so we can only feed the hot wire through the relay board.
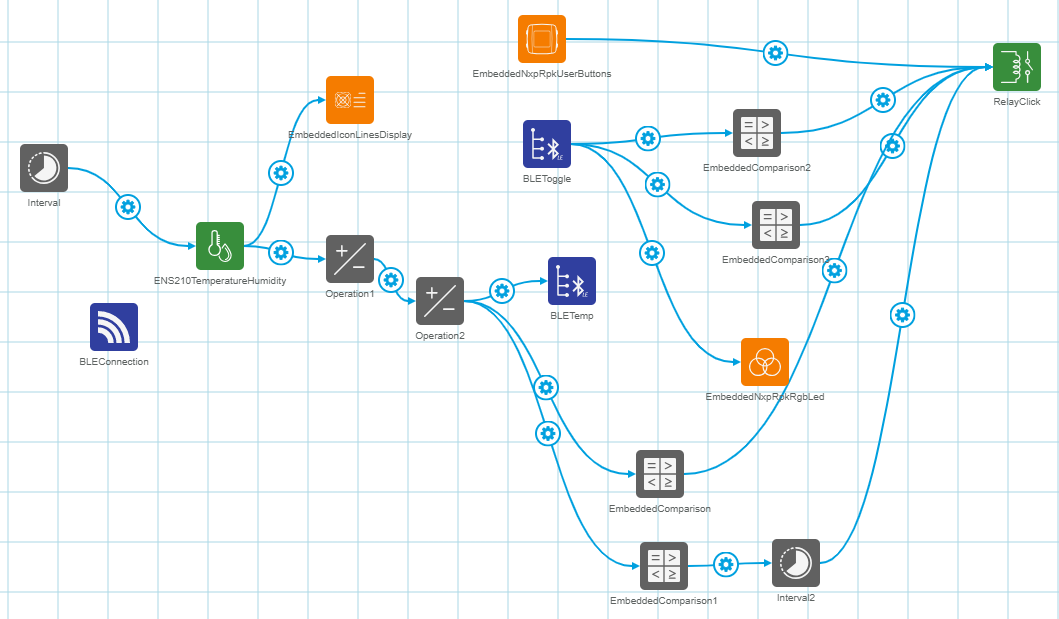
NXP Rapid IoT WebI took the base program from the example for Relay Click Demo as a place to start. The default program basically lets you press the button on the bottom right of the Rapid IoT and it will turn on or off the relay. I expanded it. Look at the pictures below.
Once that is all set up, you should compile the program in the top right corner (image of the hammer) and then once that is finished, download the program firmware.
Press the button on the top right corner for the Rapid IoT and press the reset button. Release the button once the device flashes green. Plug in the device to your computer and it should appear as a drive to dump data into. Drag the.bin file onto it. It takes a minute to load.
Connecting to your phoneSetting it up on your phone is pretty straightforward. I used an iphone and downloaded the app. Just follow the pictures below and it should set you up.
The entire system is pretty simple, I'll show you how what it looks like when the relay is on and off and then the final device. Everything else in terms of actually building the software is laid out above.
And just to round out the project, here's a video of the project working how I want it to work.


Comments
Please log in or sign up to comment.