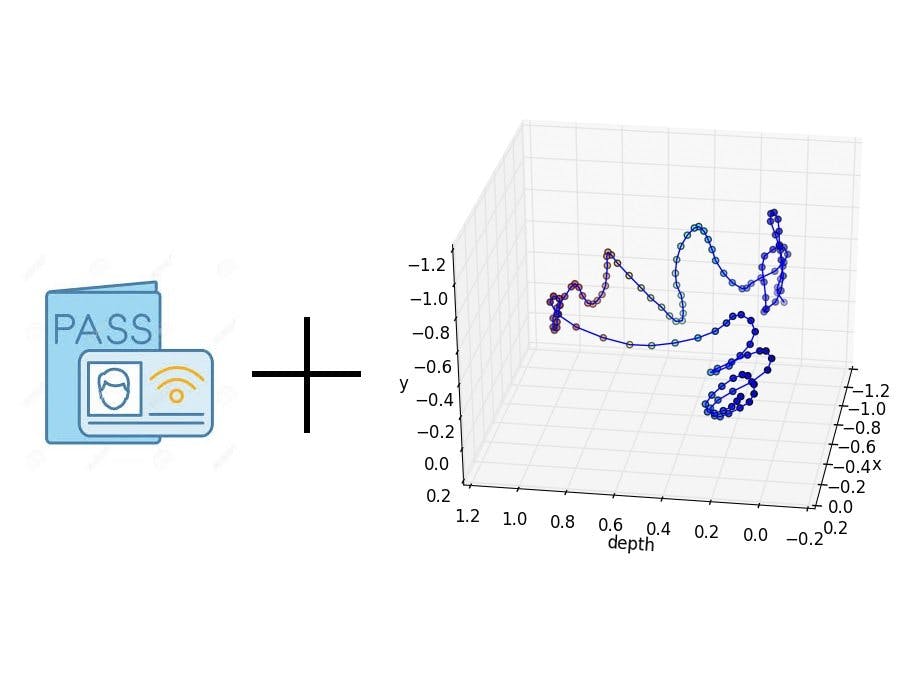
Authentication systems usually adopt either the conventional identifier-password paradigm or different kinds of tokens (e.g., badges, keys). However, passwords can be disclosed while being input and tokens can be stolen and used by impostors. As a result, Double Factor Authentication has become a standard for user authentication. In this context, this work proposes a double factor authentication system based on the combination of a RFID tag for token-based authentication and an in-air signature device. The device called a smart pen is based on an absolute orientation IMU sensor : the BNO055.When a person uses a RFID tag for identification, the devices waits for an in-air signature using the smart pen. A trained neural network uses data coming from different sensors (accelerometer, magnetometer and gyroscope) and checks them against pre-recorded signatures. If the captured signature matches the one corresponding to the tag, authentication will be validated.
The BNO055 IMUThere are many different IMUs on the market. For this project, I chose the BNO055 Intelligent 9-axis absolute orientation sensor by Bosch. This sensor combines an advanced tri-axial 16-bit gyroscope with a range of ± 2000 degrees per second, a 14-bit tri-axial accelerometer, and a tri-axial geomagnetic sensor. It also contains a 32-bit cortex M0+ micro-controller that runs Bosch Sensortec fusion software. The BNO055 can output raw data such as linear acceleration, angular velocity, and magnetic fields, or by using the Bosch fusion data software that is programmed into the BNO055, the IMU can output the Euler angles known as yaw, pitch, and roll, or quaternions. This sensor is available mounted on a breakout board from Adafruit.
Before using BNO055 IMU, it must be calibrated.
BNO055 CalibrationHere's a video from the BNO055 makers on calibration
Unfortunately, Bosh calibration software is not compatible with Adafruit breakout board and you also need a specific USB stick. You can still use this calibration technique with Adafruit's "rawdata" sketch (in Arduino - examples menu). The sketch will read the calibration level out to serial, from 0-3 with zero being uncalibrated and 3 being fully calibrated. The motions are: completely still for gyro, a figure 8 in the air or a full rotation on each axis for magnetometer, and turning in 45 degree increments for the accelerometer (using a compass)
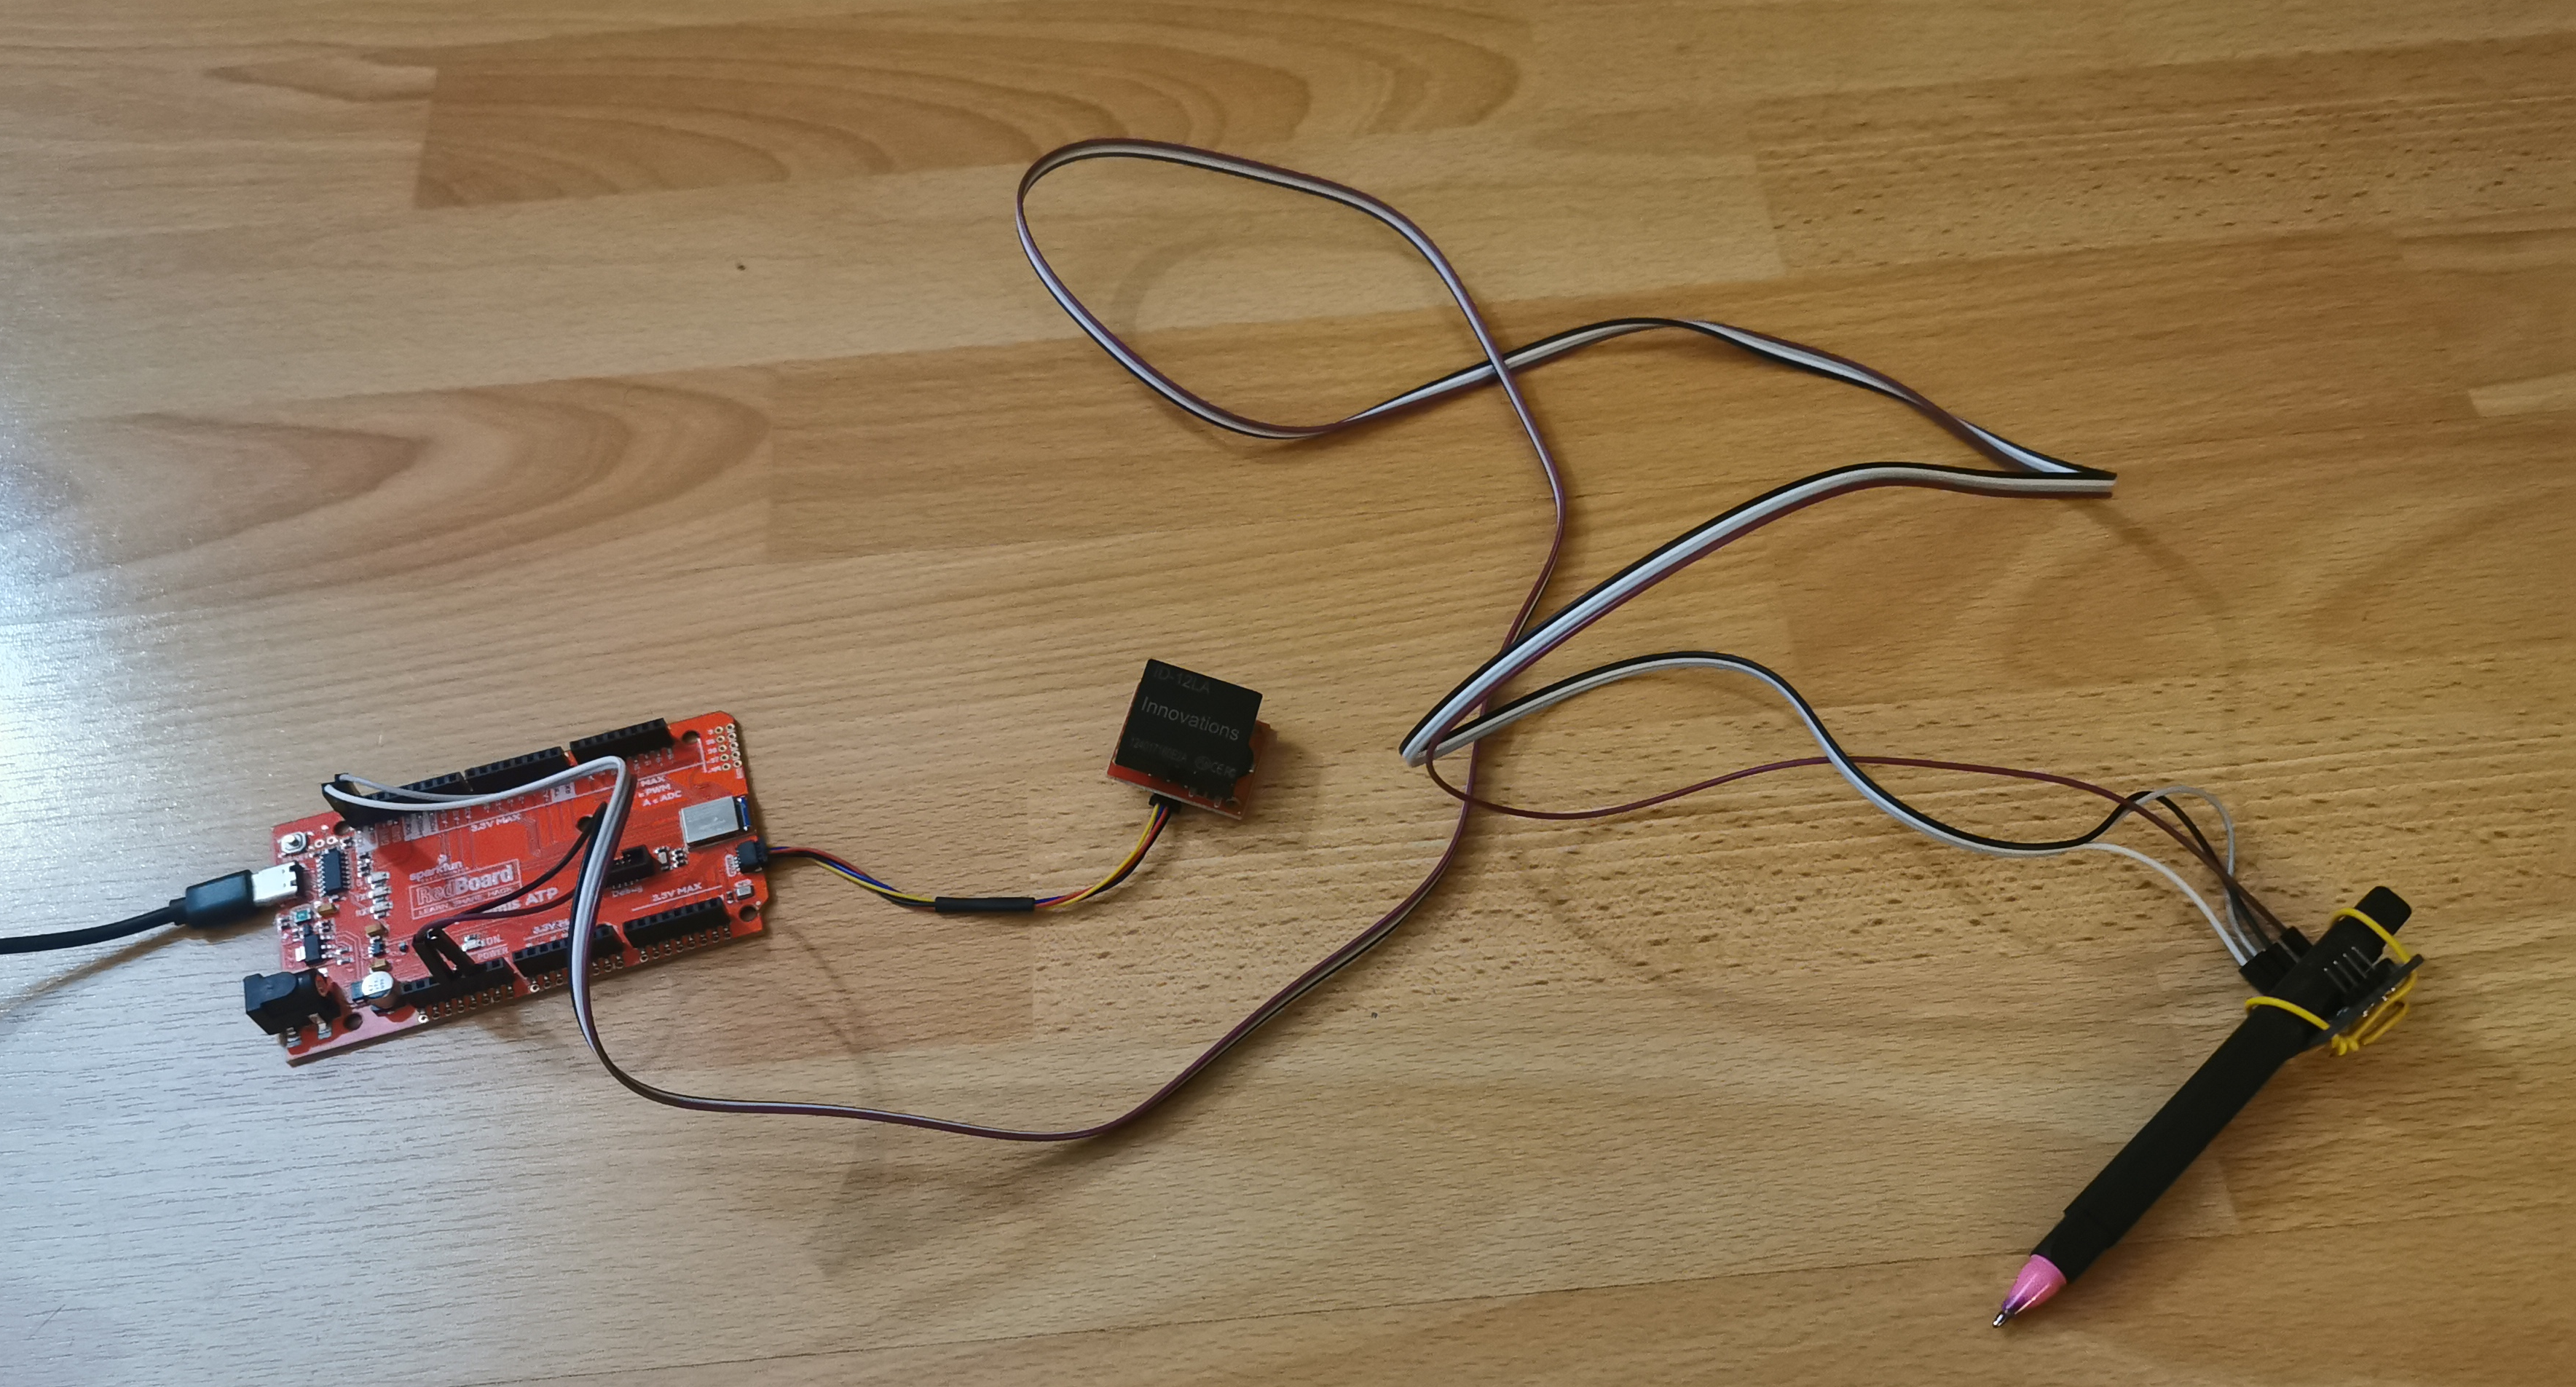
Device wiring is very simple and requires 4 wires (I2C wires on sensor breakouts go to I2C pins of RedBoard ATP, VIN to 3.3 or 5V and GND to GND).
To be able to run this project, you have to install additional library within Arduino (Adafruit_Unified_Sensor, Adafruit_BNO055, SparkFun_Qwiic_RFID_Arduino_Library and TensorFlowLite)
The software is adapted from the Magic Wand example within Tensorflow lite distribution (https://github.com/tensorflow/tensorflow/tree/master/tensorflow/lite/micro/examples/magic_wand). Thus, I'am not going to explain in details how different pieces of software work since everything is well documented.
How to add your own signatures:-Capturing data:
Use collect_data.ino sketch to capture data. You can customize the type of data you want to capture (acceleration, gyro, magnetometer, roll, yaw, pitch...). The neural network code is adapted to 3 series of data to be chosen among the different outputs from the IME. For instance, if you want to mimic a writing pen on a 2D surface, you can discard the data coming from the X-axis. But if you want yo capture an in-air 3d Signature, you have to keep data on the 3-axis.
-Training the CNN:
To add a new signature, create a new folder within train folder and add copy&paste data captured in the last step.
Use the Ipython notebook to re-train the network (Train_a_signature_recognition_model_for_Sparkfun_Artemis_RedBoard_ATP.ipynb)
use the generated tflite binary file in signature_authentication_model_data.cpp
Launch signature_authentication sketch


_3u05Tpwasz.png?auto=compress%2Cformat&w=40&h=40&fit=fillmax&bg=fff&dpr=2)


Comments