Updated for 2019 China-US Young Maker Competition
BackgroundThis is my first ever project with C.H.I.P. and SBCs in general. I was excited when I saw this credit card-sized computer for $9 on Kickstarter. I have ordered one to familiarize myself about single-board computers and waited several months to get my hands on it. I was impressed with the ease of using it and the amazing help available in CHIPster community. I couldn't get more CHIPS due to NTC deciding to stop the production to work on v2, that's unfortunate!
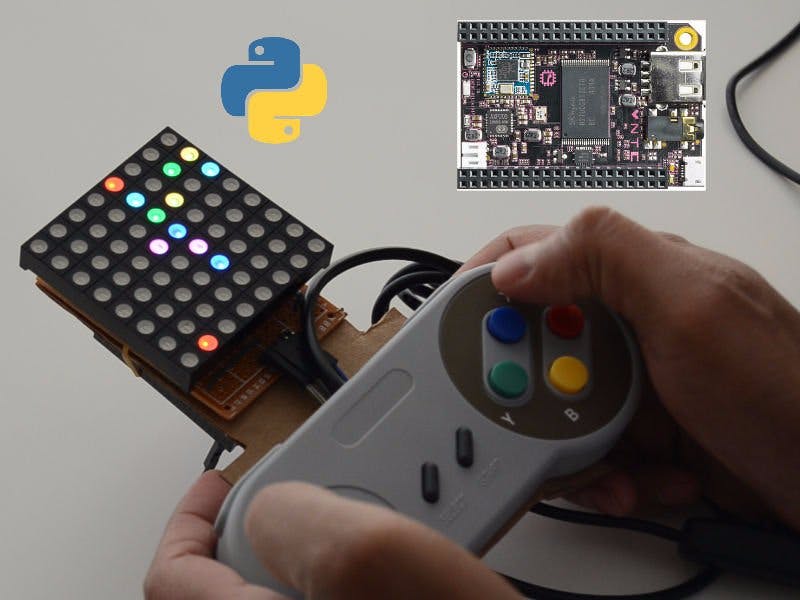
The origin of DotConnectWhen I was ready to make something with my CHIP and looking for ideas I realized that I have an 8x8 RGB led matrix that I am not doing anything with. Inspired from App store game Flow (may be there are other similar games), I wanted make something similar but with this real lights, geeky! :)
The first and the biggest problem I had was driving the rgb led matrix. The one I have is a 32 pin rgb matrix which is just 8 rows and 8 columns of rgb leds multiplexed. I had no clue how to lit the leds when I ordered it. I realized that I need something like Rainbowduino to drive it and I don't want to invest $25 to make this $6 thing work. For that money I can get a WS2812B version which would have been lot easier to drive with just 3 pins. Anyway, Now I need to find a cheaper way to drive this.
After some research I have decided to go with 4 shift registers in series and build my own driver board. But this one will not have a brain of its own, CHIP will do the heavy lifting of multiplexing. This board will only makes it possible to drive the matrix with just 3 pins (clock, latch and data in) excluding the ground and vcc. Attaching a tiny Arduino to offload the job of multiplexing would have been lot cooler and faster...May be that's my next project!
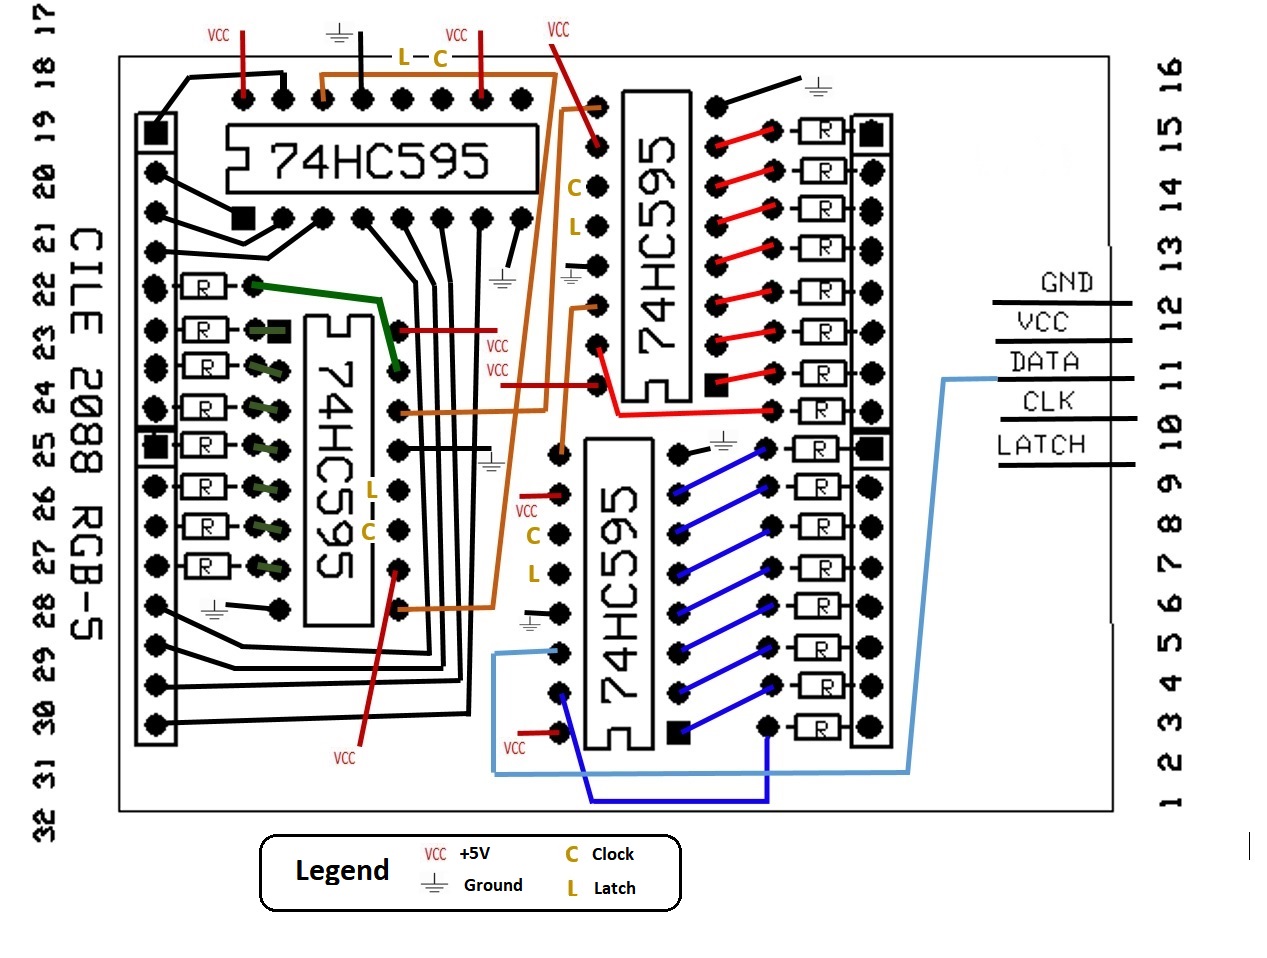
Making of the driver boardI didn't want to make the board look way bigger than CHIP and the RGB matrix. So I have decided to fit it on a 5x7 cm PCB. I built it using the following schematic:
Note that this schematic is not a complete one as it was difficult to make that many connection on a single layer board without overlapping. The layout helps positioning the shift registers and resisters in an optimal way to occupy small footprint.
The finished circuit looks like this...CRUDE!
Follow the instructions here if you want to reflash your CHIP to start fresh. Check if you have Python3 available using one of the following 2 commands.
chip@chip:~$ which python3
/usr/bin/python3
chip@chip:~$ python3 -V
Python 3.4.2
Install Git to clone dotconnect repo and other Python libraries:
chip@chip:~$ sudo apt-get update
chip@chip:~$ sudo apt-get install git build-essential python3-dev python3-pip flex bison chip-dt-overlays -y
Note: Both the commands may take a while to complete.
Once the above commands complete, let's switch to a folder (/usr/local in my case) where we want to clone required Python libraries starting with CHIP_IO - the python library for interacting with gpios on CHIP.
chip@chip:~$ cd /usr/local
chip@chip:/usr/local$ sudo git clone git://github.com/xtacocorex/CHIP_IO.git
chip@chip:/usr/local$ cd CHIP_IO
chip@chip:/usr/local/CHIP_IO$ sudo python3 setup.py install
chip@chip:/usr/local/CHIP_IO$ sudo pip3 install bitstring
Now you can clone dot-connect from github and run the game. Make sure you connect joystick before running the game:
chip@chip:~$ cd /usr/local
chip@chip:/usr/local$ sudo git clone
chip@chip:/usr/local$ cd dot-connect
chip@chip:/usr/local/dot-connect$ sudo python3 dotconnect.py
So...What do you think. Is this project cool or a total waste of time? Are there any other features you would like to see like save the game progress or use Arduino for multiplexing etc., please leave a comment. One thing that would have simplified the project is using an addressable RGB LED matrix vs a dumb one. That way we can control the whole display with just 1 pin (+ the Vcc and ground) and achieve 16,777,216 colors instead of just 7.


Comments