


Hardware components | ||||||
_ztBMuBhMHo.jpg?auto=compress%2Cformat&w=48&h=48&fit=fill&bg=ffffff) |
| × | 1 | |||
 |
| × | 1 | |||
 |
| × | 1 | |||
 |
| × | 1 | |||
| × | 1 | ||||
| × | 1 | ||||
| × | 1 | ||||
| × | 1 | ||||
| × | 1 | ||||
Software apps and online services | ||||||
 |
| |||||
 |
| |||||
| ||||||
| ||||||
| ||||||
| ||||||
Hand tools and fabrication machines | ||||||
 |
| |||||
| ||||||
| ||||||
| ||||||
| ||||||
 |
| |||||
 |
| |||||
This year we fancied some cards with a difference, but wanted to keep the software simple, well for now.....
So with the spare copper clad boards, an ATtiny and some LEDs we have the start of some shiny cards with lights, though by the time this was finished we wanted to add a few more features... Easter should be interesting!
Gathering the PartsThe Uno + breadboard + jumper wires are needed to program the ATtiny85 IC shown below....
First we need to have an image we want to etch onto the front of the card, which can be in any image format.
Then we open it in Inkscape, resize to the final dimensions of our copper board, and use the 305Laser Engineering tool to convert this into GCODE for our printer, which will give a 1:1 representation of the image.
We run our laser at full power and a speed of 50mm/min which is slow but seems reliable for us.
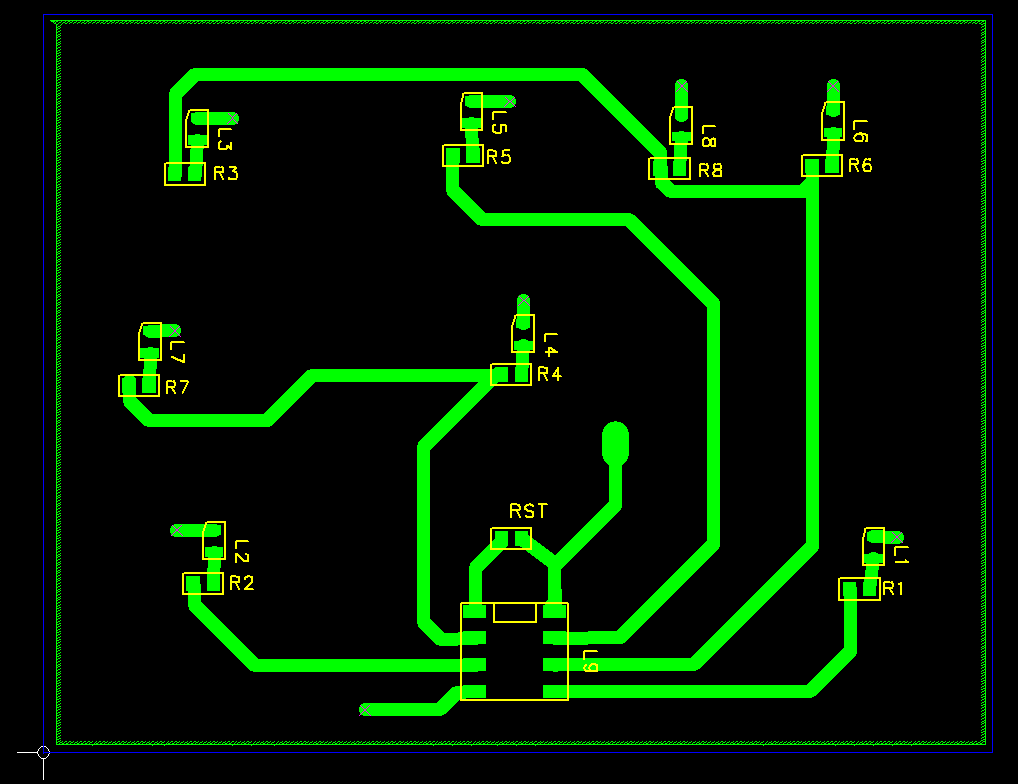
Now we need to design our circuit, remembering the LEDs need to be behind an etched area. Once designed it can be exported as gerbers, and converted to an image, reversed, and converted to GCODE in the same way as above.
Now we should be ready to etch...
EtchingAs always be careful when handling the chemicals for etching and any laser equipment in use!!
We add our resist using a layer of black matt paint, and a 2.5W UV Laser fitted to our 3D Printer.
Once the paint is burned away you should have a board as below, our paint appears silver where it has been burned.
Now give it a good scrub with a toothbrush for example, and a little washing up liquid seems to help...
Then etch with your etching solution of choice, as directed... and dont forget the rubber gloves, ventilation and goggles!!
We find periodically taking the board from the etching solution and scrubbing gently with a toothbrush works well to remove any paint not ablated fully by the laser or cleaning process.
Hopefullyitshouldthenlook more like this:
So the final clean with some Acetone to remove all the paint should reveal a good looking front to our board, even without any lights!
We used SMT components for this so we had no holes, and as always this is quite fiddly, but means we don't affect the front copper with drill holes etc...
NOTE - Check your LED orientation with a voltmeter using the Diode setting if not clearly marked (and it can be difficult to be clear on such a small package):
We used 100Ohm for yellow and red LEDs, and 22Ohm resistors for our green and blue LEDs, as we don't want them burning out before New Year!
Suit these to your specific LEDs, and you can there are many online LED Resistor Calcualtors which can assist in working these out.
CodingNow we can whip up any code we want for our lights.... there may be a pattern you want to flash, or other peripherals you have added (sound sensors, light sensors) which could change how it works... it all depends on the design you have on the front really, and of course who you expect to receive it!
We built our code in Visual Micro to simply perform a random pattern, at random intervals.. simple but effective for the purposes here.
Install any Cores needed for your target chip in use (ours is the versatile ATtiny85).
Open another instance of Visual Studio for your ArduinoISP project to run in.
This can be opened from the Examples installed with the core, as shown below:
Upload this to your Uno at this point, before wiring it to your ATtiny.
More about the Arduino As ISP can be found here
Uploading to the ChipNow we have our programmer built, we can finally upload our code to the chip.
First we need to put our ATtiny in a breadboard, and wire it to our Uno:
Here we need to select the relevant chip, and ensure we have selected the correct programmer option, for us the ArduinoISP:
Now we can press Build & Upload and your code should upload to the chip.
Fit the Chip and Power UpSolder or push the chip into the board if you used a header, and we can finally get the power turned on and see how it looks with the lights on!
So there we have it, a Christmas card that you can customise in so many ways, and when you get it back in the new year, you can upgrade it, so economical too!


Comments