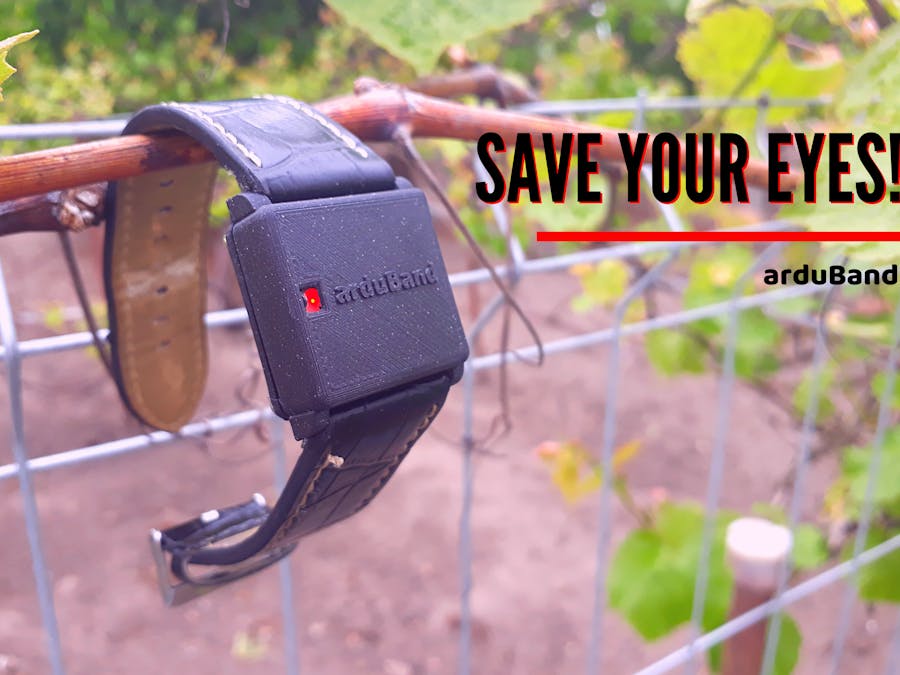
Hi, in the current situation many people work at home, which is why we spend much more time in front of computers or smartphones. Sometimes we can sit before the display for several hours, destroying our eyes and curving our backs. We could use a device reminding us of taking a short break to move and give a moment of respite to our eyes. This is how arduBand works, and now I will show you how to build it.
Supplies:
- Arduino Nano (Aliexpress)
- PCB (PCBWay)
- Accelerometer (Aliexpress)
- Charging Module (Aliexpress)
- 2x 10uF Capacitor
- 5x 100nF Capacitor
- 2x 20pF Capacitor
- 2x 1uF Capacitor
- 3v3 Regulator - MCP1700T (Aliexpress)
- WS2128 LED (Aliexpress)
- Buzzer (Aliexpress)
- N-Mosfet IRML2502 (Aliexpress)
- 2x 1kOhm Resistor
- 10kOhm Resistor
Step 1: ASSUMPTIONS
Okay, at the beginning a few assumptions. I would like my device to be as small as possible, to notify me from time to time about taking a break from the computer with a visual, sound and vibrating signal. That's all. Using the accelerometer, the band will check my current position, using the buzzer it will generate an acoustic signal, the vibration motor will generate vibrations, and the RGB led will provide a visual signal. The whole will be controlled by a microcontroller programmed by RS232 USB converter and of course powered by a battery.
Step 2: DESINGING
I already have selected components, so it's time to create a layout diagram in the Eagle. I found most of the items I needed in the built-in libraries, and the rest of them using the library loader. I divided the scheme into several blocks to make it more readable and when it was finished I started designing the board. I set the dimensions of the board in such a way that it was a little larger than the battery and placed microcontroller, diode, motor, buzzer and several other components on the top side of the board, and the battery and some other elements on the bottom of the board. Of course, I remembered about creating holes to fix the board to the housing. When everything was ready I generated Gerber files and saved them in .zip format.
Step 3: PCB ORDERING
I went to PCBWay and clicked quote now, quick order pcb and online gerber viewer, where I uploaded files for my board, then I could see what it would look like. I went back to the previous tab and clicked add gerber file, I chose my file and all the parameters were loading themselves, I only changed the board thickness to 0.6mm and the soldermask colour to red. Then I clicked "save to card", provided shipping details and paid for the order.
Step 4: SOLDERING
The board is ready, the parts are ready, so it is time for soldering. I started by sorting all the elements for the previously marked compartments so that they do not get mixed up. In the beginning, I soldered the parts responsible for the work of the microcontroller, which I desoldered from the Arduino Nano, i.e. two 20pf capacitors, one 100nF, 16MHz quartz resonator, Atmega328 and elements responsible for the working of the programmer, i.e. a 10k resistor and two 100n capacitors. I connected the programmer and uploaded the sample code to make sure that the communication was going correctly. The next step was to solder the charging module, i.e. the tp4056 chip and several other elements. If the red LED flashes gently, everything works fine. When you connect the battery, the blue LED will turn off, indicating that the battery is charging, and when it is only blue, the battery is charged, which can be read in the catalog note. I disconnected the battery and soldered the ws2128 diode, uploaded the code from the Ardafruit Neopixel library making sure that the diode works and then soldered in and tested the next blocks marked in the diagram, thus eliminating the possibility of any errors. The whole process took about two hours. I uploaded the final program and moved on to the next stage.
Step 5: HOUSING
Then in the Fusion 360, which is free for students, I created housing for my band and exported it to the .stl format, to later upload this file to the Creality Slicer. This program is responsible for translating our project into a language understood by the printer. I saved the file to the sd card and started printing. I found an old, unused watch with which I removed the strap and attached it to my case when it was finished. I put electronics in it and screwed the housing cover. This was the last step
Step 6: THAT'S ALL!
This is the ready arduBand. Every 10 minutes it checks my position and if it detects that I am sitting for thirty minutes, it activates an alarm that I can deactivate by standing for a minute. At that time, I take my eyes off the computer and look out the window, giving my eyes and back a break. Thanks to this, I don't hurt them when I work for a long time on my projects. I think this project useful for everyone, but above all for those who sit at the desk for a long time, whether reading books or working in front of a computer.
Thanks for your attention and I invite you to check my previous projects!
My Youtube: YouTubeMy Facebook: Facebook My Instagram: Instagram Order your own PCB: PCBWay


Comments