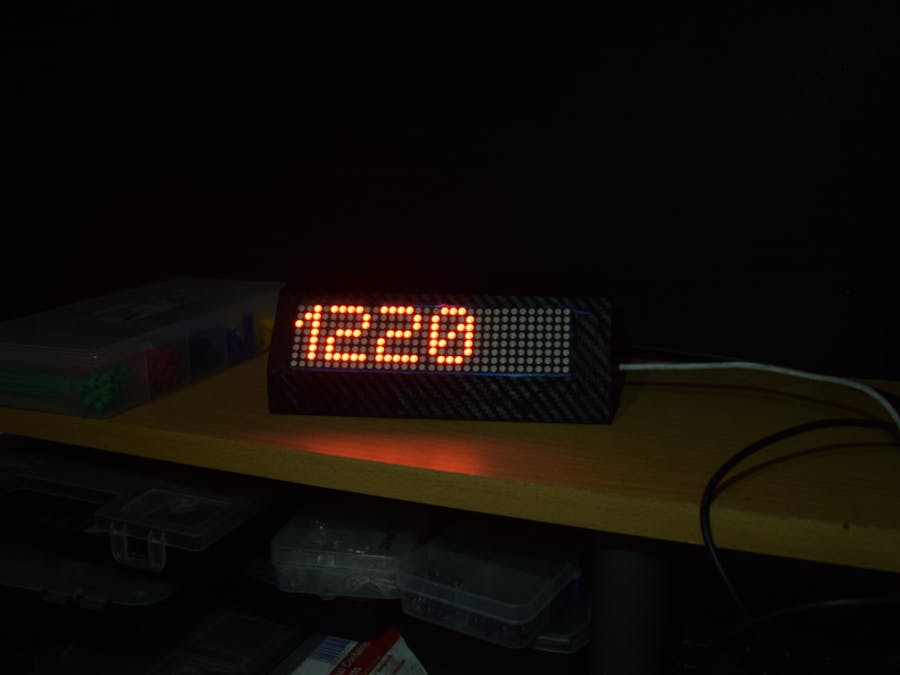
This video aims to show how I actually do my projects. It doesn't often happen that everything goes smoothly, what's more, it's an extremely rare situation. YouTube subscription counter was no exception. This project should be quick and easy to make, but outdated codes or minor mistakes meant it ended as always - longer than planned. However, I try to take a lesson from each project. This time, I became convinced not to postpone planned projects until the last minute, because they may not turn out as planned...
Step 1: Watch the Video (turn on Subtitles)Recently, I found a device on the Internet that displays statistics from various social platforms, such as YouTube or Instagram, and I would like to build such a device, but I would like to add the ability to display exchange rates and cryptocurrencies. Certainly, the device will be built on a NodeMCU, which will have an ESP module connecting to WIFI and the ESP will communicate with various portals.
I encourage you to watch this video, it contains all the necessary information. You'll find some additional information later in this article.
Step 2: Buy Your Components and Download Some Files!You only need a NodeMCU, a display, 6 wires, and a USB cable.
NodeMCU is an open-source firmware for which open-source prototyping board designs are available. The name "NodeMCU" combines "node" and "MCU" (micro-controller unit). The term "NodeMCU" strictly speaking refers to the firmware rather than the associated development kits. Both the firmware and prototyping board designs are open source.
The MAX7219 is an IC designed to control an 8x8 LED MATRIX. The IC is serial input common-cathode (Common Negative) display drivers that interface microprocessors (or microcontroller) to 7-segment numeric LED displays of up to 8 digits, bar-graph displays, or 64 individual LEDs.
Step 3: Circuit and PCBThe electrical circuit is very simple to make, you only need a few wires and a dozen or so seconds.
I'd like to mention that PCBWay is the sponsor of this episode. It is a PCB manufacturing company You can order a PCB for your project at a price worthy of attention.
Photo: link
Step 4: CodeOpen the "UserData.ino" file and add your exact full WIFI name and the exact password. Then you should add your YouTube channel ID. For that go to YouTube, select creator editor and the channel icon in the corner, and go to YouTube settings. There click advance and now you should copy just copy the channel ID and paste it here in the code. Now for the API key, if you don’t have one you should create it now.
To get this project to work though you will need to obtain an API key from google. A very comprehensive guide to this can be found here and the developer account you will need to create is free of charge. Once you have done this and built the project, flashed the firmware, etc. the counter will need to be set up.
When you complete all the required places in the code, upload it to your ESP!
AttachmentsStep 5: How It Works?It's simple.
First, you connect the power supply - the USB cable to the NodeMCU and that's it :)
ESP8266 connects via your YouTube WIFI network. Then it downloads from their server information about the total views, uploaded videos, and the number of subscriptions. The data can be refreshed as you like, I set this value to 60 seconds, but with my subscription increment, it could refresh every month :) I just wanted to view the subscription, so I deactivated the rest of the data, but you can use it in your project.
Step 6: Thanks!Thanks for your attention and I invite you to check my previous projects!
My Youtube: YouTube
My Facebook: Facebook
My Instagram: Instagram
Get 10 PCBs for only $5: PCBWay


_1x_bGT19vVAby.png?auto=compress%2Cformat&w=40&h=40&fit=fillmax&bg=fff&dpr=2)

Comments
Please log in or sign up to comment.