(This project is being managed here: Project Repository )
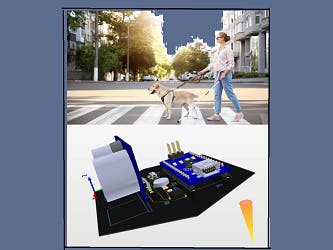
Main Idea:This design is an innovation to help blind people to navigate with greater comfort, speed, and confidence while making use of ultrasonic waves to detect nearby obstacles and to notify the user through vibrations and beeps of a buzzer. The idea was inspired by bats, which also use sound waves of high frequency to move. According to an estimate, there are 285 million visually impaired people in the world. The loss of the human eye causes a lot of hardships in daily life. There are many other ways being used by blind people like sticks and some pet animals but they are not efficient and useful at many places. So the aim of this project is to develop a new, cheap, yet more efficient way to help the visually impaired navigate with more speed and confidence.
Working Description:The major component involved in this design is the Ultrasonic sensor and Arduino Nano ATMEGA328.
- The ultrasonic sensor is used to detect obstacles in a specific range of areas. It uses the SONAR to sense an object just like bats do because bats cannot see they identify things using SONAR; it is a technique to identify and detect things using sound waves. The accuracy of measuring things of the Ultrasonic sensor is very efficient, it can measure up to 2cm to 400cm or 1” to 13 feet easily. It can work with a power supply of 5VDC. It can measure things with an angle of 30degrees. It has pour pins Vcc, Gnd, Trig, and Echo.
- The second major component used is Arduino Nano based on ATMEGA328P. It is more efficient than the simple Arduino Nano. A simple Arduino UNO consumes more space on board so I have used this Arduino in order to make size compact and the communication between the sensor and MCU more efficient.
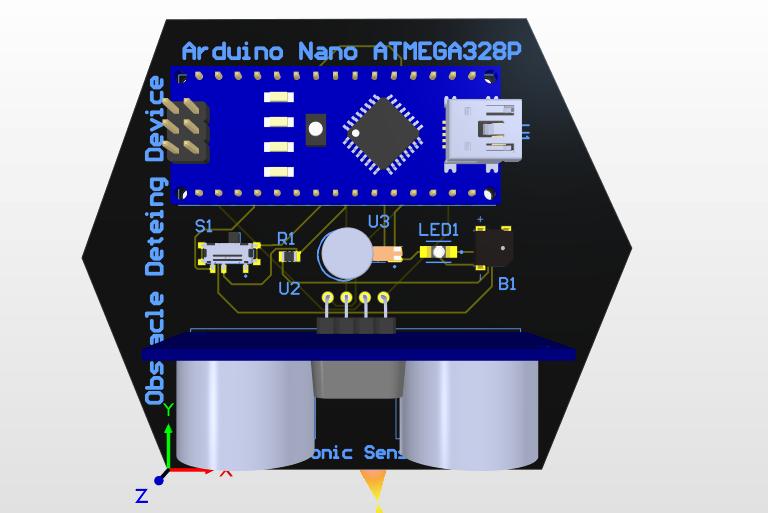
This compact PCB device can be attached to a wrist, knee, or headband. A visually impaired person wearing this band when passes through an uneven surface or there would be a chance of any obstacle in a smooth way, a sensor attached to the band will detect it and a buzzer attached to the band will sound an alarm, in the same time an LED will turn on to tell the others that someone is coming, Moreover, a motor attached to the band will vibrate when the alarm will become active. A slide button is embedded on the board to turn on and off the device when in use or not to save the memory of MCU.
Schematic Diagram:I have designed this amazing and easy design on Altium Designer. After designing my schematic I have uploaded my design online on Inventhub so that I can have the backup of my design and more people will be able to see and implement my design. In the schematic, there is a sensor attached to the microcontroller, a resistor to limit the current in the circuit, a buzzer for alarm, a motor for vibration whenever some obstacles come in the way, and a sliding switch button to turn on or off the device.
After implementing the schematic, I have converted my design to PCB to get the real implementation of my PCB board design. I can route here, can change the shape and size of the board, and can view my board in 3D or 2D. For the fabrication, I have uploaded my PCB file on Inventhub for the manufacturer. I do not need to visit my manufacturer to fabricate my board I can only send him this file and he can view or download my file to prepare my board.
Once I have completed my design, I have uploaded all design files on Inventhub. Users and manufacturers can view or download those files to implement and design my board. While fabrication, It is important to keep in mind that the symbols, footprints, and connections are not missing. So it is a good practice to use the ZIP format files for design in order to avoid errors.
To embed components on the board, it is essential to have the components of the same dimensions and parameters otherwise the design will not be perfect. My BOM file on Inventhub consists of each and every detail of my components like library reference, manufacturer, dimensions, and quantity. My component provider can download the file in CSV format and can deliver my components.
The communication between sensor and microcontroller is coded in the Arduino file. It is according to my choice you can change it according to your need. You can find the Arduino code file on Inventhub.
Feel free to contact me at
arshmah@inventhub.io


Comments
Please log in or sign up to comment.