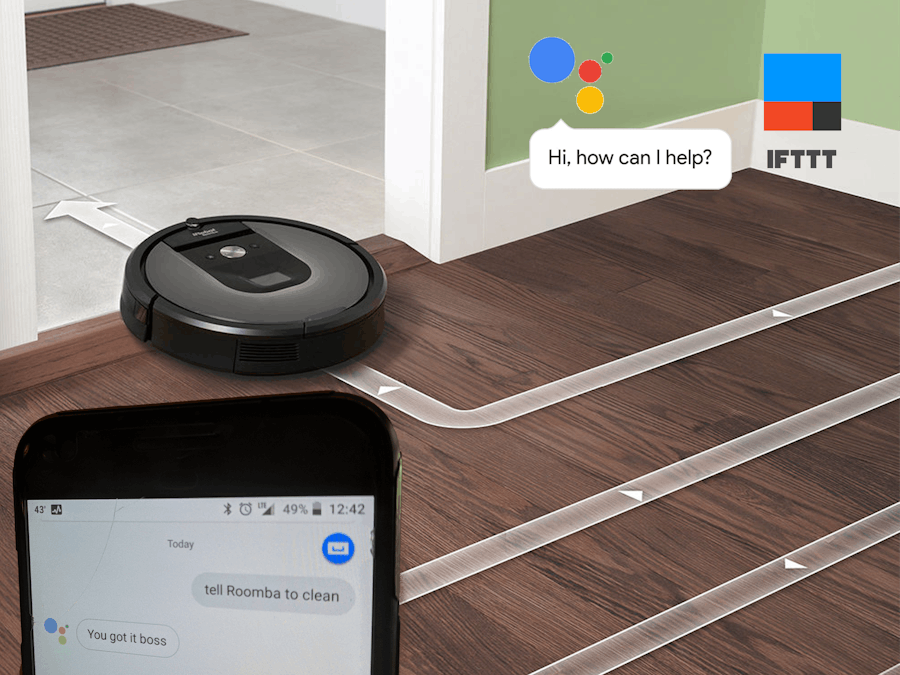
I've had a Roomba 600 series (~2013 model) for a few years and decided to check out what they have available now (in late 2017). To my surprise they now have a number of robots avaiable and most of them are Wifi enabled. There was no way I was going to fish out $400 for a new one when all I needed was the extra Wifi functioinality so I decided to do the upgrade myself. After setting it up with IFTTT I have all the functionality of the newer models, remote start/stop cleaning, set schedules online, etc.
Luckily, iRobot specifies their communication protocols and hardware configuration on a document. It's worthwile doing a quick read through this document if you're doing any development on a Roomba. Here is my summary:
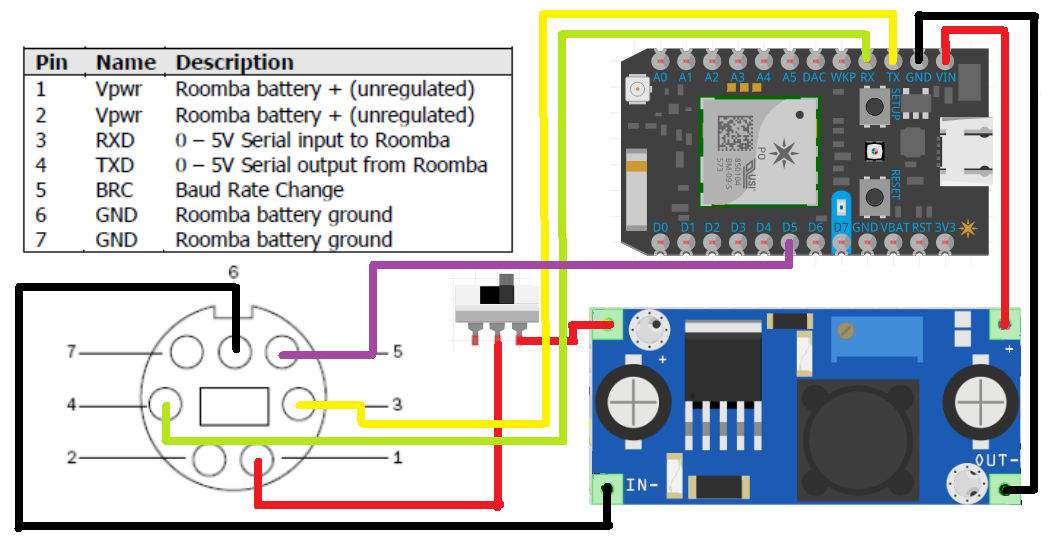
- 7 Pin Mini-DIN connector for serial communication at TTL (0-5V)
- Pins give us Vpwr, Gnd, Rx, Tx, and one pin to change the baud rate.
- Vpwr is connected to the Roomba's battery and can only drive 200mA
- Roomba's default is 115200 baud. To change to 19200 baud, (while on) press and hold the Clean/Power button for 10 seconds until tune is played.
- There are four main operating moding to Roomba:
- Full: Complete control over Roomba and it's actuators. No safety features like cliff sensing or wheel-drop.
- Safe Mode: Full control of Roomba but keeps the safety features.
- Passive Mode: Can request and receive sensor data but no control over actuators. Basically good for Spot, Clean, and Seek Dock commands. -Off: Self explanatory.
- The Roomba can be controlled by issuing Opcodes listed in the reference manual. Some issue a command only, others issue a command followed by some data. For example, 'See Dock' is Opcode 143 with 0 data bytes. Driving the wheels takes Opcode 146 with 4 bytes of data to specify the directory and speed of the wheel rotation.
We have to be careful about powering the MCU directly from the Roomba since the voltages are not compatible. I used a Boost/Buck converter to step down the voltage coming out of the Roomba into the Particle Photon.
Demo


Comments
Please log in or sign up to comment.