


Hardware components | ||||||
_ztBMuBhMHo.jpg?auto=compress%2Cformat&w=48&h=48&fit=fill&bg=ffffff) |
| × | 1 | |||
 |
| × | 1 | |||
| × | 1 | ||||
Software apps and online services | ||||||
 |
| |||||
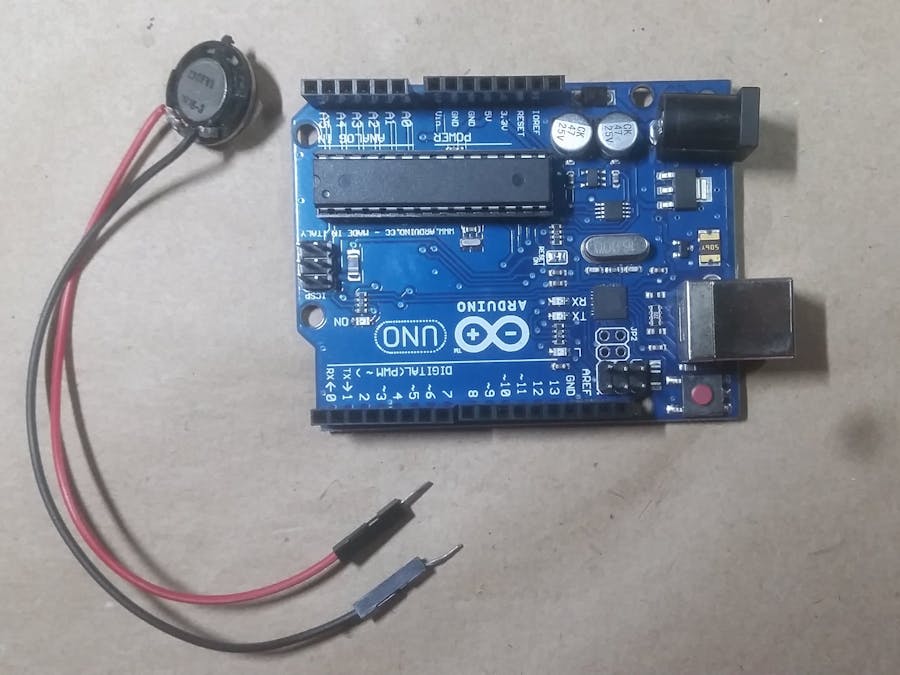
NB: buzzer / piezo buzzer/ sound box/ speaker etc are all the same.
I've used a Speaker from old phone and soldered two wires.
Step 2: Principle:Now we'll be using Tone function. It's something like this:
We can use this in two ways,
1. tone(pin-number, freq-in-Hz);
Here pin-number is the pin number where the buzzer / speaker pin is connected with arduino. And then we'll have to set a Frequency to make sound. This is pretty basic. To make good sound or something like beep - see this
2. tone(pin-number, freq-in-Hz, delay);
As you can see I've added a delay in here so the sound will be continued for certain delay you set.
Now Arduino will keep making sound till that certain delay. For example f I set it something like this
tone(pin-number, 1000, 100);
It'll make sound of 1000 Hz for 100 miliseconds. The best thing is to give it a try and to see which freq. is suited for your project. See my video- (just intro)
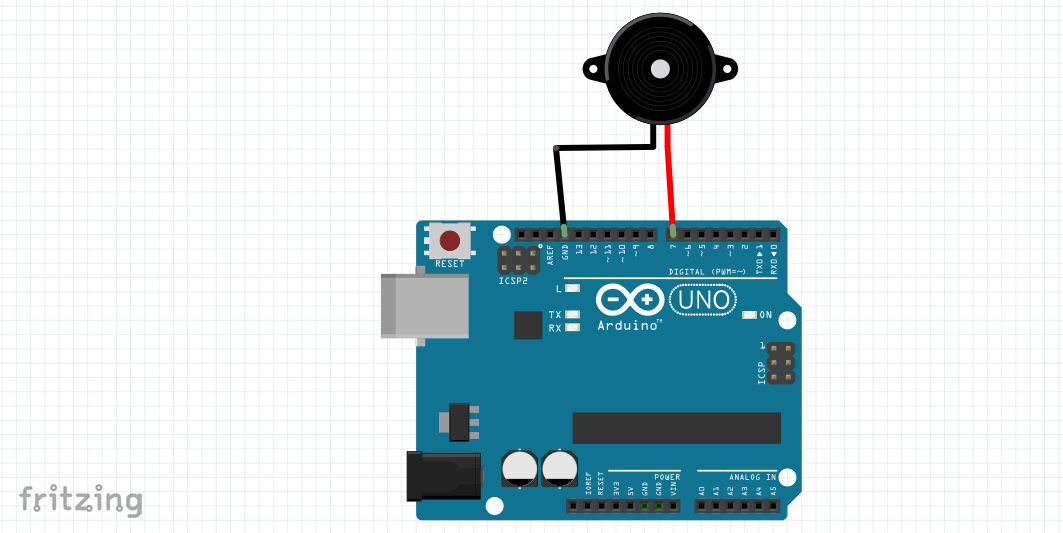
Step 3: Build the Simple Circuit:I think there's nothing much to say about this circuit. The reason why I've connected the -
- buzzer / speaker red wire to arduino 7
- buzzer black wire to arduino Gnd
- is simple. You can use any of the digital pins you want.There's nothing exceptional in pin 7. Okay so connect the buzzer pins as said above.
NB: there's no positive (+) or negative (-) in buzzer. any wire can be used as pos. and neg.
Step 4: Programming the ArduinoConnect with the USB cable to Arduino and your PC or Phone and upload the code
Download code https://github.com/ashraf-minhaj/Use-of-Tone-Funct...
or copy from here
int buzzer=7; //connecting buzzer to pin 7
void setup()
{
pinMode(buzzer,OUTPUT);  //setting up buzzer pin as output
}
void loop()
{
tone(buzzer,1000,100);  //freq 1000 Hz,delay 100 ms
delay(1000);
tone(buzzer,1000,1000); //freq 1000 Hz,delay 1 sec
delay(100);
}
As you can see Iv'e declared the pin as buzzer so well call it the buzzer in tone functions "pin-number". Then declared the pin as OUTPUT. The loop function continues for Ever so it'll keep making sound for ever as long as the Arduino is powered. The frequency is 1000 Hz and delay is 100 ms. Additionally iv'e added another delay under that. That makes the beep sound with a delay of 1000 ms or 1 second.
Compile the code and upload to Arduino.
Step 5: FinishedOnes the code is successfully uploaded you'll hear Arduino making sound or noise (as you've set). No need to connect to another power source because it can work by the power your PC gives it. I've connected it to a powerbank to power the Arduino.
And your'e done. So, by adding just these three or four lines to your code you can make your project talk, though not actually talk but not that bad ha?
Let me know how my Instructable was to you. Thanks.
See my project making sound using arduino

Comments
Please log in or sign up to comment.