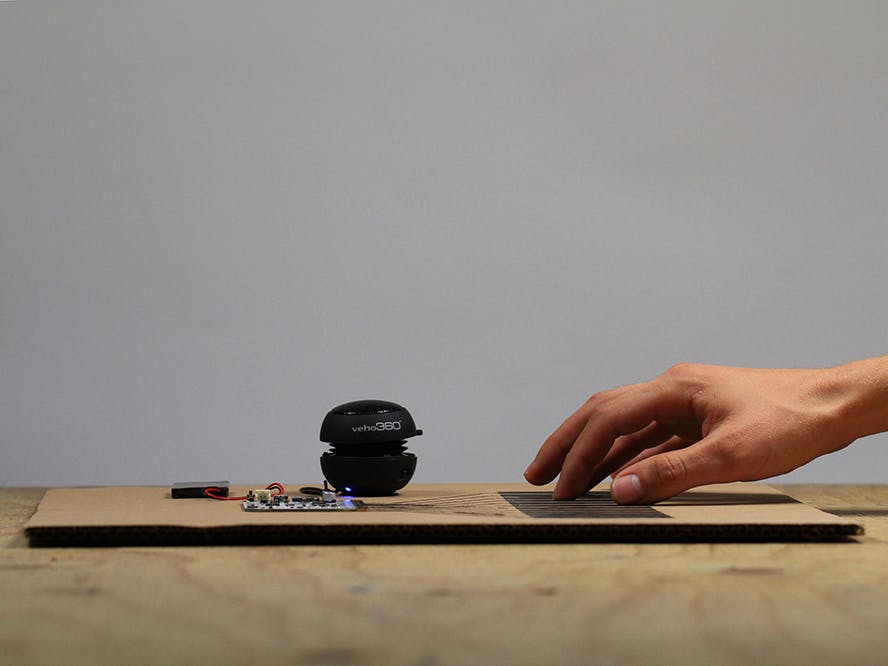
The Touch Board has a powerful MP3 decoder chip that can also decode MIDI notes from its on board MIDI library, which is capable of playing multiple samples simultaneously. To use the Touch Board’s stand-alone MIDI functionality, also known as real-time MIDI Mode, you have to make some physical changes to the board. Let’s get started!
MaterialsTo begin you will need:- 1x Touch Board
- 1x USB cable
- 1x Electric Paint Pen or Jar—
- 1x speaker or headphones
- 1x computer
- 1x LiPo battery (optional)
- 1x soldering iron (or use Electric Paint)paper/cardboardvinyl stencilpaint brushsolder
The Touch Board uses the powerful VS1053 (large black chip in the centre of the image), which is capable of decoding Ogg Vorbis/MP3/AAC/WMA/MIDI audio. This chip allows the Touch Board to not only decode MP3s, but can turn it into a stand-alone musical instrument!
When this chip is put into real-time MIDI mode, it does not need to be connected to an external MIDI synthesiser. It becomes a complete instrument defined in code by the notes selected and mapped to the touch electrodes on the Touch Board.
In order to use the on-board MIDI functionality you need to connect two solder bridges on the Touch Board. You can see them circled in red in the image opposite. The leftmost solder bridge connects digital pin 10 on the microcontroller to the MIDI receive pin on the VS1053 chip. The right solder bridge pulls a pin on the VS1053 chip high, which puts the chip into real-time MIDI mode. If you want to go back to MP3 playback mode at a later stage you will need to remove these solder joints.
We can now connect the solder bridges by soldering a blob across the gap between the exposed gold pads. Don’t keep the soldering iron’s tip on the pads for too long as the heat will damage the board.
If you don’t have a soldering iron you can actually use Electric Paint to join these solder bridges. Just be careful to keep the paint within the copper pads. With this method you can easily pick off the dried paint blob with your nail if you want to go back to the Touch Board’s standard functionality. You can also use a damp cloth or a baby wipe to clean up any drips during application.
We now need to upload the MIDI piano code to the Touch Board. Firstly, if you haven’t already completed our Setting up Arduino with your Touch Board tutorial, please do that before continuing.
Once this is done, plug the Touch Board into the computer via the USB cable. Make sure that the power switch on the board is set to ON. Open the Arduino IDE and then select the Midi_Piano example under
File→Sketchbook→Touch Board Examples→Midi_Piano
Ensure that Bare Conductive Touch Board is selected under Tools→Board and that the correct serial (CU) port is selected under Tools→Port.
With all of the correct settings selected, click File→Upload to push the code to the Touch Board. The RX and TX LEDs will flash on the Touch Board and the Arduino IDE should say “Done uploading.”
With your Touch Board still connected to the computer test the program by plugging in a pair of headphones or a self powered speaker and run your finger over the electrodes. You should hear the default piano instrument playing!
If there are any issues check that the solder connections are properly bridging the two pads mentioned in Step 2 above.
Check out our Paint a Stencil with Electric Paint and Stencil Graphics with a Vinyl Stencil tutorials on how to make slick graphics for your Touch Board using Electric Paint. We used a vinyl stencil for ours.
Now that your graphic is dry, correctly position your Touch Board. Use Electric Paint as a cold solder to connect the electrodes to the printed graphic. Check out our Cold Soldering tutorial on how to do this.
Plug in your battery or power supply and connect your speaker or headphones once again. This time use your awesome painted instrument keys! Don’t stop here. Play around in the code and choose other cool instruments in the setupMidi() function like Marimbas or a Glockenspiel. Once you’ve explored this code thoroughly, why not try making a MIDI Theremin?


_3u05Tpwasz.png?auto=compress%2Cformat&w=40&h=40&fit=fillmax&bg=fff&dpr=2)
Comments
Please log in or sign up to comment.