


Our Electric Paint is black, but that doesn’t mean all your sensors have to be! In this tutorial, we will show you how to cover Electric Paint with a different colour, using acrylic varnish and paint. Of course, you can use a different coloured paint, but be sure to use a paint that doesn’t break the varnish seal – we used acrylic.
Step 1: Create custom sensor
First, create your sensor with Electric Paint. If you are using a stencil, make sure to leave it on for the next step. Your stencil can be anything from masking tape to the stencil from the Touch Board Starter Kit. For this tutorial, we have used masking tape.
Links
Step 2: Seal the Electric Paint
Once the Electric Paint has dried, with masking tape, cover the point where you are going to connect your board to the sensor. In this example, the connection point is Electric Paint at the edge of the paper. Next, coat the Electric Paint with acrylic varnish spray. This is necessary to ensure that the Electric Paint doesn’t smudge in the next step, when you apply a different coloured paint on top. You can apply multiple coats of varnish, to ensure the paint is properly sealed.
Links
Step 3: Paint in a different colour
When the acrylic spray has dried, paint over the stencil and sensor in a new colour with acrylic paint. If you can see the Electric Paint through the first layer of your new colour, leave the paint to dry and add another layer. Once you’re done, carefully remove the masking tape/stencil.
Links
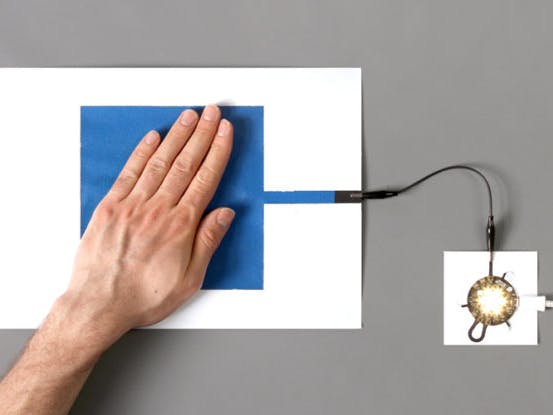
Step 4: Connect to a board
You can now connect your coloured sensor to your board. Note that the additional layers are going to influence the performance of the paint, so you might have to adjust the sensors’ settings. Find out how to do this for the Touch Board here and for the Pi Cap here.
Comments
Please log in or sign up to comment.