/*
LilyPad ProtoSnap Plus Activity 1: Blinking LEDs
SparkFun Electronics
https://www.sparkfun.com/products/14346

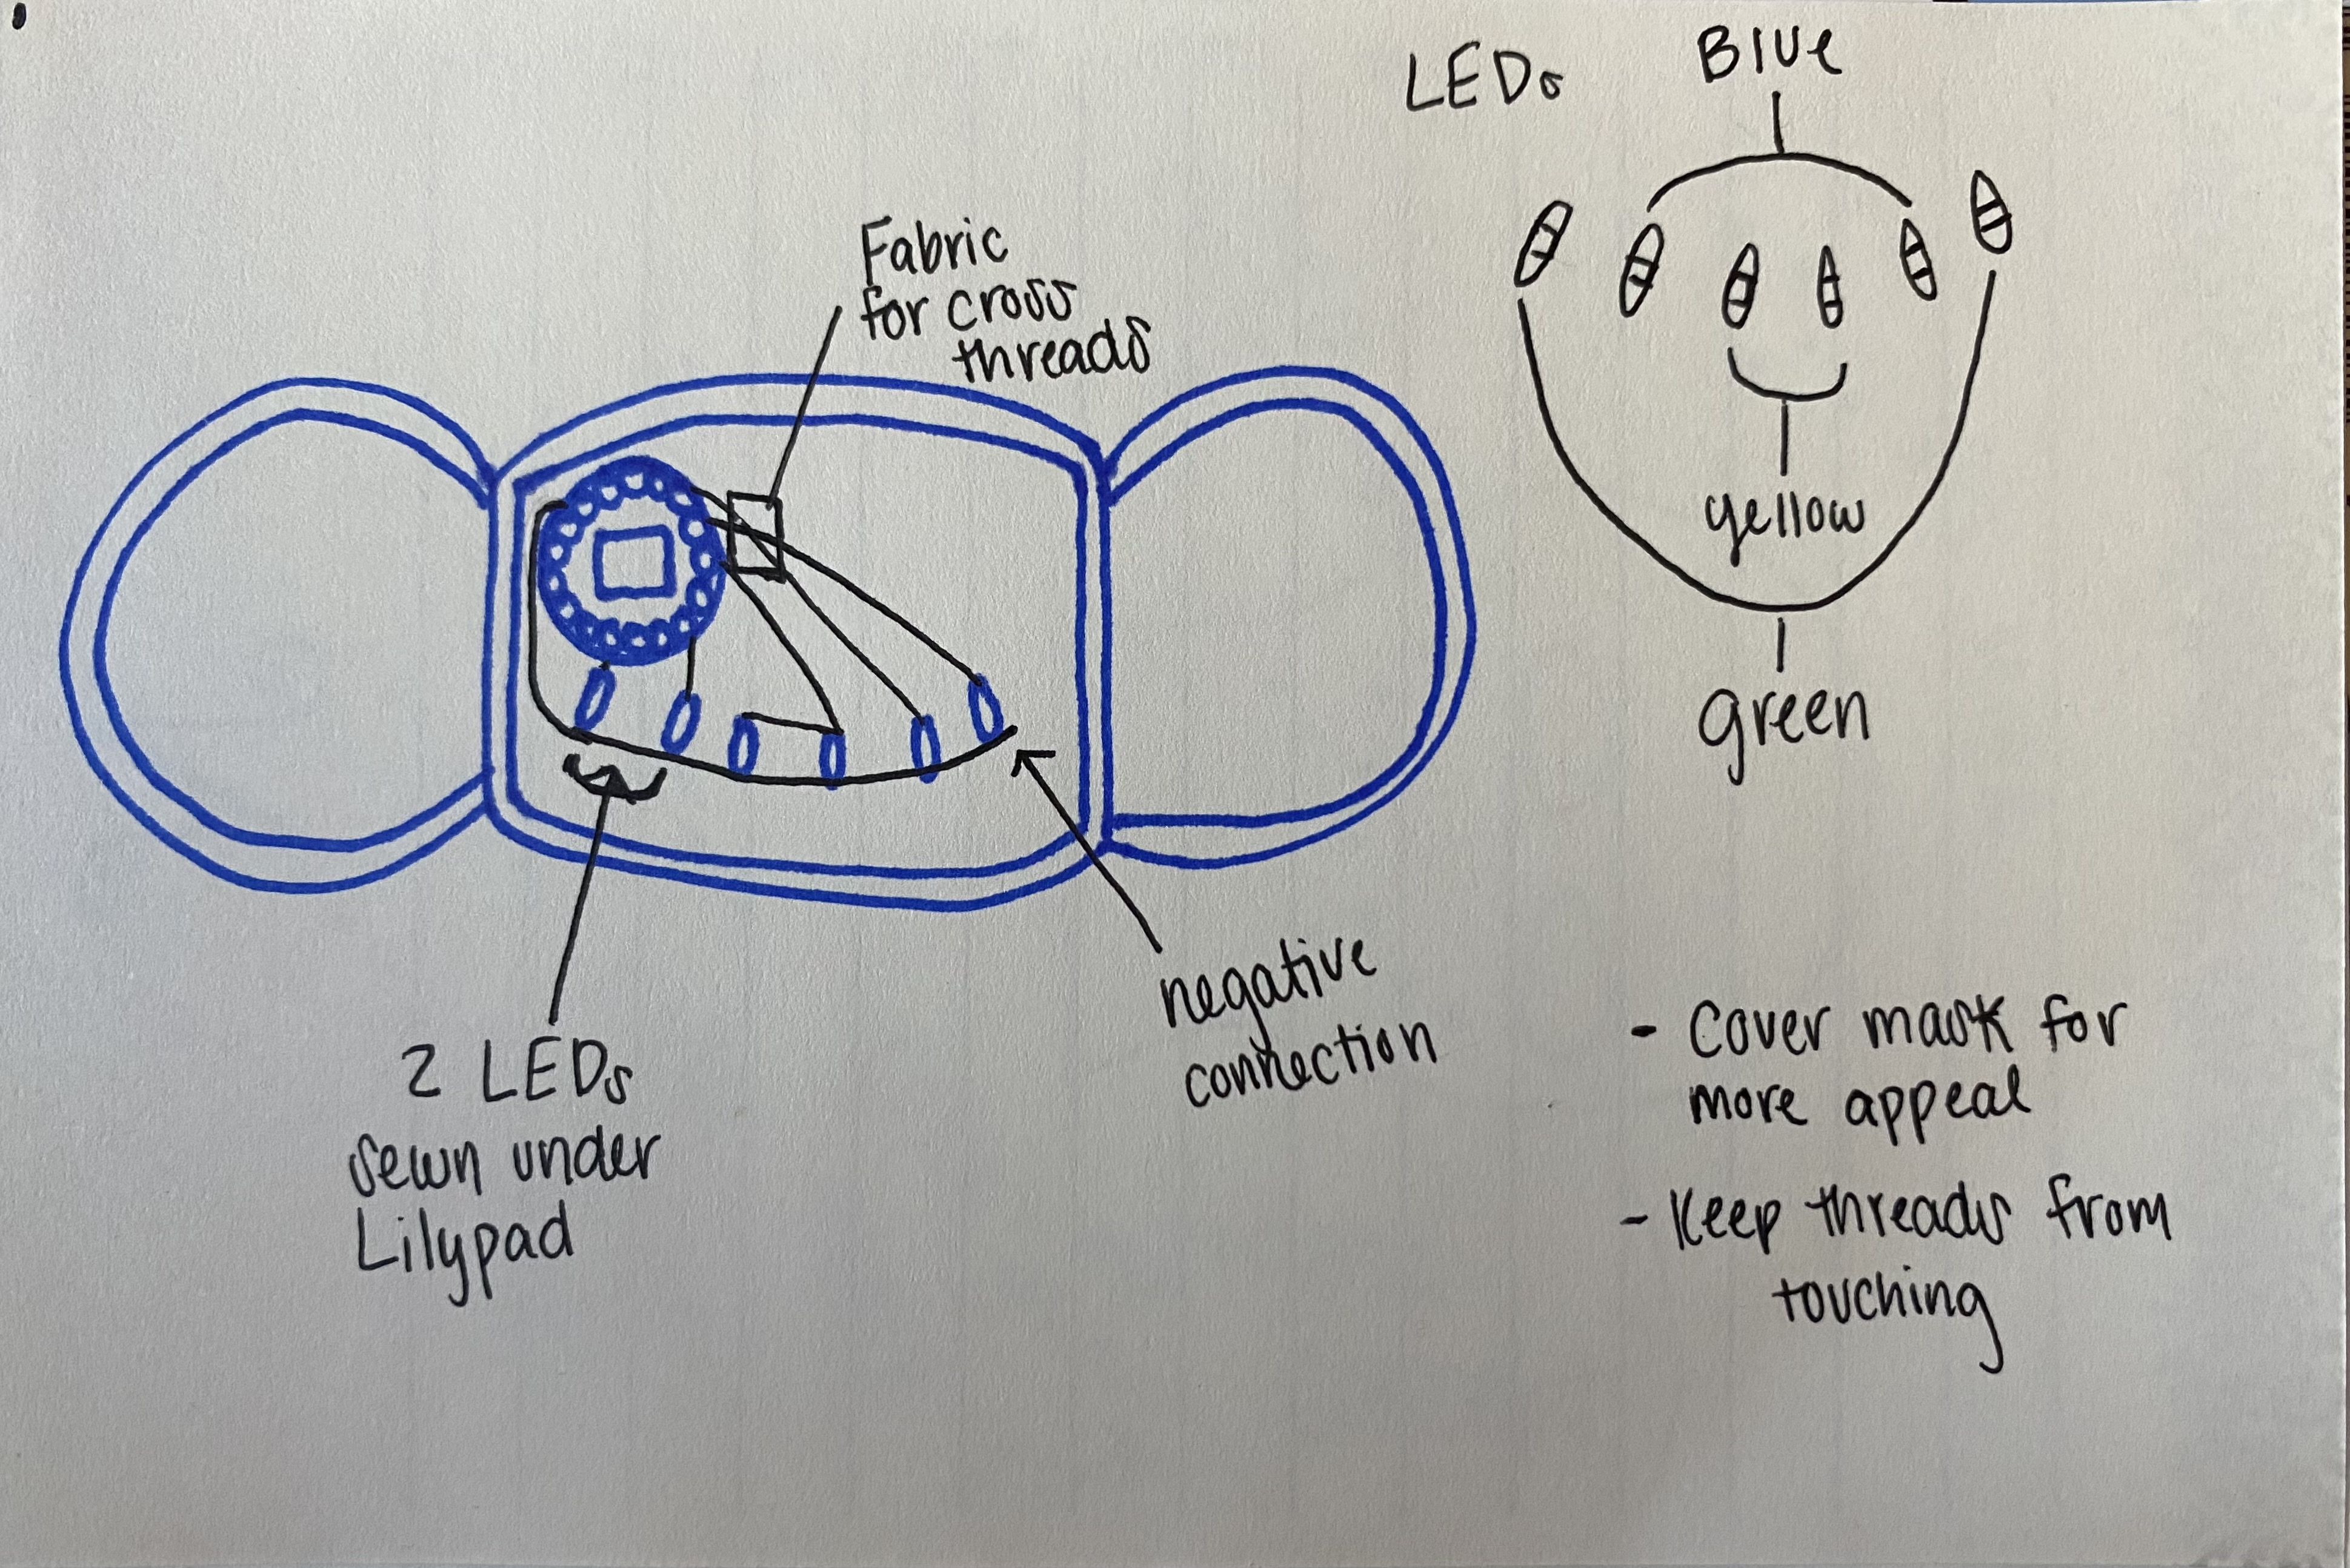
Blink the pair of yellow LEDs attached to sew tab A5 on the LilyPad USB Plus

Follow the tutorial at: https://learn.sparkfun.com/tutorials/lilypad-protosnap-plus-activity-guide#1-blinking-leds

This example is based on: Blink by Scott Fitzgerald
https://www.arduino.cc/en/Tutorial/Blink

This code is released under the MIT License (http://opensource.org/licenses/MIT)

******************************************************************************/

// The setup function runs once when the microcontroller starts up or resets:

void setup()
{
  // Before you use a sew tab (pin), you must set it to be either an input or output:

  pinMode(A5, OUTPUT);
  pinMode(A8, OUTPUT);
  pinMode(A7, OUTPUT);     // Set pin A5 to be an output
}

// After the setup function runs, the loop function runs over and over forever:

void loop()
{
  digitalWrite(A5, HIGH);  // Give pin A5 a HIGH voltage level (on), which lights up the LED
  delay(1000);             // Pause for 1000 milliseconds (one second), the LED stays on
  digitalWrite(A8, HIGH);  // Give pin A8 a HIGH voltage level (on), which lights up the LED
  delay(800);             // Pause for 1000 milliseconds (one second), the LED stays on
  digitalWrite(A7, HIGH);  // Give pin A7 a HIGH voltage level (on), which lights up the LED
  delay(600);             // Pause for 1000 milliseconds (one second), the LED stays on
  digitalWrite(A7, LOW);   // Give pin A7 a LOW voltage level (off), which turns off the LED
  delay(50);// Pause for 1000 milliseconds (one second), the LED stays off
  digitalWrite(A8, LOW);   // Give pin A8 a LOW voltage level (off), which turns off the LED
  delay(50);
  digitalWrite(A5, LOW);   // Give pin A5 a LOW voltage level (off), which turns off the LED
  delay(50);
}


_3u05Tpwasz.png?auto=compress%2Cformat&w=40&h=40&fit=fillmax&bg=fff&dpr=2)


Comments
Please log in or sign up to comment.