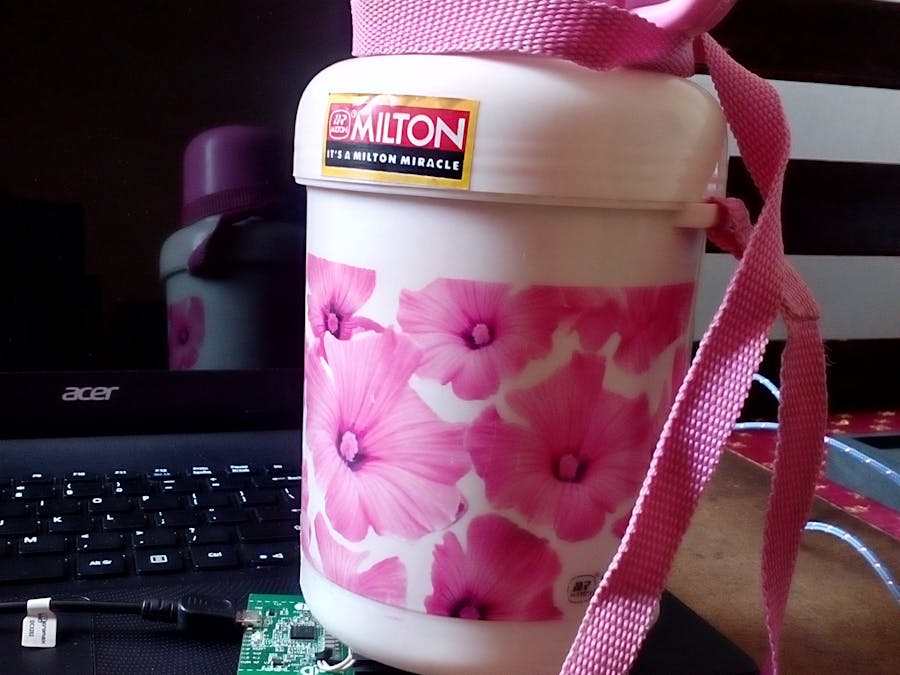
When I'm busy in work, I forget about my coffee continue with my work. After sometime It becomes cold and I use to go with it.
So I made a Coffee cup warmer which maintains the Coffee temperature and the temperature is also controllable using Android App. In some circumstances I need to make coffee while travelling so I added Battery to it to make Coffee on the go. I can also make Tea, Hot water, Hot milk with it.
While Washing the Coffee heater cup I found small holes in the battery charge connector plug which may allows water to pass through and damage the circuit. So added IDT wireless charger to make it waterproof.
I attached the Scheme it block diagram, PCB and Gerber file made using pcbweb designer.
Working Video
Materials Required
- IDT wireless charger (TX and RX)
- Metal Coffee cup
- 5 volt battery or power bank which can deliver 1 amp
- 5.2 ohm resistors
- Thermal paste
- LinkitOne
- Android Phone
- Insulating material
Step 1:
Testing
Connect 5.2 ohm resistor to 5 volt power supply.
so that I=V\R, I = 5/5.2 =0.961 amps
Total power = V*I = 5*0.961 = 4.8 watts (u will get 45 C)
After connecting 5.2 ohm to 5 volt supply u can feel warm around the resistor. USE 2 watts Resistor... I used 1/2 watts and burnt it.
If you want to produce more heat then use 2 amp power bank and change the resistor to 2.7 Ohms (power = 10watts).
Step 2:
For uniform heating of coffee cup, I used two resistor on each sides.
So connect two 10 ohm Resistors in parallel to make 5 ohm like shown in the image.
Attach the Resistor to the Coffee Cup and apply Thermal Paste.
Open the Power bank carefully you will find battery and DC-DC converter. You can also use the powerbank directly without opening it, but I did this to reduce the size.
Now test the Coffee cup by connecting two ends of the Resistor wires to Powerbank output through USB cable. You can feel the increase in temperature and connect IDT wireless Receiver to the Powerbank input. Now the battery can be charged using Wireless receiver. Now add a transistor switch (TIP 29) in between the powerbank output and resistors I.e cut the usb cable +vcc wire and attach collector of transistor to one end and emitter to other end of the cable so that the heater can be controlled by transistor base voltage.
Step 3:
Prepare the case for coffee cup, I used a Flask and attach the wireless receiver to the bottom of the case.
Stick the wireless Receiver to the bottom of the case and Connect powerbank to it.
Step 4:
Program LinkitOne to Control the Coffee cup using Bluetooth android app.
Attach the LM35 temperature sensor to A0 pin, Transistor base switch and Bluetooth antenna to LinkitOne.
Thus LM35 reads the temperature and send it to android app through Bluetooth. The LinkitONE gets the preset temperature from android app and control the Heating heating accordingly.
Upload the Code shown in Code\Software section.
Download android app HERE.
Test the Linkitone and android app.
Step 5:
Place the LinkitOne to the Coffee cup case.
Be sure not to bend or break the Bluetooth antenna.
Attach the Lm35 to the Coffee cup and place it above the LinkitOne. Be sure to place an insulating material between them.
Step 6:
You have made it successfully. It is ready for charging.
Place the Coffee cup on the wireless receiver to charge it.
Connect the Coffee cup with Phone using Bluetooth setting.
then open the Android App, press connect and select Coffee cup from the list.
Press Turn on button and see the magic.
Future Improvements:
By replacing 1 amp Powerbank with 2 amps, temperature can be increased.
Using Ni-chrome wire as heating element, uniform surface heating and efficiency can be increased.


Comments