

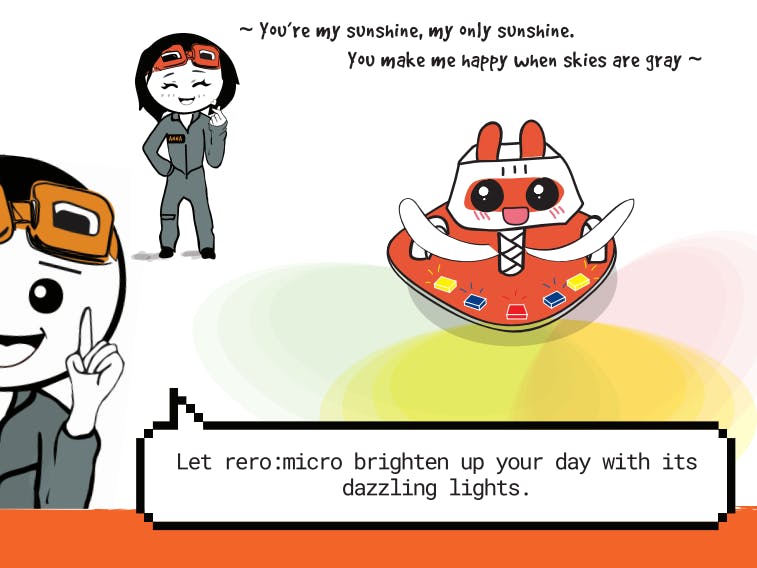
rero:micro is a child-friendly robot kit using micro:bit that is specially designed to encourage young children to learn coding in a fun and easy manner.
MicroPython is an open source Python programming language interpreter that runs on small embedded development boards.
rero:micro has built-in 7x Programmable RGB LED (Neopixel) connected to micro:bit's P1. It also has extended pads to add more Neopixels.
This is the first lesson (ColourSplash) for this series. Check out the other lessons in the links below:
- Program micro:bit mobile robot with Python | 2 Play Music
- Program micro:bit mobile robot with Python | 3 Move Around
- Program micro:bit mobile robot with Python | 4 Detect Object
- Program micro:bit mobile robot with Python | 5 Line Follow
MUEDITOR
Step 1: Download and install MUeditor
Download MU editor at: https://codewith.mu/en/download
Click on the downloaded file to install MU editor
Step2:Add module
Download MicroPython module from GitHub: https://github.com/Bhavithiran97/micropython-reromicro
Copy reromicro.py file and paste it in your computer's mu_code folder
- On Windows, the path is: C:\Users\<username>\mu_code
- On Macintosh, the path is: Macintosh HD>Users>username>mu_code
Connect rero:micro to your computer using a USB cable and open MU editor.
Click in the Files button in the MU editor
A file panel will appear in the bottom of the editor
Drag and drop reromicro.py from the right panel to left panel
Pythoneditorfor micro:bit
Step 1: OpenPython Editor
Open Python editor at: https://python.microbit.org/v/2.0
Step2:Add module
Download MicroPython module from GitHub: https://github.com/Bhavithiran97/micropython-reromicro
Click on the Load/Save button in the editor
Click Show File (1) and Add file button
Add reromicro.py to the editor
CODING
To program the rero:micro you need to add these code:
from reromicro import *

rero = reromicro()
To access Neopixel module you need to add these code:
import neopixelInitialise rero:micro's 7 neopixel connected to pin 1:
strip = neopixel.NeoPixel(pin1, 7)Interact with Neopixels as if they were a list of tuples. Each tuple represents the RGB (red, green and blue) mix of colours for a specific pixel. The RGB values can range between 0 to 255.
Here is a list of common colour with their RGB values:
- red = 255, 0, 0
- orange = 255, 164, 0
- yellow = 255, 255, 0
- green = 0, 255, 0
- blue = 0, 0, 255
- indigo = 75, 0, 130
- violet = 138, 43, 226
- purple = 255, 0, 255
- white = 255, 255, 255
Use .show() function to push the colour to the pixels
strip.show()Here is a example program to program RGB LEDs in rero:micro:
from reromicro import *
import neopixel

rero = reromicro()
strip = neopixel.NeoPixel(pin1, 7)

while True:
    if button_a.was_pressed():             # if button A pressed
        display.show(Image.HAPPY)          # show happy symbol in micro:bit LED matrix
        for pixel in range(7):             # set all the pixels to same colour
            strip[pixel] = (255,0,0)       # red
            strip.show()
        sleep_ms(500)
        for pixel in range(7):
            strip[pixel] = (0,255,0)       # green
            strip.show()
        sleep_ms(500)
        for pixel in range(7):
            strip[pixel] = (0,0,255)       # blue
            strip.show()
        sleep_ms(500)
    elif button_b.was_pressed():           # if button B pressed
        display.show(Image.HEART)          # show heart symbol in micro:bit LED matrix
        strip[0] = 255,0,0                 # red
        strip[1] = 255,164,0               # orange
        strip[2] = 255,255,0               # yellow
        strip[3] = 0,255,0                 # green
        strip[4] = 0,0,255                 # blue
        strip[5] = 255,0,255               # purple
        strip[6] = 255,255,255             # white
        strip.show()
The RGB LED strip will light up in red, green and blue with an interval of 500ms when button A is pressed.
The RGB LED pixels will light up in red, orange, yellow, green, blue, purple and white accordingly when button B is pressed.
Find more information about Neopixel's MicroPython module here: https://microbit-micropython.readthedocs.io/en/latest/neopixel.html#module-neopixel
UPLOAD
MUEDITOR
Connect rero:micro to your computer using a USB cable. Click on the Flash button to upload the program.
Python editor for micro:bit
Connect rero:micro to your computer using a USB cable. Click on the Download button and download it into microbit folder to upload the program.
LINK FOR THE NEXT LESSON - Program micro:bit mobile robot with Python | 2 Play Music


Comments