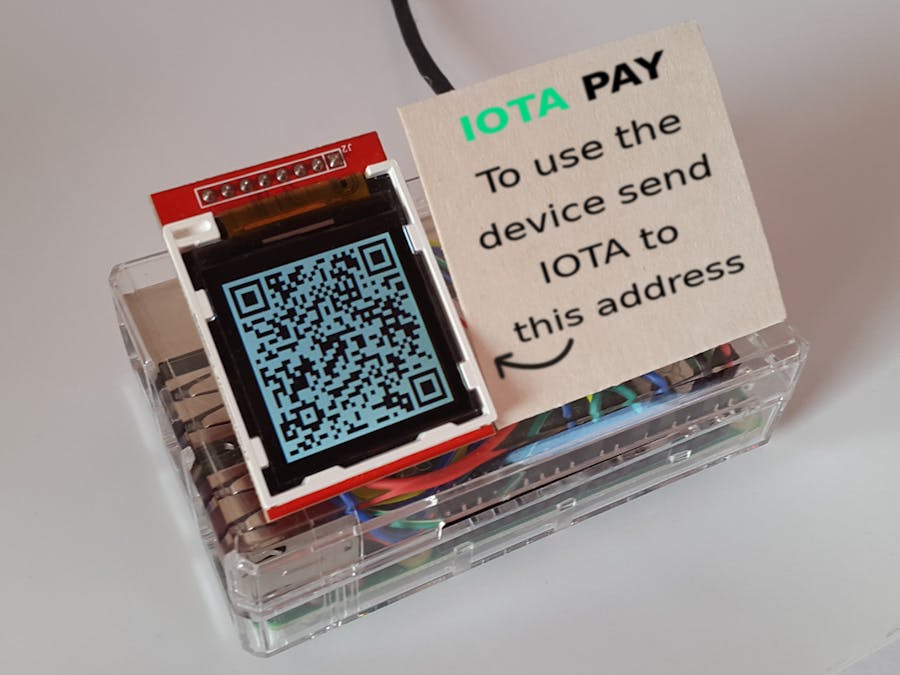
In this project I will show the built of IOTA Pay Raspberry Pi, a PoC device that can be used to easily implement IOTA payment for custom devices.
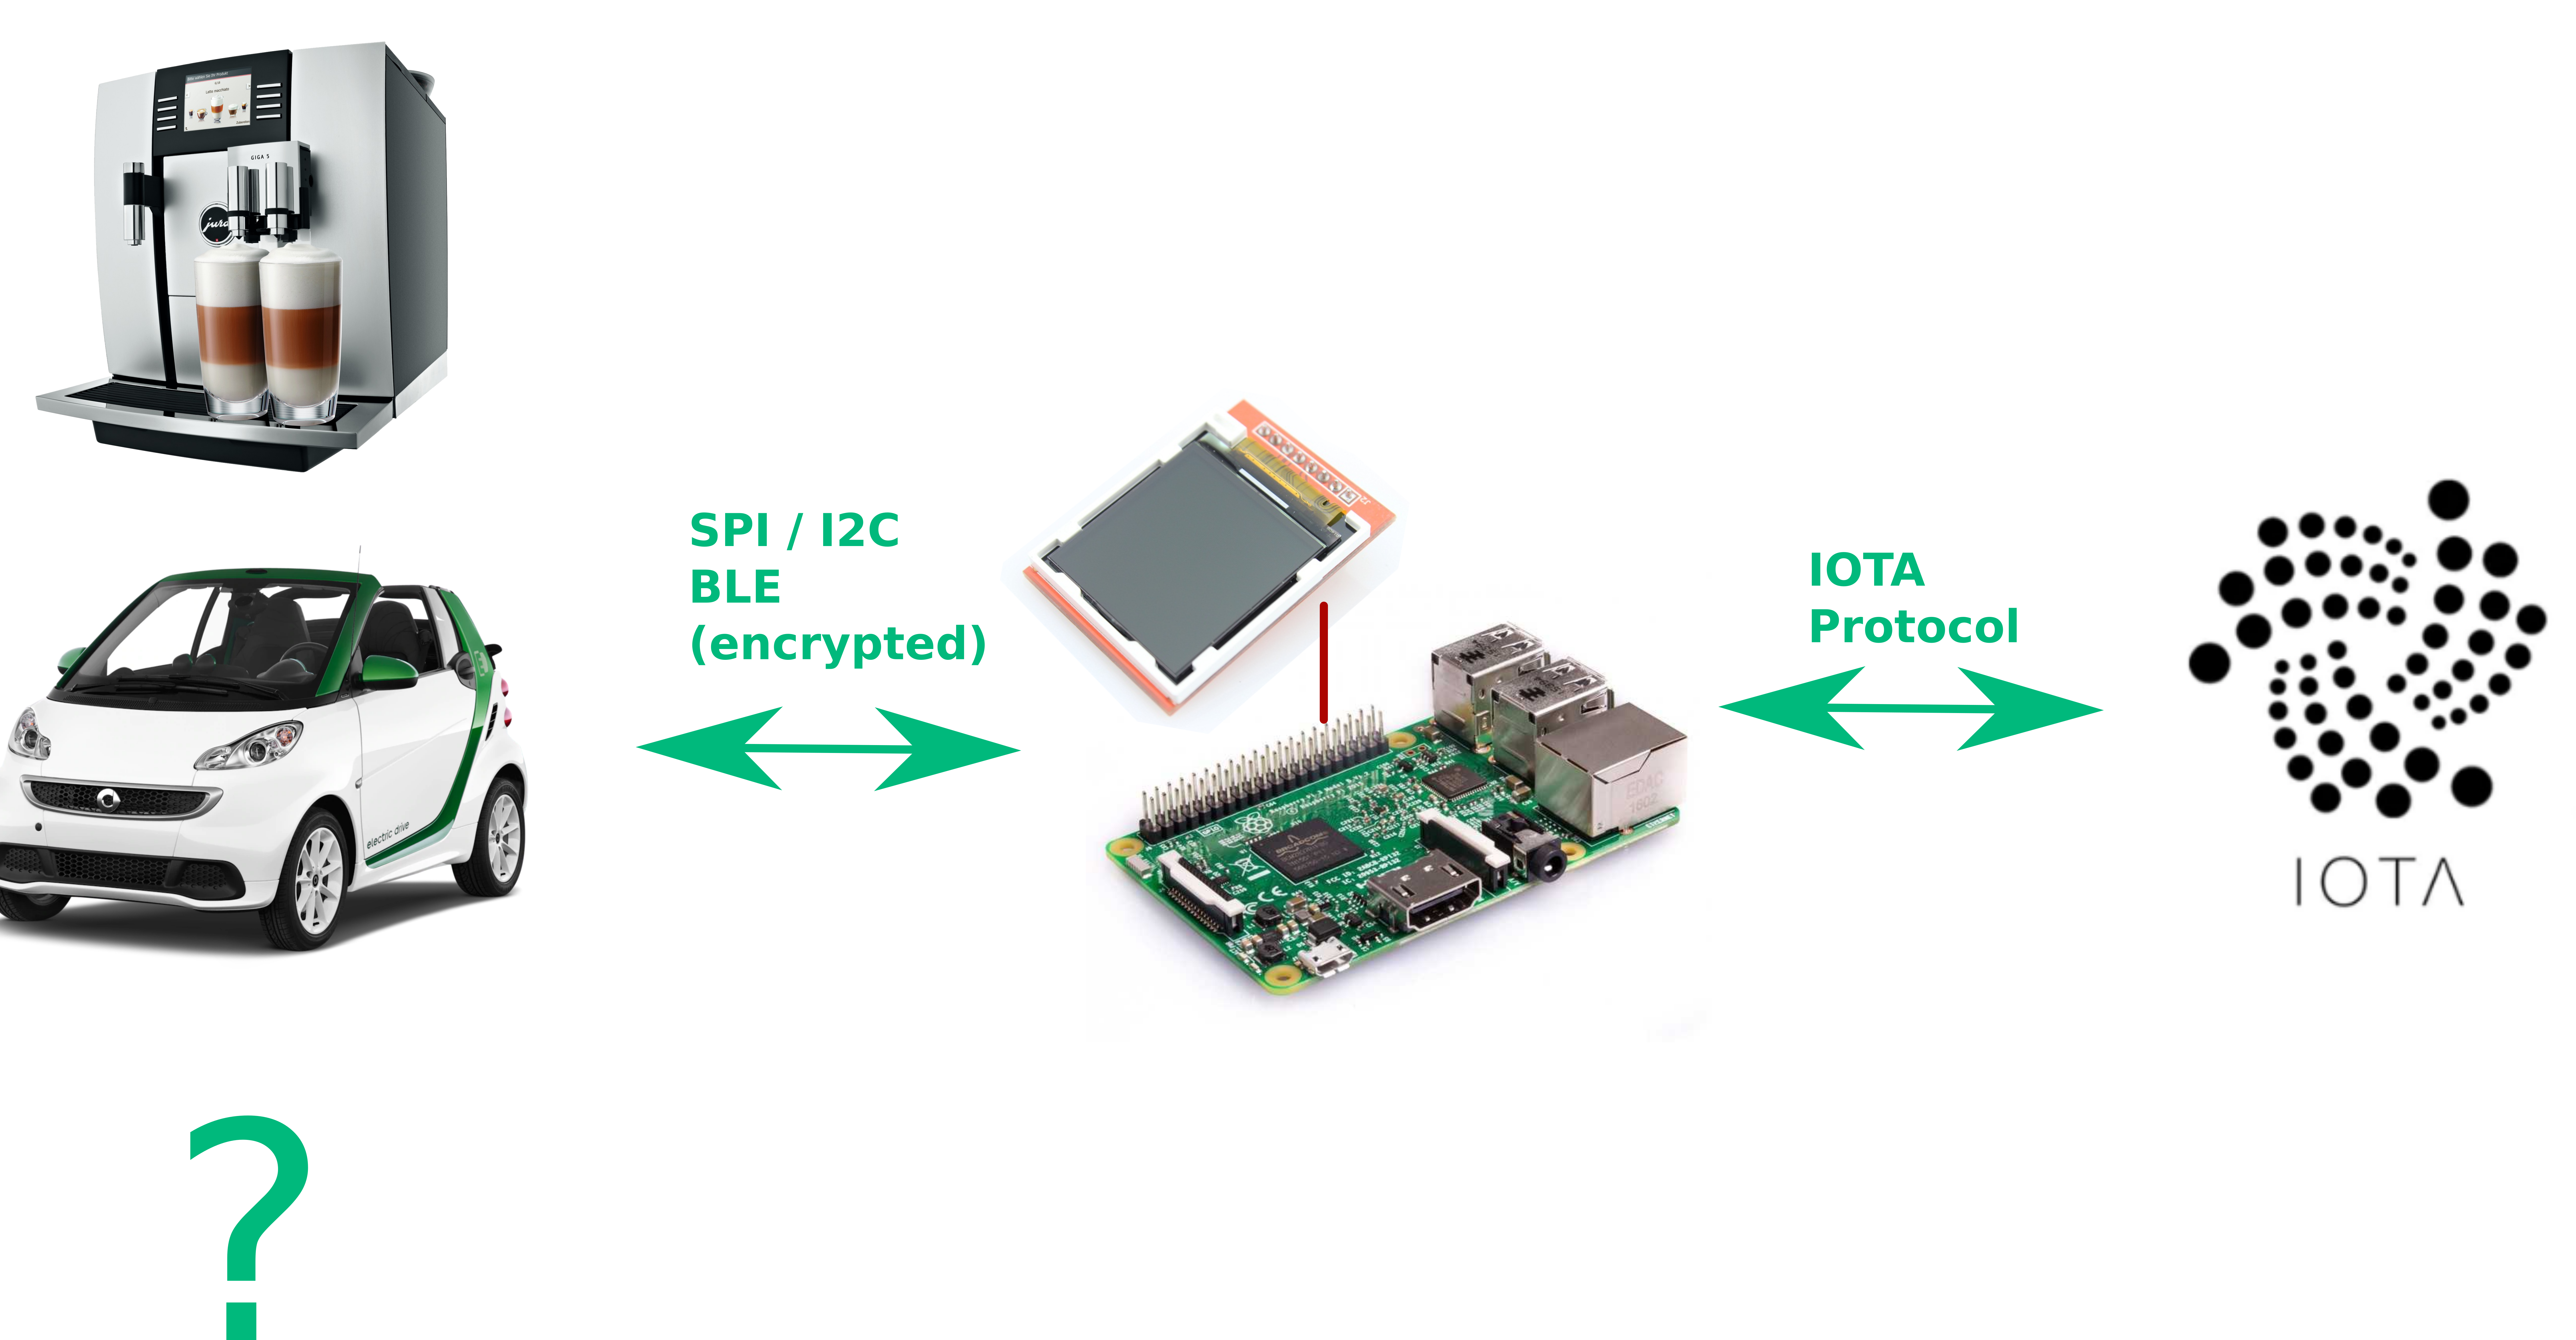
The project uses a Raspberry Pi (3B) and a LCD display to handle the IOTA payment independently from the device.
When an IOTA payment is made it is communicated to the device, which can provide service in exchange for the received IOTA tokens.
To prevent fraud and to protect the data, the IOTA Pay Raspberry Pi will send the payment information to the device, in a encrypted and digitally signed form. Data formats like JWT or a custom HMAC format could be used for this purpose.
The communication channel and protocol can be basically anything. A SPI / I2C / CAN bus, Bluetooth Low Energy, Wifi would all work.
Use CasesThe IOTA Pay Raspberry Pi could be used for many different use cases, to enable IOTA payment for different devices:
- electric car / scooter rental
- public transport, taxi
- vending machines (food, drinks, coffee)
- coffee machine
- etc.
Now we can build a simple IOTA device that could be a good starting point for integrating IOTA payment in a custom device:
Note: part of the application source code is based on my "IOTA Enabled Solid-State Switch and Power Meter". It is basically a generalized variant of the concept used there.
> PreparationFor the software part we will need a Raspberry Pi with Raspbian, or a PC / home server with some kind of Linux distribution.
As preparation we will need to:
- install Node.js and
$ curl -sL http://deb.nodesource.com/setup_8.x | sudo bash -
$ sudo apt-get install -y nodejs
- install the IOTA Node.js libraries
$ npm init
$ npm install @iota/core @iota/converter --save
Next we will create an IOTA address for the device:
- clone the iota-workshop repository and install npm dependencies
$ git clone https://github.com/iota-community/iota-workshop.git
$ cd iota-workshop/
$ npm -i
- next we need to generate a random Seed of 81 trytes
$ cat /dev/urandom |LC_ALL=C tr -dc 'A-Z9' | fold -w 81 | head -n 1
FSRK........................  <-- save this value, this will be the Seed for out IOTA address
- using this Seed we can generate an IOTA address
$ vim code/3.1-create-address.js
--> replace the 'seed' with the your seed
$ node code/3.1-create-address.js
`GetNewAddressOptions`: 1 options are deprecated and will be removed in v.2.0.0.
Your address is: 9WFZOAHLRXNFYGBBXMLFCZPNCHDKXKRDTSH9LF9KJTIPDMTXUMUCHKVNMNJKCHOLWJYGDD9ZVMXGM9MD9
Paste this address into https://faucet.devnet.iota.org
- initially the balance of the of address is 0
$ vim code/3.2-check-balance.js
--> replace the 'address' with your seed

$ node code/3.2-check-balance.js
[ 0 ]
- but, we can use the IOTA Faucet to obtain some tokens. After a couple of minutes you should have some tokens
$ node code/3.2-check-balance.js
[ 1000 ]
The addresses in the IOTA tangle are 81 character strings, which are not exactly easy handled by humans. To solve this problem, the addresses are usually encoded in QR codes that can be easily scanned by a mobile device.
To generate QR code from an IOTA address, we can use the tangle-frost/iota-qr-* libraries from tangle-frost.
After installing the library with:
$ npm install @tangle-frost/iota-qr-data --save$ npm install @tangle-frost/iota-qr-render --save
the QR code can be generated with the following code snippet:
const iotaQr = require("@tangle-frost/iota-qr-data")
const iotaRender = require("@tangle-frost/iota-qr-render")
const fs = require("fs")

iotaRender.initRender()

let generateQRCode = function(address) {
  iotaQr.AddressQR.renderRaw(address, "png", 3, 3).then(result => {
    fs.writeFile("out.png", result)
    runCommand("python3 ../LIBtft144/example-tft144.py")
  })
}
The output is saved into a PNG file.
An example QR code looks like:
We will draw it on a display later.
> DisplayFor the user interface, we can use some kind of display. I used an 1.44 inch TFT LDC display with an SPI interface:
The display can be used in Python with the BLavery/LIBtft144 library.
To test the display the following code can be executed:
$ git clone https://github.com/BLavery/LIBtft144
$ cd LIBtft144
$ python3 example-tft144.py
To draw the QR code on the display the following code can be used:
file_in = "../iota-workshop/out.png"

img = Image.open(file_in).convert("RGB")
#print(len(img.convert("RGB").split()))

file_out = "../iota-workshop/out.bmp"
img.save(file_out)

TFT.draw_bmp("../iota-workshop/out.bmp", 10, 10)
Note: the PNG image is first converted to BMP format, and then is drawn on the display
> ApplicationNow we can put the above pieces together, and build a simple demo application with the following functionality:
- scan the balance of a given IOTA address each second
- generate an display the QR code for the given IOTA address
- when tokens are received on the address, and the balance increases => use the difference in the balance to provide services
- for example, we can provide service on a time based manner - each IOTA token gives a fixed amount of usage time, ex. 100 IOTA == 1 second
Here is a demo video showing the IOTA Pay device in action:
- the application is started, and a IOTA address and a IOTA / second price are given
- the QR code is generated and displayed on the screen
- the balance is checked each second
- on the IOTA address 1000 IOTA is received
- the device provides 10 seconds of usage for the 1000 IOTA
Enjoy!


Comments
Please log in or sign up to comment.