In this project I've built a "smart" alarm using the LinkIt One with Arduino. It hooks up with a REST service that's hosted on Azure, which will gather data and store settings, and an android app that keeps tracks of alarm settings. There is another component, the background service, which also hooks up with both the Azure web service and the LinkIt One.
Here's the idea for the project and what I hope it can eventually achieve:
Imagine waking up to something you actually want to hear instead of that annoying buzzing. An alarm clock that's catered to you and the things you want to know about when you get up. Wake up to hearing the daily weather report, what traffic will be like, your favorite music, or the mornings top headlines. The home alarm clock will be complimented with a mobile app that lets you change settings and choose which content you would like to be woken up to. And of course it will also tell the time. The home alarm clock will be equipped with a small speaker in order to hear the content you would like to hear, a display to show the time and small icons along the bottom to let you know what content will be spoken to you as you wake up (and you will be able to select more than one option).
That's enough intro, let's dive into the project. It's split into several parts:
- Web service, processing data and audio
- Background service, pulling data and audio
- Android app, managing alarm settings
- Arduino app
The diagram way above is a basic look into the way this project is structured. Basically, we have the LinkIt One running the Arduino code, which will consistently listen for its settings from the web service, and then push that data to the background service, via the serial port, which will then determine if its time to trigger the alarm and then pull the data and audio necessary from the web service to actually play the alarm.
So let's start with the Android app. This project has some basic registration code to setup a user account and alarms, which you can tie to the account. Of course, if you would like you can remove that functionality, but in a home with several family members this becomes pretty handy.
The very first time you load up the android app you should see something like this.
You can continue and register an account and then login into the app. Once you've registered and successfully logged in you should see something similar to the following next screen. Exception being that your screen will be blank since we have not registered any alarms yet.
So now we're ready to register an alarm so that we can change settings for it through the app. There a couple ways to register an alarm, one way would be to use something like Postman to make the call to register a device, or the other would be to have the alarm self register. Quickest way would probably be through something like Postman, just post a json payload like this to http://alarmtecservice.cloudapp.net/AlarmTecService/AddAlarm:
{
"IsEnabled": true,
"Name": "Test Alarm 1",
"UserId": 2,
"WakeUpTime": "11/7/2015 06:00:00 AM",
"WantsNews": true,
"WantsWeather": true
}
Adjust settings accordingly if you'd like, you can always change them later in the app.
So after doing that you can revisit the android app and you should now see the registered alarm in your list.
Next, just select the alarm and you can see its settings and then make any changes.
So once the hard part is done, it's safe to move to the fun part which is setting up your LinkIt One to be the alarm!
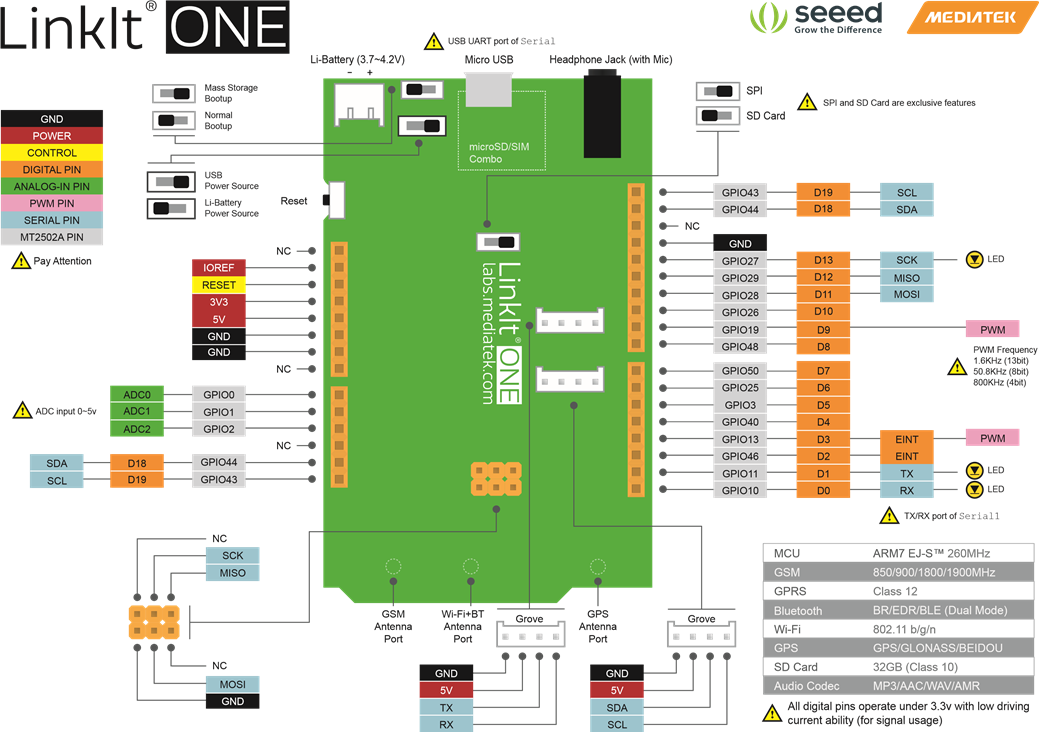
First things first, you will need to plug in the GPS and WiFi modules into your LinkIt One board.
Once that's hooked up then start up Arduino IDE and open up the Alarm-Tec sketchbook and plug the LinkIt One into a Windows PC, preferably as the background service that you will need to run shortly runs on Windows and listens to the serial port the board is plugged into.
Before uploading the code to the LinkIt One, make sure you make the needed changes, like where your service is located, the alarm's id, etc. And note the COM port for the background service. And also make sure you include the HttpClient library into your IDE otherwise you will have compiler issues.
After you've uploaded the Arduino code to the board, it's time to run the Alarm-Tec background service. The idea behind this piece is to offload some of the heavy lifting from the LinkIt One. The background service will listen to the serial port that the board is running on, and when it's time it will make the call to the web service to grab any needed data and audio files, which will then play and act as your alarm.
Before running the background service, take a second to look over the code and make sure the correct COM port is set, should have noted it from before.
By now you should have the LinkIt One running the Arduino code and the background service running. You should see something like the above image after running for some time. The code is setup to make checks every minute, this could be adjusted during the previous steps.
And that's it! You should now have a "smart" alarm. This is basically a proof of concept and I encourage you to build upon this and make it way better. You can an option to play your favorite songs or maybe specific news categories, like the latest in tech or gaming. Another piece I wanted to add, but the part just simply didn't make it on time, is a RGB display to display the time.
This project was a ton of fun to build, I wish I had more time to work on it.
Here are some shoutout links that helped with building this project:
Communicating through Serial Ports:
http://www.instructables.com/id/Interfacing-your-arduino-with-a-C-program/?ALLSTEPS
HttpClient Library:
https://github.com/amcewen/HttpClient
Weather Report Source:
News Report Source:


Comments
Please log in or sign up to comment.