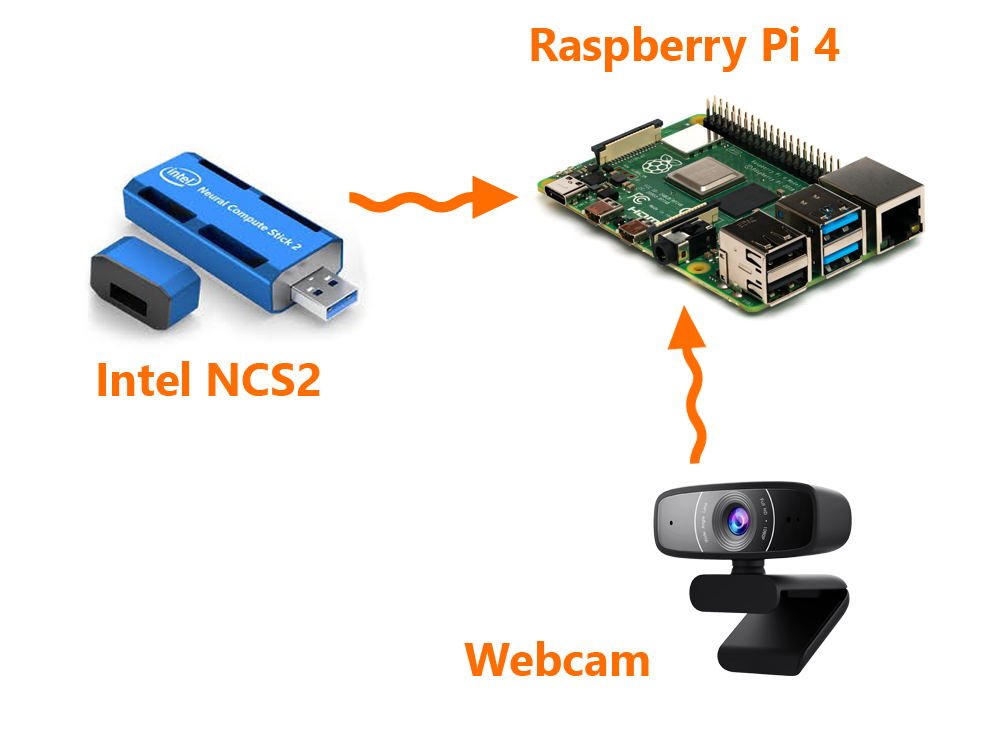
The Raspberry PI is minimal way to have a tiny computer but if you can plug an Intel Neural Compute Stick 2, you will a get fully featured AI computer. Let me work you through the entire process how I make this tiny AI computer in step by step manner.
Preparing your Raspberry PiInstalling Raspberry Pi OS pretty much straight forward so I am not going to elaborate each and every steps here, so you can find whole story here. I am highly recommend you to visit the Raspberry Pi website for more information.
- Download imager by clicking here. https://downloads.raspberrypi.org/imager/imager_latest.exe
- Make sure to get compatible OS version on imager
- Download the OS iso file https://downloads.raspberrypi.org/rpd_x86/images/rpd_x86-2021-01-12/2021-01-11-raspios-buster-i386.iso
- You need a 8GB or higher capacity SD card to install the OS
- Run the imager
- Choose OS as the iso file you downloaded previously and choose your SD card then click on WRITE button to create the OS inside your SD card.
- Boot the Raspberry Pi with newly created OS
OpenVINO toolkit is a free toolkit facilitating the optimization of a deep learning model from a framework and deployment using an inference engine onto Intel hardware - Wikipedia
OpenVINO where all the magic happens. It is OS independent toolkit for AI runs on different Intel hardware such as Intel i3, i5, i7 desktop computers, laptop computers and NCS2 ( Raspberry Pi does not have any Intel process I am using NCS2 with my Pi).
You can follow the steps in the below link to install and setup OpenVino for the Raspberry Pi.
Once the installation is done you can use below command to do the inference. Here I am going to demonstrate how face detection is done using OpenVino with Raspberry Pi and NCS2.
./armv7l/Release/object_detection_sample_ssd -m <path_to_model>/face-detection-adas-0001.xml -d MYRIAD -i <path_to_image>Make sure to provide a image that has single or multiple faces.


Comments
Please log in or sign up to comment.