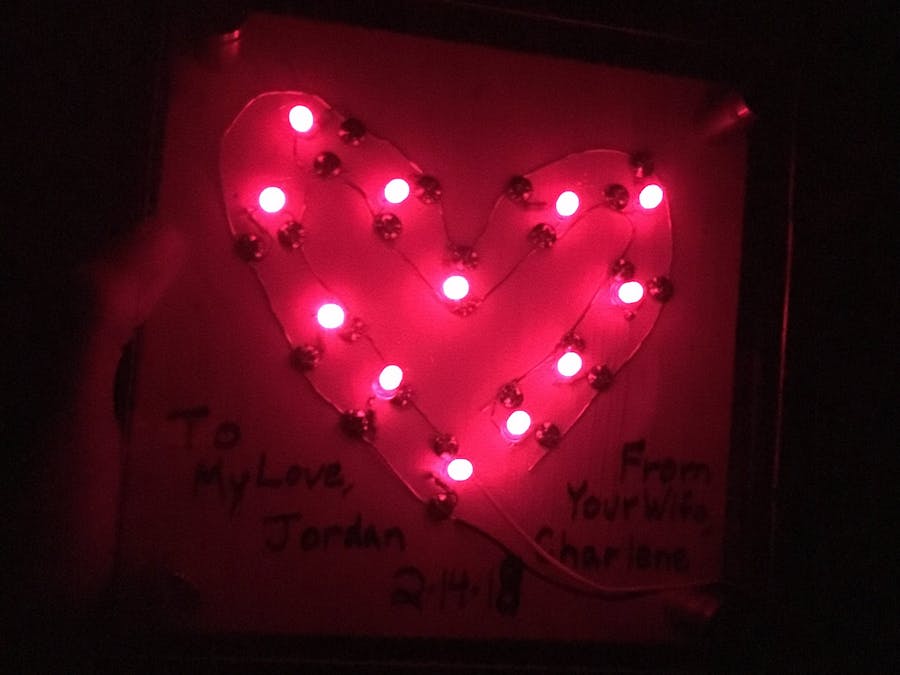
Ah, Valentine's Day. What's a nerd to do except somehow use it as an excuse to build something? My husband can be weary of homemade electronics, so it needed to be something that did not look like it would catch on fire. I decided to make an LED heart that was battery powered, with a switch for easily turning it off.
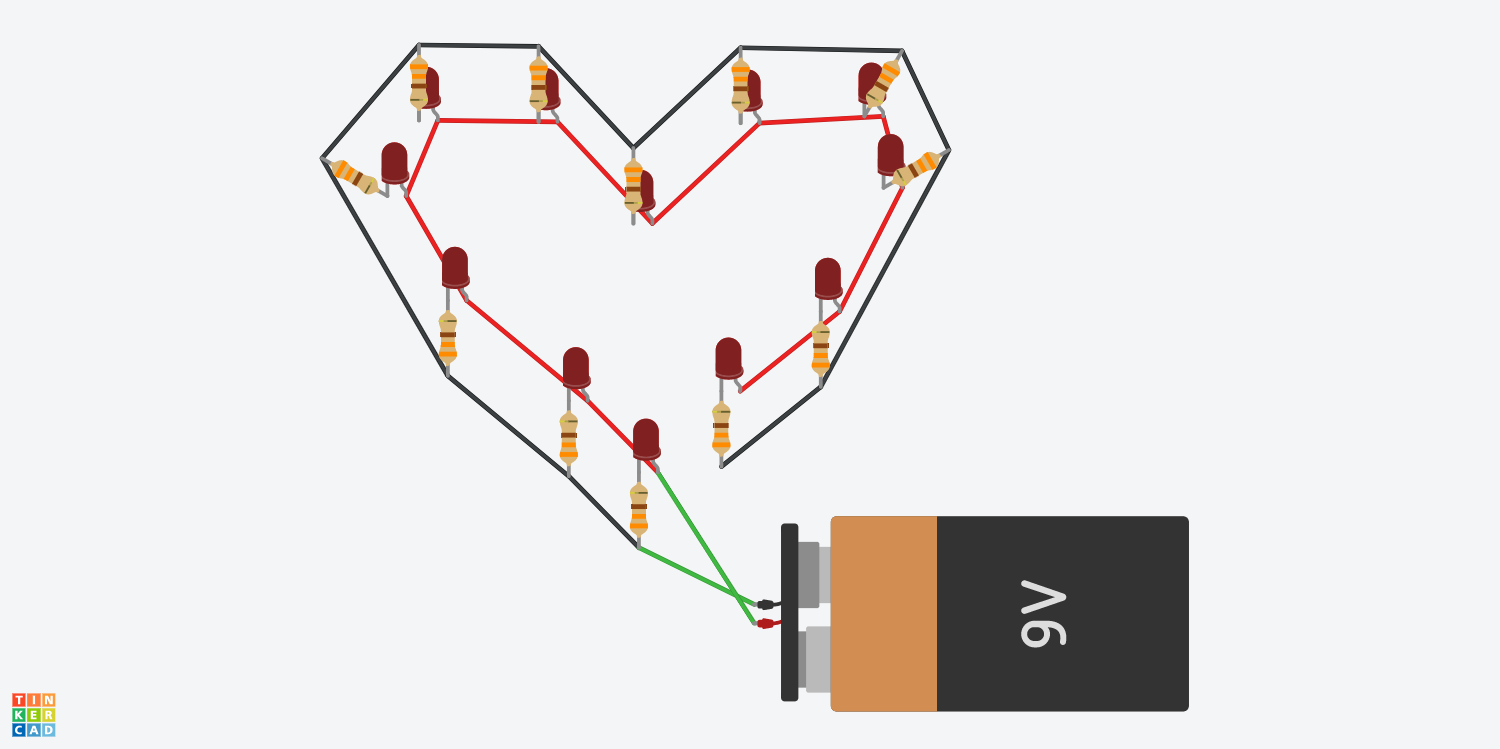
For this project, we will be using screws and stripped wire to put LEDs in parallel in the shape of a heart. It's an inexpensive and simple circuit that only took about four nights to make! (Would have been even shorter if I was not trying to keep it secret from my husband!)
Step One: Planning out your designAs with most things, the first thing to do is to plan. You can make any size heart you like, so decide how many LEDs you will need to cover the space, what your voltage needs are, and the size of the resistors.
Next, figure out your layout by using graph paper to mark out an area the size of the wood you will be using. Mark where you plan to make holes to define the shape. Lay out your LEDs to determine spacing.
I originally planned to use a 5x5-inch piece of wood, but then after doing the sketch below realized I wanted more space on the sides, and moved up to 6x6 inch piece.
Cut out your design, lay it on the wood, and tape it at the top. You will use this as a guide for the steps that follow.
Step Two: Adding screws to use as anchors and conductorsScrews will pull double duty in this project - they will be anchors for the wire as well as be part of the parallel circuit for each set of components. First, using your sketch as a guide, use a nail to make shallow holes into the wood. This will allow you to then take off the sketch and drill pilot holes in the right places. Finally use a screwdriver to attach the screws. Do not screw them all the way in, leave at least a quarter inch of space for now.
We are going to use stripped solid core wire for making the parallel circuit. Roughly measure out two lengths of wire using the path of screws you created. Leave enough wire at the end for connecting to power later on. For each wire, strip it with a wire stripper and then bend it along the path of screws using needle nose pliers and your hands. Use scotch tape to keep wire in place if needed.
Now we need to solder each LED to a resistor. Place the components between two screws to help you decide how they will need to be placed to fit between the screws while keeping the LED centered. This will help you decide where to make the solder joint. Then use a helping hands to hold the two components while you solder them together. Recommend doing one pair and then doing Step Five with it in case you need to adjust your soldering strategy before doing the others.
Now that we have the components soldered together we can add each one to the circuit between each pair of screws. Bend the leads of the components with needle nose pliers and add them to a pair of screws. Tighten the screws. Make sure to avoid the opposite LED and resistor leads from touching each other to maintain the parallel circuit. Also make sure the leads are properly secured and connected to the circuit. To test each setup, attach your 9V battery to your 9V connector and touch the red and black wires to the pair of screws (one wire each).
CAUTION: Avoid a short circuit for your safety and to avoid damaging the battery - do not allow 9V red and black wires to touch each other.
Now you can permanently attach power to your circuit. Remove the battery from your 9V connector. Connect the leads to your circuit by unscrewing a pair of screws enough to fit them in, then re-tighten them. Re-insert 9V battery. Optionally, mount your 9V holder to the side of the wood using an adhesive or 3M strip. If there is a switch on your 9V connector, turn it on. Your heart should be all lit up!
As I said at the top, my husband is weary of electricity. So I really wanted to avoid him touching the wire directly, even if it would only be a small shock. So I went to a plastics shop and got a sheet of polyurethane cut to add as a shield / display window. I also had to buy metal standoffs for installing it into the wood. To be able to install them, you can either drill holes in the sheet yourself or have the plastic shop do it, which is what I did.
Line up the plastic sheet with your wood piece to mark where to drill into the wood. Drill the holes and then screw in each standoff using a screwdriver. I had an issue where it didn't quite line up right at the end and I had to make some adjustments, so double check your placement of the standoffs with the plastic sheet as you go.
If you want to write a message use a paint marker to write one before putting the plastic on. I used a DecoColor paint marker, but it ended up bleeding into the wood a bit. Would love to hear suggestions for better markers to use on wood!
Then put the plastic on by using the screw-on tops for the standoffs. And that's it!
My husband keeps this on his desk at home which means I met two goals: I made a gift by hand that he both likes AND doesn't think will burn the house down. Success!
If you do this project please let me know. I am excited to learn what you do with it!


Comments
Please log in or sign up to comment.